Ah, the tenderloin. A cut of beef that embodies luxury and indulgence. It's the star of fancy dinners and special occasions, and rightfully so. But let's be real, cooking a tenderloin can be a bit intimidating. You don't want to end up with something dry and chewy, do you? You want that perfect balance – juicy, tender, and bursting with flavor. Well, worry no more, because I'm about to share all my secrets, the tricks I've learned over years of experimenting in the kitchen.
We'll cover everything from choosing the right cut to mastering the art of the sear. I'll spill the beans on my favorite marinades, rubs, and sauces, and we'll even explore different cooking methods – because let's face it, variety is the spice of life, right? So grab your apron, gather your ingredients, and let's embark on this culinary adventure together.
(Part 1) Choosing the perfect tenderloin
The first step, and a crucial one at that, is picking the right tenderloin. You want a cut that's fresh, firm, and has a nice, even colour. Steer clear of anything that looks dry or has any discolouration. I personally prefer using a whole tenderloin, it gives you more to work with, but if you're cooking for a smaller group, a smaller, individual piece is totally fine. Just make sure it's at least 1 inch thick. You don't want to be dealing with a thin, flimsy piece of meat. It's all about that satisfying, juicy bite!
Understanding Different Tenderloin Cuts
Now, let's talk about the different types of tenderloins you'll see at the butcher shop. First, there's the centre-cut tenderloin. This is the most tender and flavorful part, making it ideal for grilling or roasting. Then you've got the tip and tail ends of the tenderloin, which can be a bit tougher and leaner, but they're still great for slow cooking methods like braising. And last but not least, there's the "Chateaubriand," a thick, centre-cut piece of tenderloin, perfect for a fancy dinner party. It's like the VIP of tenderloins!
Preparing Your Tenderloin
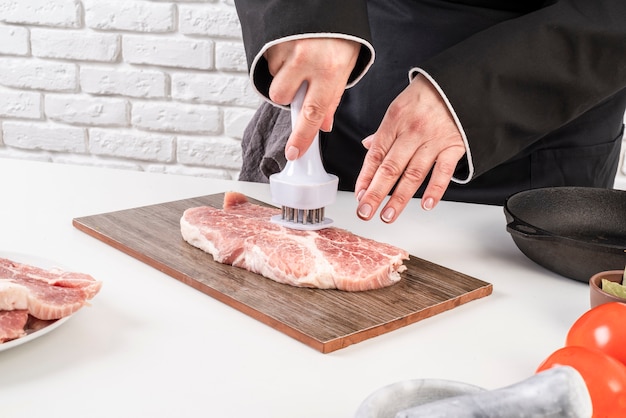
Once you've got your beautiful tenderloin, it's time to prep it. Now, I always start by trimming any excess fat. You don't want a lot of fat rendering out while you're cooking. A little bit is fine, but keep it to a minimum. I also like to make a few shallow cuts across the tenderloin, just to help it cook more evenly. But remember, don't go overboard with the knife! You don't want to pierce the tenderloin all the way through.
(Part 2) Marinade or Rub: Flavouring Your Tenderloin
Now we're getting to the fun part! It's time to decide how you want to flavour your tenderloin. You can go with a classic marinade, a flavorful rub, or even a combination of both. I've got a whole arsenal of flavour combinations, and I'm about to share some of my favourites with you.
Marinade Magic
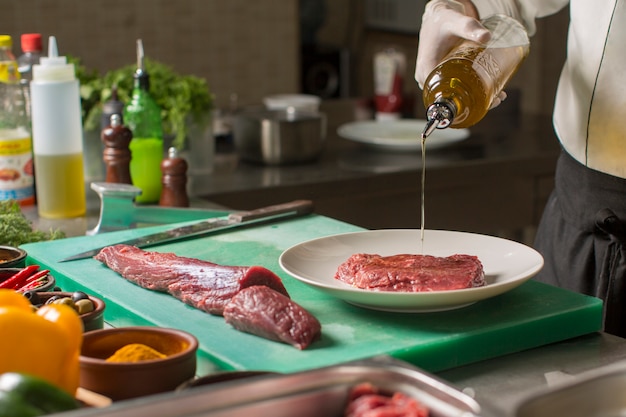
A good marinade is like giving your tenderloin a spa treatment, soaking it in a bath of flavour. It's all about getting those delicious flavors deep into the meat. I like to use a mixture of acidic ingredients like lemon juice or vinegar, along with oil, herbs, and spices. For example, my go-to marinade for beef tenderloin is a mixture of olive oil, red wine vinegar, Dijon mustard, garlic, rosemary, and thyme. It's simple, but it delivers a punch of flavor.
- Time is Key: Don't rush the marinating process! Marinades need time to work their magic. Aim for at least 2 hours, but I prefer to marinate my tenderloin overnight. It gives those flavours a chance to really penetrate the meat.
- Keep it Cool: Always marinate your tenderloin in the refrigerator. You want to keep it cold and prevent bacteria from growing.
- Acid Balance: Don't overdo it with the acid in your marinade. Too much acid can make the meat tough. Just a touch is all you need.
Rubbing It In
If you prefer a more dry approach, a good rub is the way to go. It's a simple mix of herbs and spices that you rub all over the tenderloin. I'm a big fan of using a combination of smoked paprika, garlic powder, onion powder, black pepper, and dried oregano. It's a classic flavour that works beautifully with beef. You can also add a touch of brown sugar for a hint of sweetness.
- Seasoning Technique: The trick with a rub is to get it evenly distributed over the tenderloin. You can use your fingers or a brush to apply it.
- Salt Matters: I always add salt to my rub. It helps to draw out moisture and create a crispy crust.
- Let it Rest: After you rub the seasoning onto the tenderloin, let it rest at room temperature for at least 30 minutes. This allows the flavours to meld together.
(Part 3) Cooking Methods: Getting That perfect sear
Now comes the exciting part! You've got your seasoned tenderloin, and it's time to cook it. There are a few different methods you can use. You can grill it, roast it, pan-fry it, or even try a reverse sear. But no matter what method you choose, the key is to get a nice, even sear on the outside of the tenderloin. This is what gives it that beautiful crust and locks in all the juicy flavor.
Searing: The Art of Crispy Perfection
Searing is like a culinary dance between the tenderloin and your pan. You need high heat, a hot pan, and just the right amount of time. This is where your culinary skills truly shine. The goal is to get that lovely, crispy crust without overcooking the inside.
- Hot and Ready: Make sure your pan is scorching hot before you add the tenderloin. It should be screaming hot! This is how you achieve that perfect sear.
- Don't Crowd It: You want to give your tenderloin room to breathe. If you crowd the pan, it won't sear properly.
- Don't Touch It! Resist the urge to move the tenderloin around too much. Let it sit and develop that beautiful crust. You can flip it once it's well-seared on one side.
Grilling: Outdoor Delight
If you've got a grill, you're in for a treat. Grilling a tenderloin is an awesome way to get that smoky flavour and beautiful char. Just make sure your grill is nice and hot, and use indirect heat to cook the tenderloin through. You can even sear it over direct heat at the end for a crispy finish.
- Preheating is Key: Always preheat your grill for at least 15 minutes. This will ensure the grill is hot enough to cook the tenderloin evenly.
- Grill Marks: To create those classic grill marks, cook the tenderloin for about 3-4 minutes per side over direct heat.
- internal temperature: Use a meat thermometer to check the internal temperature of the tenderloin. It should be 145°F (63°C) for medium-rare.
Roasting: The Classic Approach
Roasting is a fantastic way to cook a tenderloin if you're looking for a more hands-off approach. You can pop it in the oven and let it do its thing. Just remember to preheat your oven and use a roasting pan. This will help to distribute the heat evenly and prevent the tenderloin from drying out.
- Oven Temperature: Preheat your oven to 400°F (200°C) for the first 15 minutes, then reduce it to 325°F (160°C) for the rest of the cooking time.
- Basting is Your Friend: To keep the tenderloin moist, baste it with pan juices or a marinade during the cooking process.
- Resting is Essential: Once the tenderloin is cooked, let it rest for 10-15 minutes before slicing. This will allow the juices to redistribute, resulting in a more tender and flavorful piece of meat.
Pan-Frying: Quick and Easy
If you're short on time, pan-frying is a great option. You can get a delicious, perfectly cooked tenderloin in just a few minutes. The key is to use a good quality pan, like cast iron, and make sure it's screaming hot. And don't forget to use a meat thermometer to ensure it's cooked to your liking.
- Pan Size: Choose a pan that's large enough to fit the tenderloin comfortably. You don't want to crowd the pan.
- High Heat: Heat your pan over medium-high heat. You want it to be scorching hot before you add the tenderloin.
- Flip It: Once the tenderloin is well-seared on one side, flip it over and cook the other side.
Reverse Searing: A Twist on Tradition
For those who like to be a bit adventurous in the kitchen, try the reverse sear method. This technique involves cooking the tenderloin at a low temperature first, then searing it at high heat. It results in a tender, juicy interior and a crispy exterior. Sounds like a win-win situation, right?
- Low and Slow: Start by cooking the tenderloin in a 275°F (135°C) oven for about 1.5-2 hours, or until it reaches an internal temperature of 125°F (52°C) for medium-rare.
- Searing Time: Once the tenderloin is cooked, remove it from the oven and sear it in a hot pan for 2-3 minutes per side. This will give it that beautiful crust.
- Rest and Enjoy: Let the tenderloin rest for 10-15 minutes before slicing and serving.
(Part 4) Internal Temperature: Don't Fear the Thermometer
Listen, I know using a meat thermometer might seem a bit intimidating, but trust me, it's a game-changer. You want to make sure your tenderloin is cooked to the perfect level of doneness. Overcooked tenderloin is a tragedy waiting to happen. Think dry, tough meat that you'll be chewing for hours!
Temperature Guide for Tenderloin
Here's a little cheat sheet for the perfect tenderloin temperatures:
| Doneness | Internal Temperature (°F) | Internal Temperature (°C) |
|---|---|---|
| Rare | 125-130 | 52-54 |
| Medium-rare | 130-135 | 54-57 |
| Medium | 135-140 | 57-60 |
| Medium-well | 140-145 | 60-63 |
| Well-done | 145 | 63 |
Remember, these are just guidelines. You can adjust the temperature based on your personal preference. But trust me, using a thermometer will save you from a lot of heartbreak.
(Part 5) Resting and Slicing: The Final Touches
You've done all the hard work, your tenderloin is cooked to perfection. But hold your horses! Don't rush to cut it up just yet. You need to let it rest for a good 10-15 minutes. This gives the juices a chance to redistribute throughout the meat. The result? An incredibly juicy and tender slice of heaven.
Why Resting Matters
Think of it this way: When you cook a tenderloin, the muscle fibers contract and squeeze out those precious juices. By letting it rest, the muscle fibers have a chance to relax, and those juices can be absorbed back into the meat. The longer you rest it, the more juicy and tender it will be. It's a simple step, but it makes a big difference in the final result.
Slicing Technique for Tenderloin
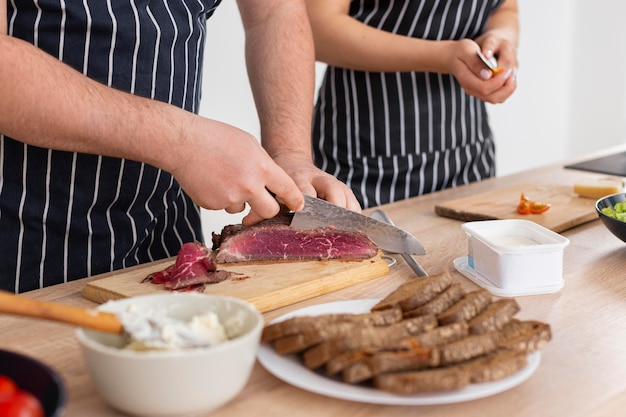
Now it's time for the grand finale! Slicing a tenderloin is an art form in itself. You want to cut it thinly, across the grain. This will ensure that each slice is tender and juicy. And remember, you don't want to cut all the way through the tenderloin. Keep it in one piece and slice it like a loaf of bread.
- Sharp Knife is Key: Use a sharp knife to ensure clean, precise cuts.
- Slicing Directions: Cut the tenderloin across the grain, which means slicing perpendicular to the muscle fibers. This will prevent the meat from being tough.
- Even Slices: Aim for even slices that are about 1/2 inch thick.
(Part 6) Sauces and Sides: Elevating Your Tenderloin
Your tenderloin is looking magnificent, and now it's time to dress it up with some amazing sauces and sides. You want to complement the flavours of the tenderloin, create a balanced meal, and impress your guests with your culinary prowess.
Saucy Delights: Partnering with Your Tenderloin
A great sauce can elevate a simple tenderloin into a culinary masterpiece. You can go with a classic béarnaise sauce, a rich red wine reduction, or a simple pan sauce made with the drippings from the tenderloin. The choice is yours!
- Beurre Blanc: This creamy, buttery sauce is perfect for a delicate tenderloin. It's made with white wine, shallots, butter, and lemon juice.
- Peppercorn Sauce: For a touch of spice, try a peppercorn sauce. It's made with black peppercorns, butter, and cream.
- Red Wine Reduction: This classic sauce is rich and flavorful. It's made with red wine, shallots, garlic, and butter.
- Pan Sauce: This is a quick and easy sauce made with the drippings from the tenderloin. Simply deglaze the pan with wine or broth, add butter, and whisk until smooth.
side dish Symphony: A Culinary Harmony
Don't forget about the side dishes! They're a crucial part of the tenderloin experience. You want something that will complement the flavors of the meat and provide a nice balance of textures and flavors.
- Creamy mashed potatoes: The classic comfort food pairing for tenderloin. It's creamy, flavorful, and pairs perfectly with the richness of the meat.
- Roasted Vegetables: roasted brussels sprouts, asparagus, or carrots are a great way to add some vibrant color and fresh flavors to your plate.
- Wild rice pilaf: A hearty and flavorful side dish that can stand up to the richness of the tenderloin.
- Green Salad: A refreshing and light salad to cut through the richness of the tenderloin.
(Part 7) Storage and Leftovers: Making the Most of Your Tenderloin
So you've got leftover tenderloin. Don't let it go to waste! There are plenty of ways to use it up.
Storing Your Tenderloin
- Refrigerator: Store leftover tenderloin in an airtight container in the refrigerator for up to 3-4 days.
- Freezer: You can also freeze leftover tenderloin for up to 3 months. Just make sure to wrap it tightly in plastic wrap and then aluminum foil.
Leftover Tenderloin Ideas
- Tenderloin Salad: Dice leftover tenderloin and add it to a salad. It's a delicious and easy way to use up leftovers.
- Tenderloin Tacos: Shred leftover tenderloin and use it in tacos. It's a great way to get a hearty and flavorful meal.
- Tenderloin Sandwiches: Slice leftover tenderloin and use it in sandwiches. It's a perfect lunch or dinner option.
(Part 8) FAQs: Your Tenderloin Questions Answered
Let's address some common questions you might have about tenderloin cooking:
1. Can I overcook tenderloin?
Absolutely! Overcooked tenderloin will be dry and tough. It's best to cook it to the desired doneness and then let it rest to ensure it's juicy and tender.
2. What's the best way to prevent tenderloin from drying out?
There are a few things you can do. First, cook it to the desired doneness and then let it rest for 10-15 minutes. Second, use a marinade or rub to help lock in moisture. And third, avoid overcooking it! Using a meat thermometer is a must-have tool to avoid this disaster.
3. How do I know when tenderloin is cooked?
The best way to determine the doneness of a tenderloin is to use a meat thermometer. It should be cooked to an internal temperature of 145°F (63°C) for medium-rare. You can also use the touch test, but this is a bit less reliable.
4. What are some good side dishes for tenderloin?
There are many delicious side dishes that pair well with tenderloin. Some of my favorites include mashed potatoes, roasted vegetables, wild rice pilaf, and a green salad. You can also get creative with your side dishes! Think about contrasting textures and flavors – for example, a creamy mashed potato with a crunchy roasted vegetable.
5. How do I make the best pan sauce for tenderloin?
Once the tenderloin is cooked, deglaze the pan with wine or broth. Then add butter and whisk until smooth. You can also add herbs and spices to taste. The drippings from the tenderloin will give the sauce an incredible depth of flavor.
There you have it, my friends. The ultimate guide to cooking tenderloin. Now you have the knowledge, skills, and confidence to create a truly unforgettable culinary experience. Go forth and conquer the world of tenderloin!
Everyone is watching

Prime Rib Roast Cooking Time Chart: Per Pound Guide
Cooking TipsPrime rib roast. Just the name conjures images of lavish dinners, crackling fires, and hearty laughter. It’s ...

How Long to Bake Potatoes in the Oven (Perfect Every Time)
Cooking TipsBaked potatoes are a staple in my kitchen. They're incredibly versatile, delicious, and surprisingly easy to m...

Perfect Rice Every Time: The Ultimate Guide to Cooking Rice
Cooking TipsAs a self-proclaimed foodie, I've always been a bit obsessed with rice. It's the foundation of countless cuisi...

The Ultimate Guide to Cooking Asparagus: Tips, Techniques, and Recipes
Cooking TipsAsparagus. The mere mention of this spring delicacy conjures up images of vibrant green spears, crisp and burs...

Ultimate Guide to Cooking the Perfect Thanksgiving Turkey
Cooking TipsThanksgiving. Just the word conjures up images of overflowing tables laden with delicious food, the scent of r...