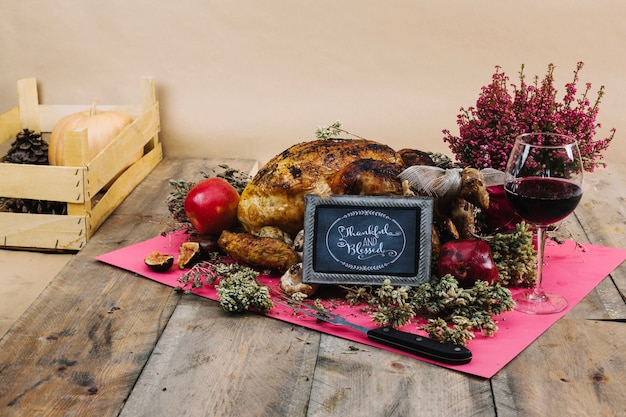
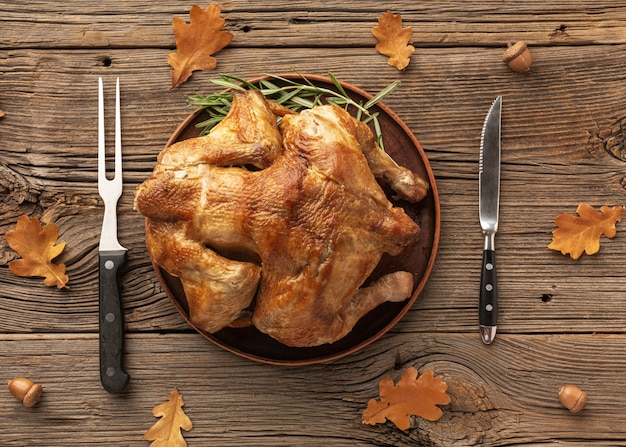
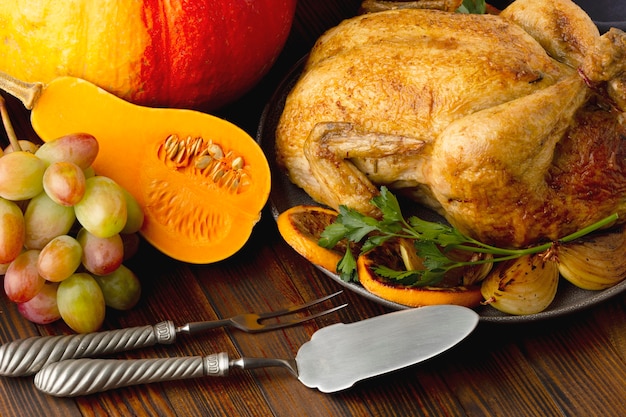
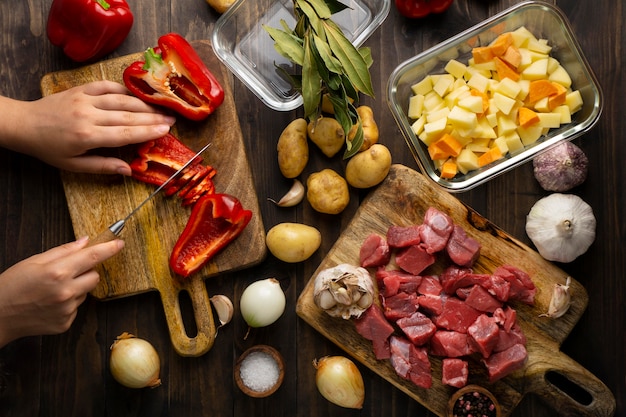
Right, folks, let's talk turkey – specifically, a whopping 20lb bird! That's a serious beast, perfect for a Christmas feast or a grand Thanksgiving gathering. But, let's be honest, the thought of cooking a turkey this size can be a bit daunting. Fear not, because I'm here to guide you through the process, sharing my own hard-earned wisdom and a few insider tips. We'll cover everything from prepping the bird to roasting it to perfection, along with delicious side dishes and troubleshooting advice. So, grab your apron, gather your ingredients, and let's get cooking!
(Part 1)
The Big Bird: Getting Ready

First things first, let's get that turkey prepped. You know how it is, the anticipation builds with each step. You’ve got your 20lb turkey, probably plump and glistening, staring back at you from the fridge. Take a deep breath, we've got this!
Washing and Drying
Start by giving the turkey a good rinse under cold water. It’s best to remove any giblets and neck from the cavity at this point. Pat the turkey dry with paper towels – we want a dry surface for seasoning and browning.
Seasoning for Flavor
Now, the fun part - seasoning! You can go wild with herbs and spices, or keep it simple. Personally, I love a good salt-and-pepper rub with a touch of paprika for color. You can also add other spices like thyme, rosemary, garlic powder, or onion powder. Just remember to be generous, especially if you’re not brining.
Stuffing – A Bit of a Debate
Now, the eternal question: to stuff or not to stuff? It's a classic Thanksgiving dilemma. Personally, I prefer to cook the stuffing separately. It's a safer bet when you're dealing with a large turkey, plus, it gives you the flexibility to choose how you want your stuffing – crispy on the outside, fluffy on the inside, that’s my favourite!
But, if you're adamant about stuffing that turkey, make sure it's cooked to a safe temperature. The stuffing needs to reach 165°F (74°C) at the center. You can use a meat thermometer for that. And remember, it’s always best to avoid over-stuffing the bird, leave a little room for that lovely turkey to cook evenly.
Brining – A Flavor Boost
Here’s a little secret: brining. It’s a simple yet game-changing trick for a juicy, flavorful turkey. Basically, you submerge the bird in a salt water solution for a few hours (or overnight) before cooking. This helps to retain moisture and enhance the flavour.
Now, you can find all sorts of fancy brines with fancy ingredients, but I like to keep it simple. Just salt, water, and maybe a splash of apple cider vinegar or lemon juice. A good brining session really makes a difference, trust me!
The Cooking Conundrum: Time and Temperature

Alright, let’s get down to the nitty-gritty – cooking times. Now, a 20lb turkey is no small feat. It needs plenty of time in the oven to cook through. Remember, we’re aiming for an internal temperature of 165°F (74°C) for the breast and 180°F (82°C) for the thigh, to ensure that it's safe to eat.
(Part 2)
Oven Temperature: The Sweet Spot
Most ovens work best at 325°F (165°C). Keep an eye on the turkey, don’t be afraid to use a meat thermometer to check the internal temperature. I usually cook a 20lb turkey for about 3-4 hours, but remember, that’s just a guideline. The best way to know for sure is to use a thermometer.
Resting – The Secret to Tenderness
Once the turkey is cooked, let it rest for at least 30 minutes before carving. This is a crucial step! It allows the juices to redistribute throughout the meat, ensuring you get a juicy, tender turkey. You can use this time to prep your sides and gather everyone around for the feast.
roasting techniques: Unleashing the Flavors

Now, there are a few different ways to roast a turkey. Each has its own quirks and charm, so let's explore a few:
1. The Classic Roast: Simple and Reliable
The classic roast is a tried-and-true method. Simply place the turkey in a roasting pan, breast side up, and let it cook in a preheated oven. I like to add a little bit of butter or olive oil to the pan, along with herbs and spices. This will help to create a crispy skin and flavorful juices.
2. The Spatchcock Method: Faster and More Even
The spatchcock method involves removing the backbone of the turkey and flattening it out. This allows the turkey to cook faster and more evenly, giving you a crispier skin and juicier meat. It's also easier to carve! To spatchcock, use a sharp knife to cut along both sides of the backbone. Then, remove the backbone and flatten the turkey breast side down.
3. The Dry Brine: Maximizing Crispness
Dry brining is a great way to achieve a crispy skin. Simply rub the turkey with a mixture of salt and spices, then let it sit uncovered in the fridge for 12-24 hours. The salt draws out moisture, then reabsorbs it back into the meat, resulting in a super juicy and flavorful bird.
Essential Tools for a Turkey Triumph
Here are a few essential tools that will make your turkey cooking experience a breeze:
- Roasting pan: A good roasting pan is a must-have for a large turkey. Look for one with a rack, to ensure even cooking and to allow the fat to drain. A roasting pan with a V-shaped rack will help to ensure even cooking and will also help to prevent the turkey from sticking to the pan.
- Meat thermometer: A reliable meat thermometer is your best friend when it comes to turkey cooking. It allows you to check the internal temperature accurately and ensure that the bird is cooked to perfection. You can find a variety of meat thermometers, from digital to analog. Choose one that is easy to use and accurate.
- Sharp knife: A sharp knife is essential for carving the turkey. A carving knife with a thin, flexible blade is ideal for slicing through the meat cleanly. Make sure to sharpen your knife before carving to prevent tearing the meat.
- Basting spoon: A basting spoon is useful for keeping the turkey moist during cooking. You can use it to spoon melted butter or pan juices over the bird. It helps to prevent the turkey from drying out and keeps the skin from burning.
- Kitchen twine: Kitchen twine is handy for tying the turkey legs together, which helps to prevent them from drying out during cooking. It also helps to keep the turkey in a compact shape, which will help it cook more evenly.
(Part 3)
Side Dishes: Accompanying the Feast
No turkey feast is complete without a selection of delicious side dishes. Here are a few of my favorites that pair perfectly with a roasted turkey:
1. Stuffing: The Traditional Companion
Stuffing is a must-have at any turkey feast. There are endless variations, from classic sage and onion to more adventurous flavors like cranberry and sausage. I always try to incorporate a variety of textures and flavors, using bread, vegetables, herbs, and spices. You can make stuffing ahead of time and bake it separately in a casserole dish, or you can stuff the turkey before roasting.
2. Roasted Vegetables: A Side of Goodness
Roasted vegetables are a healthy and flavorful addition to any turkey meal. They complement the savory flavors of the bird beautifully. My favorites include carrots, Brussels sprouts, potatoes, and butternut squash. I like to toss them with olive oil, salt, pepper, and herbs, then roast until tender and slightly caramelized. You can roast vegetables in the same oven as the turkey, or you can bake them separately.
3. Cranberry Sauce: A Sweet and Tart Contrast
Cranberry sauce provides a delightful sweet and tart contrast to the savory flavors of the turkey. It's simple to make, requiring only cranberries, sugar, and a little bit of orange zest or juice. You can also add spices like cinnamon and ginger for an extra kick. You can make cranberry sauce ahead of time and store it in the refrigerator until you're ready to serve.
4. Gravy: The Perfect Finishing Touch
Gravy is an essential finishing touch for a turkey dinner. It adds richness and moisture to the meal, and it's delicious poured over the turkey or mashed potatoes. You can make gravy from the turkey drippings or use a store-bought base. Just be sure to whisk it continuously over low heat to prevent it from lumping.
(Part 4)
Troubleshooting Tips: Handling Any Challenges
Even the most experienced cooks can encounter a few challenges when roasting a turkey. Here are a few troubleshooting tips to help you stay calm and carry on:
1. Dry Turkey: A Common Dilemma
A dry turkey is a common problem, especially with a large bird. To prevent this, make sure to baste the turkey regularly during cooking. You can use a mixture of butter, pan juices, and herbs. And remember to let the turkey rest for at least 30 minutes after cooking. Basting helps to keep the turkey moist and flavorful.
2. Overcooked Turkey: The Opposite Extreme
On the flip side, an overcooked turkey can be tough and dry. To avoid this, use a meat thermometer to check the internal temperature. Once the turkey reaches 165°F (74°C) for the breast and 180°F (82°C) for the thigh, it's done!
3. Burnt Skin: A Culinary Frustration
Burnt skin is another common issue. To prevent this, tent the turkey with aluminum foil for the first half of the cooking time. This will help to keep the skin from drying out and burning. Remove the foil for the final 30 minutes of cooking to allow the skin to crisp up.
Tips for a Perfect Presentation
You've got the turkey cooked to perfection, and you've prepared a delicious spread of side dishes. Now it's time to present it all beautifully and wow your guests. Here are a few tips to help you create a stunning Thanksgiving table:
1. The Carving Ceremony: A Feast for the Eyes
The carving of the turkey is a traditional part of a thanksgiving meal. Choose a large, sturdy carving board and a sharp carving knife. When carving, be sure to slice the turkey against the grain to ensure tender pieces. If you're feeling fancy, you can even use a carving fork to hold the turkey in place while you carve.
2. Arrange It Beautifully: A Feast for the Eyes
Arrange the turkey on a platter with your chosen side dishes. Use a variety of serving dishes, bowls, and platters to create a visually appealing and interesting centerpiece for your table.
3. Garnish with Greenery: Adding a Touch of Elegance
Add a touch of elegance to your table by garnishing the turkey and side dishes with fresh herbs and vegetables. A few sprigs of rosemary, thyme, or parsley will add a burst of color and fragrance. You can also use a lemon or lime slice as a garnish.
4. A Touch of Color: Using Serving Dishes
Choose serving dishes in a variety of colors and textures to complement your Thanksgiving table. White dishes with a hint of gold or silver will create a classic and elegant look. You can also use rustic wooden bowls and platters for a more casual and cozy feel.
FAQs: Addressing Common Questions
Now, you’re probably sitting there, thinking, “Okay, this is great information, but I still have questions!” Well, that’s what I’m here for. Let’s tackle some of the most common questions.
1. How long does it take to cook a 20lb turkey?
It’s hard to give an exact time, but as a general rule, you’ll need about 3-4 hours at 325°F (165°C). However, the best way to know for sure is to use a meat thermometer to check the internal temperature.
2. How do I know when the turkey is cooked?
The turkey is done when the internal temperature reaches 165°F (74°C) for the breast and 180°F (82°C) for the thigh. You can use a meat thermometer to check this.
3. What happens if the turkey is overcooked?
If the turkey is overcooked, it will be dry and tough. To avoid this, make sure to use a meat thermometer and check the internal temperature regularly.
4. How do I prevent the turkey skin from burning?
You can prevent the turkey skin from burning by tenting it with aluminum foil for the first half of the cooking time. Remove the foil for the final 30 minutes of cooking to allow the skin to crisp up.
5. How do I make gravy from the turkey drippings?
To make gravy from the turkey drippings, first, remove the turkey from the roasting pan and set it aside. Then, pour off the excess fat from the pan and deglaze the pan with a cup of wine or broth. Stir in cornstarch or flour and bring to a simmer, stirring constantly until the gravy thickens. You can add salt, pepper, and other seasonings to taste.
The Final Word: Confidence in the Kitchen
There you have it! I hope this guide has given you the confidence to tackle a 20lb turkey with ease. Remember, practice makes perfect, and don't be afraid to experiment with different flavors and techniques. Most importantly, enjoy the process! Cooking a turkey for a special occasion is about creating memories and sharing a delicious meal with loved ones.
So, gather your ingredients, don your apron, and get ready to create a turkey masterpiece! Happy cooking!
Everyone is watching

Perfect Rice Every Time: The Ultimate Guide to Cooking Rice
Cooking TipsAs a self-proclaimed foodie, I've always been a bit obsessed with rice. It's the foundation of countless cuisi...

Ultimate Guide to Cooking the Perfect Thanksgiving Turkey
Cooking TipsThanksgiving. Just the word conjures up images of overflowing tables laden with delicious food, the scent of r...

The Ultimate Guide to Cooking Asparagus: Tips, Techniques, and Recipes
Cooking TipsAsparagus. The mere mention of this spring delicacy conjures up images of vibrant green spears, crisp and burs...

Can You Cook Spaghetti with Gasoline? (The Shocking Truth)
Cooking TipsWe've all seen those crazy internet trends. You know, the ones that make you wonder, "Did someone actually try...

Chorizo and Eggs Recipe: The Ultimate Guide
Cooking TipsRight, let’s talk about chorizo and eggs. You know, that classic Spanish dish that's always a winner. It's th...
