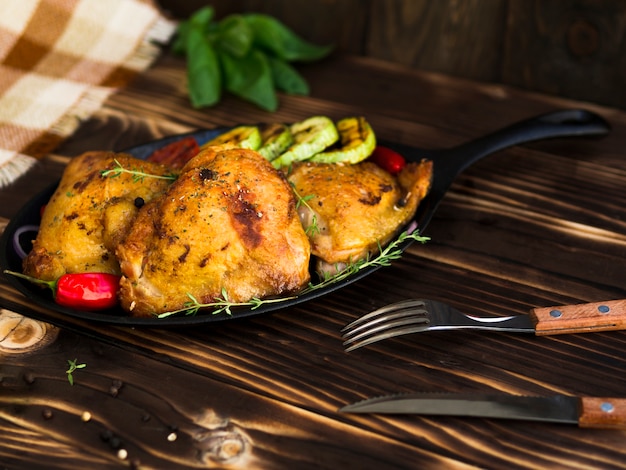
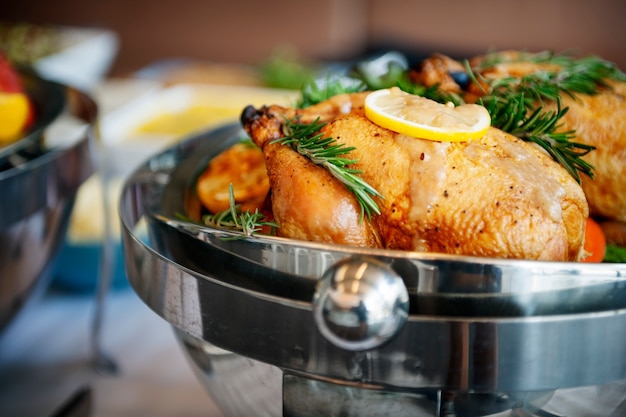
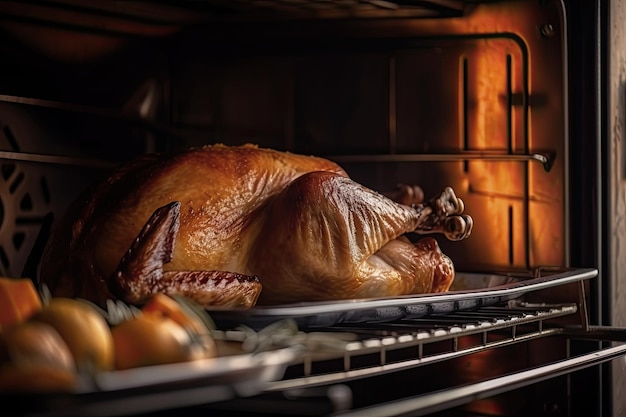
Alright, let's talk about spatchcocking. You know, it's one of those things that sounds a bit odd when you first hear it, like a funny word from a children's book. But trust me, once you've tried spatchcocking a chicken, you'll be singing its praises. It's a true game-changer in the kitchen, and I'm not just saying that because I've been spatchcocking for years. It's become my go-to method for cooking chicken. It's so much quicker and easier than roasting a whole chicken, and the results are absolutely mouthwatering. Plus, it looks pretty impressive when you serve it up. It's a real conversation starter, believe me! So, what exactly is spatchcocking? Well, it's basically flattening a chicken out. You remove the backbone, then lay it flat, which allows it to cook more evenly and in a much shorter time. This is a revelation, especially for those of us who, like me, have spent countless hours trying to cook a chicken evenly, only to end up with dry breast meat and undercooked legs.
(Part 1) Getting Started

First things first, let's talk about what you need. The great thing about spatchcocking is that it's incredibly simple and you don't need a whole lot of fancy equipment. You'll just need a few basic things, which you probably already have in your kitchen.
What You Need
- A whole chicken (about 1.5 kg). Choose a good quality chicken. Fresh or frozen, it's up to you.
- A sharp knife or poultry shears. A good quality sharp knife makes a big difference when spatchcocking.
- A cutting board. Choose a cutting board that's sturdy and large enough to accommodate the chicken.
- A baking tray. A baking tray will catch any drips and keep your oven clean.
- A roasting tin. This is useful for making gravy from the pan juices.
That's really all you need to get started! Simple, right? Now, let's talk about how to actually spatchcock that chicken.
(Part 2) Spatchcocking: The Technique

Here's the breakdown, step by step. Don't worry, it's a lot easier than it sounds. Just follow the steps and you'll be a spatchcocking pro in no time.
Step 1: Prep the Chicken
Start by patting the chicken dry with kitchen paper. This will help the skin to crisp up nicely. Then, turn it over so the breast is facing up. You'll see a little line of fat running down the backbone - give it a good wiggle to make sure it's loosened up. It's a bit fiddly, but you'll get the hang of it.
Step 2: Remove the Backbone
Now comes the part that makes spatchcocking so brilliant - removing the backbone! With your sharp knife or poultry shears, carefully cut along either side of the backbone. You don't have to be super precise, just cut through the bone. Once you've cut along both sides, carefully lift the backbone out of the chicken. It should come out quite easily.
Don't throw away the backbone! You can always use that backbone to make a tasty chicken stock later – it's a good tip to save it rather than just throwing it away.
Step 3: Flatten the Chicken
Now, with the backbone gone, you need to flatten the chicken. Flip it over so the breast is facing down. Now, carefully press down on the breastbone to flatten the chicken. You can use your hand or a heavy object like a saucepan. Don't worry if you hear a few cracks - that's just the chicken bones giving way. You'll see the chicken flatten quite easily.
Step 4: Season and Ready to Cook
Once you've flattened the chicken, it's time to season it. This is the fun part, where you can really make the chicken your own. I like to rub it all over with olive oil, salt, pepper, and some herbs. Rosemary is a classic choice, but you can use anything you like - thyme, oregano, or even a bit of paprika for a bit of colour. You can even stuff some lemon wedges or garlic cloves into the cavity if you want to get fancy. The possibilities are endless! Once seasoned, you can either leave it to marinade for a while, or pop it straight in the oven.
(Part 3) Cooking the Chicken

Step 1: Preheat the Oven
Get your oven preheated to 200°C (400°F) fan-forced. This ensures the chicken cooks quickly and evenly. I always use a baking tray and roasting tin to catch any drips, so the oven doesn't get messy. It's also a good idea to line the baking tray with some baking paper to make cleanup even easier.
Step 2: Place the Chicken in the Oven
Once the oven is hot, put the chicken on the baking tray and into the oven. It should cook for about 30-40 minutes, or until the thickest part of the thigh registers 74°C (165°F) on a meat thermometer. The chicken will be nice and juicy, and the skin will be beautifully golden brown. You'll know it's done when the juices run clear when you pierce the thickest part of the thigh.
Step 3: Rest and Serve
When the chicken is cooked, remove it from the oven and let it rest for about 10 minutes before carving. This allows the juices to redistribute throughout the meat. It also prevents the chicken from drying out, and ensures it's nice and tender. Let the chicken rest on a cutting board, covered with foil.
(Part 4) Serving the Chicken
You can serve the chicken with a variety of sides, which is what makes it so versatile. I love a good roast potato, some steamed vegetables, and a lovely gravy. You can also make a delicious salad to serve alongside the chicken. It's really up to you! It's always a winner, and the perfect dish for a weeknight dinner or a special occasion. It even impresses guests!
(Part 5) Time Considerations
Now, let's talk about time. The beauty of spatchcocking is that it significantly reduces the cooking time compared to a whole chicken. A regular roasting chicken takes around an hour and a half to cook, while a spatchcock chicken takes just 30-40 minutes. It's a real time-saver, especially if you're short on time during the week. It makes a weeknight meal so much easier to manage!
You can also make a quick gravy from the pan juices. Just add a tablespoon of butter and a tablespoon of flour to the roasting tin and stir until combined. Then, add a cup of chicken stock and simmer until thickened. Easy peasy!
(Part 6) Variations and Tips
Variations
There are so many ways to vary your spatchcocked chicken. Here are a few ideas to get you started:
- Lemon and Herb: Stuff the cavity with lemon wedges and herbs like thyme and rosemary. You can also make a lemon and herb butter to spread on top. This gives the chicken a lovely fresh flavour.
- Garlic and Rosemary: Rub the chicken with garlic cloves, rosemary, and a drizzle of olive oil. This is a classic combination that always works well.
- Spicy: Add a touch of heat with some chili flakes or a dollop of harissa paste. This is a great option for those who like a bit of spice.
- Honey-Glazed: Before roasting, brush the chicken with a honey glaze. It’s a sticky and sweet treat that adds a beautiful flavour to the chicken.
- Asian Inspired: Marinate the chicken in a mixture of soy sauce, ginger, garlic, and sesame oil. This gives the chicken a delicious Asian flavour.
Tips for Success
Here are a few more tips to help you make a perfect spatchcock chicken:
- Use a sharp knife or poultry shears: This will make removing the backbone a lot easier and safer. It's important to use a sharp knife to avoid slipping.
- Flatten the chicken well: This ensures even cooking and prevents the chicken from sticking to the baking tray. It will also help the skin to crisp up.
- Don’t overcrowd the baking tray: Give the chicken some space to cook evenly.
- Use a meat thermometer: This is the best way to ensure the chicken is cooked through. A meat thermometer is a must-have for any cook.
- Don’t overcook the chicken: It’s important to cook the chicken to the right temperature, but you don’t want to overcook it. This will make the meat dry.
(Part 7) The Benefits of Spatchcocking
So, why spatchcock? Well, it's a real winner for all sorts of reasons. Let’s break it down:
Faster Cooking Time
Spatchcocking significantly reduces the cooking time. The chicken cooks much faster because it's flat and exposed to the heat. That's a big plus for busy weeknights when you need a quick meal.
More Even Cooking
It also cooks more evenly. By flattening the chicken, you ensure that all parts cook at the same rate, eliminating the risk of dry breast meat and undercooked legs. This is a huge benefit, and it’s one of the reasons why I love spatchcocking.
Juicy and Flavorful
The skin gets nice and crispy, while the meat stays incredibly juicy and flavorful. This is a game-changer for chicken - it's a step up from roasting a whole chicken, I tell you!
Easy to Serve
Finally, it's easy to serve. Since the chicken is flat, it's easy to carve and serve. This is a real benefit for those of us who don’t particularly enjoy carving a whole chicken.
(Part 8) Spatchcock chicken recipe
Now, for a delicious spatchcock chicken recipe to get you started. This is a simple but tasty recipe that you can easily adapt to your taste.
Ingredients
- 1 whole chicken (about 1.5 kg)
- 2 tablespoons olive oil
- 1 teaspoon salt
- 1/2 teaspoon black pepper
- 1 tablespoon dried rosemary
- 1 lemon, cut into wedges
Instructions
- Preheat the oven to 200°C (400°F) fan-forced.
- Spatchcock the chicken by removing the backbone and flattening it.
- Rub the chicken with olive oil, salt, pepper, and rosemary.
- Place the chicken on a baking tray and stuff the cavity with lemon wedges.
- Roast for 30-40 minutes, or until the thickest part of the thigh registers 74°C (165°F) on a meat thermometer.
- Let the chicken rest for 10 minutes before carving.
- Serve with your favorite sides.
(Part 9) Spatchcock Chicken Oven Time Chart
Here’s a handy chart to give you a rough estimate of how long to cook your spatchcock chicken based on its weight. This is just a guideline, and you may need to adjust the cooking time depending on your oven. It’s always best to use a meat thermometer to make sure the chicken is cooked through.
| Weight (kg) | Oven Time (minutes) |
|---|---|
| 1.0 | 25-30 |
| 1.5 | 30-40 |
| 2.0 | 40-50 |
(Part 10) FAQs
Here are a few common questions about spatchcocking, and their answers:
1. Can I spatchcock any kind of poultry?
Absolutely! Spatchcocking works well for any type of poultry, including chicken, duck, goose, and turkey. Just adjust the cooking time accordingly. For example, a duck will need to cook for a bit longer than a chicken.
2. What if I don’t have poultry shears?
You can use a sharp knife to remove the backbone. Just be careful and make sure the knife is sharp enough to cut through the bone without slipping. You can also use the back of your knife to flatten the chicken.
3. Can I spatchcock a frozen chicken?
It’s not recommended. It’s best to thaw your chicken completely before spatchcocking it. This allows you to cut through the bone more easily and ensure that the chicken cooks evenly.
4. Can I grill a spatchcock chicken?
Yes, you can grill a spatchcock chicken! It’s a great way to get that lovely chargrilled flavour. Just make sure you have a grill that’s big enough to accommodate the whole chicken. It’s best to grill over medium heat and ensure that the chicken is cooked through.
5. What’s the best way to store leftover spatchcock chicken?
Let the chicken cool completely and then store it in an airtight container in the refrigerator for up to 3 days. You can reheat it in the oven or microwave. It’s delicious in a salad or sandwich.
I hope you found this guide helpful. If you have any questions about spatchcocking, leave a comment below and I'll do my best to help. Happy spatchcocking!
Everyone is watching

Prime Rib Roast Cooking Time Chart: Per Pound Guide
Cooking TipsPrime rib roast. Just the name conjures images of lavish dinners, crackling fires, and hearty laughter. It’s ...

How Long to Bake Potatoes in the Oven (Perfect Every Time)
Cooking TipsBaked potatoes are a staple in my kitchen. They're incredibly versatile, delicious, and surprisingly easy to m...

Perfect Rice Every Time: The Ultimate Guide to Cooking Rice
Cooking TipsAs a self-proclaimed foodie, I've always been a bit obsessed with rice. It's the foundation of countless cuisi...

The Ultimate Guide to Cooking Asparagus: Tips, Techniques, and Recipes
Cooking TipsAsparagus. The mere mention of this spring delicacy conjures up images of vibrant green spears, crisp and burs...

Ultimate Guide to Cooking the Perfect Thanksgiving Turkey
Cooking TipsThanksgiving. Just the word conjures up images of overflowing tables laden with delicious food, the scent of r...
