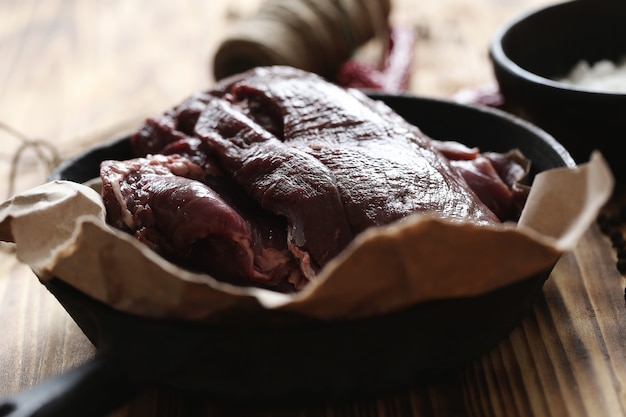
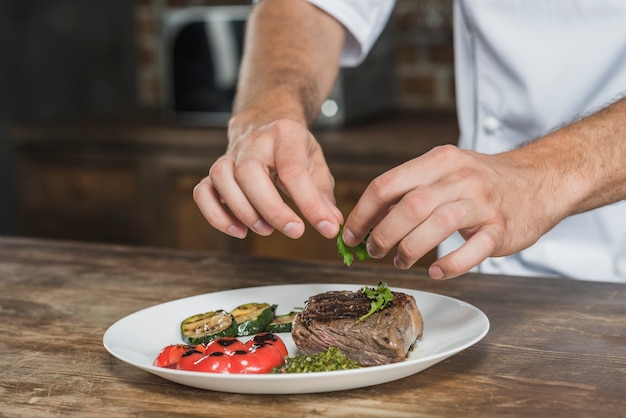
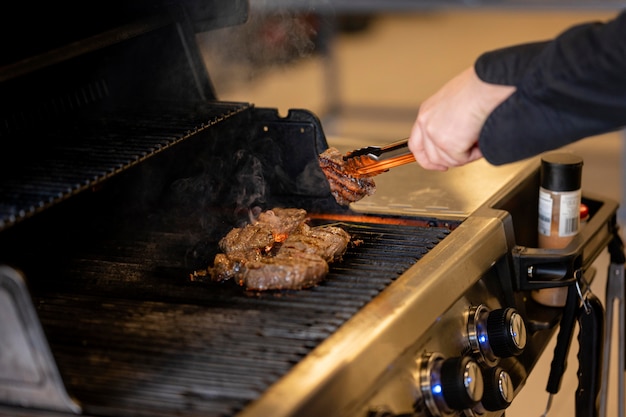
Ah, roast beef. The mere mention conjures up images of glistening, succulent slices, a symphony of savory aromas, and a table brimming with friends and family. It’s a dish that evokes a sense of warmth and comfort, a celebration of good food and good company. But let’s face it, getting that perfect roast beef isn’t always a walk in the park. It takes a bit of know-how to avoid a dry, disappointing outcome. So, strap in, fellow food enthusiasts, because I’m about to spill all my secrets for achieving a truly remarkable roast beef, from picking the perfect cut to mastering the art of temperature control.
(Part 1) Choosing Your Champion: The Cut

The first step in your roast beef journey is selecting the right cut. This decision will largely determine the final texture and flavor of your masterpiece. I’ve learned this the hard way, having once foolishly attempted to roast a brisket (talk about a lesson in toughness!). So, let’s stick to the cuts that consistently deliver a succulent, flavorful experience.
A Lineup of Legends: Popular Cuts for Roast Beef
For a classic, crowd-pleasing roast beef, you can’t go wrong with either a rib roast or a sirloin roast. These cuts hail from the rib and loin sections, respectively, and are renowned for their tenderness and rich flavor. Here’s a glimpse into their unique characteristics:
- Rib Roast (prime rib): This is the king of roast beef cuts, a true champion of flavor and tenderness. Its generous marbling contributes to a mouthwatering juiciness that’s simply unmatched. It’s often sold as “prime rib,” and it’s a cut worthy of special occasions. While it can be on the pricier side, the experience it offers is truly unforgettable.
- Sirloin Roast: A more budget-friendly alternative to its rib-roasting counterpart, the sirloin roast still delivers on flavor. It tends to be leaner, so it might require a little extra attention to prevent dryness during cooking.
Now, for those seeking a leaner and more affordable option, the top round roast is a solid contender. This cut is known for its versatility and can be a great choice for smaller gatherings or when budget is a concern. However, its lean nature makes it prone to dryness, so a well-executed cooking technique is crucial for success.
The Size Matters: A Roast for Every Gathering
Once you've chosen your cut, consider the size of your gathering. A larger roast, naturally, will take longer to cook. This makes it ideal for big feasts or if you love the idea of delicious leftovers. Smaller roasts are perfect for intimate gatherings or when you crave a quicker meal. My personal preference is a 3-4 pound roast for a small family, but for a hungry crowd, a 6-8 pound roast will be more than sufficient.
And now, we come to the heart of the matter, the factor that truly defines a successful roast: the cooking temperature.
(Part 2) Unlocking the Secrets of Temperature: Doneness Defined

Ah, doneness. This is where personal preferences reign supreme. Some folks love their roast beef rare, others swear by medium-rare, and then there are those who prefer a well-done finish. There’s no right or wrong answer, it’s all about what tickles your taste buds. But to achieve that perfect level of doneness, you need to understand the role of cooking temperature.
A Guide to Doneness: The Temperature Chart
Here’s a handy chart that outlines the different levels of doneness, along with their corresponding internal temperatures. Think of it as your roadmap to roast beef nirvana:
| Doneness Level | Internal Temperature (°F) | Internal Temperature (°C) |
|---|---|---|
| Rare | 125-130°F | 52-54°C |
| Medium-Rare | 130-135°F | 54-57°C |
| Medium | 135-140°F | 57-60°C |
| Medium-Well | 140-145°F | 60-63°C |
| Well Done | 145°F and above | 63°C and above |
Bear in mind, these are simply guidelines. You might discover your ideal doneness lies slightly outside these ranges. The key is to use a reliable meat thermometer to check the internal temperature. This is the only way to ensure that your roast reaches the exact level of doneness you desire.
Now, let’s dive into the practical side of things. How do we actually roast this beautiful piece of meat to perfection?
(Part 3) Mastering the Roast: Techniques for Triumph

You’ve got your cut, you’ve got your desired temperature, but now we need to combine those elements to create culinary magic. We’re talking about achieving that irresistible crust, the juicy, tender interior, the aroma that fills your entire home with a sense of irresistible anticipation. Over the years, I’ve fine-tuned my roasting technique, and I’m excited to share the secrets that have consistently delivered delicious results.
The Power of Prep: A Foundation for Success
Start by giving your roast a thorough pat down with paper towels. This simple step helps to achieve a beautifully crisp crust, a key element of a truly satisfying roast. Next, generously season with salt and pepper. Don’t be shy! A robust seasoning adds depth and complexity to the overall flavor profile.
Now, for a little bit of fat magic! A generous layer of fat will keep your roast incredibly juicy and flavorful. If your cut is on the leaner side, don’t hesitate to add a few strips of bacon or a dollop of butter to the top. I also love to rub some olive oil all over the roast for that extra flavor boost.
The Cooking Symphony: Temperature and Time
Preheat your oven to a fiery 450°F (232°C). This high heat is crucial for creating that stunning crust on the outside of the roast. Once the oven is scorching hot, carefully place your seasoned beauty inside. Now comes the part where patience reigns supreme. Let the roast sear for about 15 minutes per pound, creating a glorious crust on all sides.
After those initial 15 minutes, reduce the oven temperature to 325°F (163°C). This lower temperature allows the roast to cook more evenly, ensuring a tender and juicy interior. Continue cooking until the internal temperature reaches your desired level of doneness.
The Art of Rest: A Final Touch of Perfection
Your roast is done! But before you succumb to the temptation of slicing into it, resist for just a few moments longer. Let it rest for at least 15 minutes. I know, it’s hard to wait, but this crucial step allows the juices to redistribute throughout the roast, resulting in an even juicier and more flavorful experience.
Cover the roast loosely with foil and let it rest on the counter while you whip up a batch of gravy. You can even use the drippings from the roasting pan to create a delicious, homemade gravy – more on that shortly.
(Part 4) The Art of the Slice: Unveiling a Culinary Masterpiece
The roast is rested, the gravy is simmering, and your guests are buzzing with anticipation. It’s time for the grand finale: slicing the roast. This step is crucial for showcasing the beautiful results of all your hard work.
Carving with Confidence: A Skill to Master
First, equip yourself with a sharp, long-bladed carving knife. A good carving knife makes all the difference. Use a carving fork to hold the roast steady, and cut against the grain. This means slicing perpendicular to the direction of the muscle fibers, ensuring tender and juicy slices that melt in your mouth.
Presenting the Feast: A Culinary Triumph
Once you’ve carved the roast, arrange the slices artfully on a platter. Drizzle some of that homemade gravy over the slices, adding a touch of richness and flavor. Now you’re ready to serve! Don’t forget to pair your roast with your favorite sides, such as roasted vegetables, creamy mashed potatoes, or a traditional Yorkshire pudding.
(Part 5) The Gravy Goddess: A Rich and Delicious Companion
No roast beef is complete without a delicious, homemade gravy. It’s the perfect complement, adding an extra layer of richness and depth that takes the entire meal to a whole new level.
The Gravy Recipe: A Simple Symphony of Flavor
Here's my tried-and-true gravy recipe, a classic that never fails to impress. You’ll need the drippings from the roasting pan, a bit of flour, and some flavorful broth.
1. Deglaze the Pan: Pour off any excess fat from the roasting pan, leaving about 2 tablespoons behind. Add a tablespoon of flour to the pan and whisk it around to coat the bottom. This process, known as deglazing, releases all the flavorful bits that have clung to the pan during roasting.
2. Broth Infusion: Pour in about 1 cup of beef broth or water, and whisk it all together, scraping the bottom of the pan to incorporate any remaining bits.
3. Simmer to Perfection: Bring the mixture to a boil, then reduce the heat and simmer for a few minutes, stirring occasionally, until the gravy thickens to your desired consistency. If it’s too thick, add a bit more broth; if it’s too thin, add a sprinkle of flour.
4. Seasoning Magic: Season the gravy with salt and pepper to taste. I like to add a touch of thyme or rosemary for a hint of herbal complexity.
5. Strain for Smoothness: If you prefer a super smooth gravy, strain it through a fine-mesh sieve.
(Part 6) The Leftover Legacy: culinary adventures Beyond the Roast
Let’s face it, leftovers are the best part of a roast! But why settle for a simple reheated meal when you can unleash your culinary creativity and turn those leftovers into something truly remarkable?
Beyond the Sandwich: Reimagining Leftover Roast Beef
Here are a few ideas to inspire your leftover transformation:
- Roast Beef Hash: Dice the leftover roast beef and sauté it with onions, potatoes, and peppers. This is a hearty and flavorful dish, perfect for breakfast or dinner.
- Beef Stew: Chunk up the leftover roast beef and add it to your favorite stew recipe. It’s a comforting and satisfying meal for a cold night.
- Beef and Cheese Quesadillas: Slice the leftover roast beef and add it to quesadillas with your favorite cheese and toppings. This is a quick and easy lunch or snack that’s sure to please.
- Beef Salad: Slice the leftover roast beef and add it to a salad with your favorite vegetables and dressing. This is a light and refreshing option, perfect for a warm day.
(Part 7) FAQs: Your Burning Roast Beef Questions Answered
I know you have questions. That’s why I’ve compiled a list of the most frequently asked questions about roast beef, and I’m ready to share my expertise.
1. Can I Use a Frozen Roast?
While tempting, I wouldn’t recommend using a frozen roast. It won’t cook evenly, and the end result might be tough and chewy. The best approach is to thaw the roast in the refrigerator overnight before cooking.
2. What if I Don’t Have a Meat Thermometer?
While a meat thermometer is the most accurate way to check for doneness, you can use a few tricks. Press on the roast: If it feels firm, it’s well done. If it feels springy, it’s medium. And if it feels soft, it’s rare. But again, a meat thermometer is the most reliable way to ensure your desired level of doneness.
3. How Do I Keep the Roast From Drying Out?
The key is to avoid overcooking. That trusty meat thermometer will be your best friend here! Also, choose a high-quality roast with good marbling for extra juiciness. And don’t forget to give the roast a proper rest after cooking – this helps to lock in the moisture.
4. Can I Use a Different Type of Broth for the Gravy?
Absolutely! Experiment with different broths to find your perfect flavor combination. chicken broth, vegetable broth, or even red wine can create a delicious and unique gravy.
5. What are Some Good Sides to Serve with Roast Beef?
The possibilities are endless! Here are a few classic pairings:
- Roasted Vegetables: Carrots, potatoes, Brussels sprouts, asparagus – the list goes on! Simply roast them in the oven with a bit of olive oil and your favorite seasoning.
- Mashed Potatoes: Creamy and comforting, mashed potatoes are the quintessential side dish for roast beef.
- Yorkshire Pudding: This fluffy, savory bread is a traditional British side dish that's cooked in the oven alongside the roast beef. It’s a truly delicious addition to any roast beef dinner.
(Part 8) More Than Just a Meal: Creating Memories with Every Slice
You see, making a roast beef is more than just cooking a meal. It’s about creating memories. It’s about gathering with loved ones, sharing a delicious meal, and creating moments that will be cherished long after the last slice is gone. So, don’t be afraid to dive into the world of roast beef. Even if it’s not perfect the first time, you’ll learn something new with every attempt. Remember, the most important ingredient is love, and that shines through in every bite.
So, what are you waiting for? Preheat your oven, choose your favorite cut, and get ready to embark on a culinary adventure that will delight your senses and leave your guests wanting more. Your family and friends will thank you for it!
Everyone is watching

Prime Rib Roast Cooking Time Chart: Per Pound Guide
Cooking TipsPrime rib roast. Just the name conjures images of lavish dinners, crackling fires, and hearty laughter. It’s ...

How Long to Bake Potatoes in the Oven (Perfect Every Time)
Cooking TipsBaked potatoes are a staple in my kitchen. They're incredibly versatile, delicious, and surprisingly easy to m...

Perfect Rice Every Time: The Ultimate Guide to Cooking Rice
Cooking TipsAs a self-proclaimed foodie, I've always been a bit obsessed with rice. It's the foundation of countless cuisi...

The Ultimate Guide to Cooking Asparagus: Tips, Techniques, and Recipes
Cooking TipsAsparagus. The mere mention of this spring delicacy conjures up images of vibrant green spears, crisp and burs...

Ultimate Guide to Cooking the Perfect Thanksgiving Turkey
Cooking TipsThanksgiving. Just the word conjures up images of overflowing tables laden with delicious food, the scent of r...
