Right, so you’re thinking of whipping up a prime rib, are you? It's a real showstopper, that's for sure. And when you get it right, it’s absolutely divine. But let's be honest, it can seem a bit daunting. There's the whole “roasting” thing, which can feel a bit, well, terrifying to the novice cook. But don't worry, you've got me on your side! I've been through the trials and tribulations of prime rib cookery myself, and I'm here to guide you through it all. Think of this as your personal primer to achieving that juicy, melt-in-your-mouth prime rib that'll have your guests singing your praises.
(Part 1) Choosing the Right Prime Rib: The Foundation of Success

First things first, you need to pick the perfect piece of prime rib. This is like choosing your dance partner for the evening – you want someone who's going to make the whole thing a success. Now, I’m talking about a good-quality cut of beef here, ideally a "standing rib roast," which is basically a cut of beef with the rib bones still attached. It's a classic for a reason – those bones add flavour to the meat as it roasts, giving it an extra depth of flavour.
Key Considerations:
- Marbling: Look for a cut with good marbling – those streaks of fat that run through the meat. It's the fat that gives you that juicy flavour. Think of it as the "secret ingredient." The more marbling, the more succulent the roast will be.
- Weight: The size of the roast depends on the number of people you're feeding. A good rule of thumb is about 1 pound of prime rib per person. However, if you're planning on having leftovers, you might want to go a bit heavier.
- Bone-in or Boneless: Bone-in roasts tend to have more flavour, as the bone adds depth and richness to the meat as it roasts. Boneless roasts, however, are easier to carve, and you can get a more even cook.
When I’m in the butcher shop, I’m always drawn to the bone-in cuts – they just look so impressive. But if I'm feeling lazy, I’ll go for a boneless one. It's all about personal preference, really. But let's be honest, a bone-in roast just looks more impressive, doesn't it?
(Part 2) Preparing the Prime Rib: The Art of Enhancing Flavour

Now, let’s get this prime rib ready for its star turn! It's all about a bit of pampering before it hits the oven.
Seasoning: The Key to a Delicious Crust
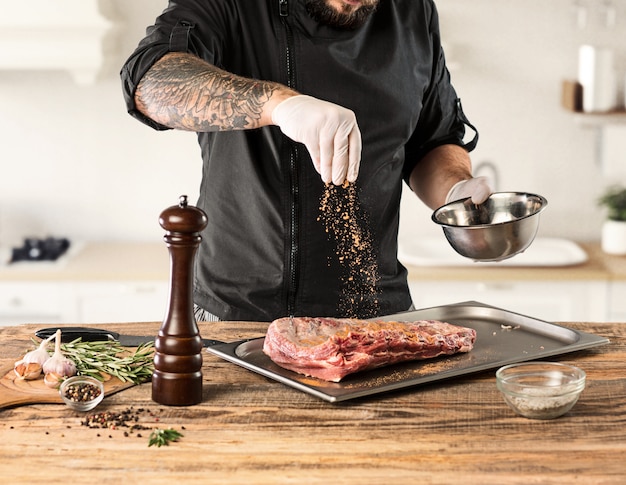
The art of seasoning a prime rib is a bit like finding the perfect outfit – you want it to be just right. There’s no one right way to do it, and you can get really creative. You can go for the classic salt and pepper combo, or maybe add a bit of garlic powder, onion powder, paprika, or even a pinch of cayenne pepper for a bit of kick. Don't be afraid to experiment! Some people swear by a dry rub, while others prefer to use a marinade. I love a good dry rub myself – I find it helps to keep the roast moist and creates a beautiful, crispy crust.
Marinade: Infusing Flavor from Within
If you’re feeling ambitious, a marinade can add another dimension of flavour to your prime rib. It’s a good way to infuse the meat with a more intense flavour profile. I often whip up a simple marinade with olive oil, lemon juice, garlic, and herbs. Just make sure to let it marinate for at least a few hours, or even better, overnight in the fridge. You want to make sure that the flavours have a chance to really penetrate the meat. It's like letting a good wine breathe before serving - it makes all the difference.
Patting Dry: The Crucial Step for a Crispy Crust
Once you've seasoned your prime rib, give it a good pat down with some kitchen paper. You want to get rid of any excess moisture, otherwise, you might end up with a steamed prime rib rather than a roasted one. I've learned that the hard way, trust me! A dry surface is key to achieving that beautiful, crispy crust.
(Part 3) Roasting the Prime Rib: The Heart of the Matter

Right, now we’re getting down to business! Roasting is the real test of your prime rib prowess. There’s a bit of a knack to it, but it’s not as complicated as it sounds.
Temperature: Searing Perfection
Firstly, let’s talk about the temperature. You want to roast your prime rib in a preheated oven at a high temperature, around 450°F (232°C), for the first 15 minutes. This is what’s called the “searing” phase. You want to get a nice crust on the outside of the meat – it's all about creating that delicious char. The high heat helps to seal in the juices and develop a flavorful crust.
Roast Time: Finding the Sweet Spot
After that initial sear, you need to lower the oven temperature to 325°F (163°C). You then need to factor in the roast time, which depends on the size of your prime rib and your desired level of doneness. The general rule of thumb is about 15 minutes per pound for medium-rare, 18 minutes per pound for medium, and 20 minutes per pound for well-done.
For example, if you have a 4-pound prime rib and want it medium-rare, you’d roast it for about 1 hour.
Resting Time: The Secret to Juiciness
Now here's a crucial step that many people overlook: resting. After you take the prime rib out of the oven, let it rest for at least 15 minutes before carving. This allows the juices to redistribute throughout the meat, resulting in a much juicier and tender prime rib. It's like giving your prime rib a little bit of a breather before the big reveal. Don't skip this step! It really makes a difference.
(Part 4) Checking the Doneness: Ensuring Perfect Results
You've got your roast in the oven, and the timer's ticking away. But how do you know when it's actually ready? You need to check the doneness to make sure your prime rib is cooked to your liking. I used to just go by the timer, but I learned the hard way that it’s not always accurate.
meat thermometer: The Ultimate Tool
The best way to check the doneness is with a meat thermometer. It's the ultimate weapon in your prime rib arsenal. Simply insert the thermometer into the thickest part of the roast, making sure it doesn’t touch any bone. If you're aiming for medium-rare, you want the internal temperature to reach 135°F (57°C). For medium, aim for 140°F (60°C), and for well-done, 150°F (65°C).
Rest Time: Letting the Temperature Settle
Remember, the internal temperature of the meat will continue to rise slightly even after you’ve taken it out of the oven. That's why the resting time is so important – it allows the internal temperature to stabilise. This ensures that the meat is cooked evenly and the juices are evenly distributed.
(Part 5) Carving the Prime Rib: The Grand Finale
Alright, your prime rib is cooked to perfection, it's had its well-deserved rest, and now it's time for the grand finale – carving. This is your moment to shine and show off your culinary skills.
Sharp Knife: The Key to Clean Cuts
Firstly, you'll need a sharp knife. I can't stress this enough. You want a knife that's going to slice through the meat cleanly, without tearing it. A serrated knife is ideal for cutting through bone, but a good chef's knife will work just as well. A dull knife will just make the carving process messy and frustrating.
Cutting Technique: Slicing Against the Grain
If you're using a bone-in roast, start by cutting the meat away from the bone. Then, cut across the grain, which is the direction the muscle fibres run. This will give you nice, even slices that melt in your mouth. Don't be afraid to ask your butcher to show you how to carve it if you’re unsure. They're usually happy to give you a quick lesson.
Presentation: Making Your Prime Rib Look as Good as it Tastes
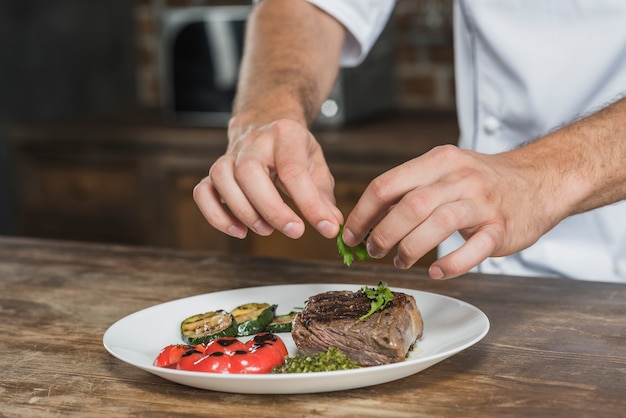
Now, here’s where you can really get creative with your presentation. You can arrange the slices on a platter, or even fan them out for a more dramatic effect. You can add some fresh herbs or a sprig of rosemary for a touch of elegance. It's all about making your prime rib look as good as it tastes. After all, presentation is half the battle!
(Part 6) Serving the Prime Rib: The Perfect Accompaniments
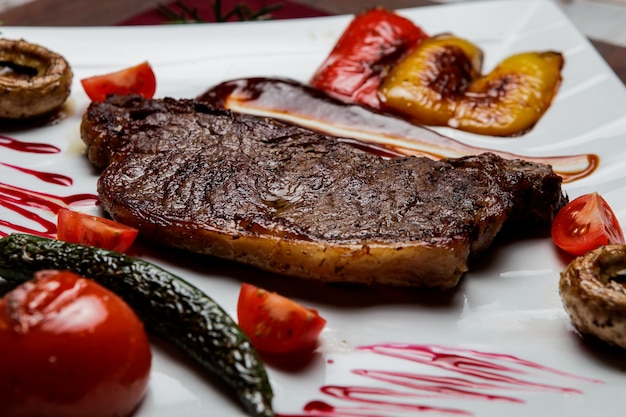
Your prime rib is carved and ready to go. Now it's time to serve up this delicious creation. I’m a bit of a traditionalist when it comes to serving prime rib. I always pair it with roasted vegetables, like potatoes, carrots, and asparagus. It's a classic combination for a reason. But feel free to get creative with your sides.
Sides: Enhancing the Flavor Profile
Here are a few other side dish ideas:
- Creamy mashed potatoes: A classic comfort food that pairs perfectly with the richness of the prime rib.
- roasted brussels sprouts with bacon: A delicious and slightly smoky side that adds a contrasting flavour to the prime rib.
- green beans with almonds: A fresh and light side that cuts through the richness of the prime rib.
- cauliflower cheese: A hearty and cheesy side that is sure to please everyone at the table.
Sauces: Adding a Touch of Magic
No prime rib is complete without a delicious sauce. I love a good red wine sauce, but you can also go for a horseradish sauce or a creamy mushroom sauce. You can even make your own sauce from the pan drippings. Just be sure to deglaze the pan with some red wine or stock to get all those flavorful bits off the bottom. It’s pure magic. The pan drippings are a treasure trove of flavor – don't waste them!
(Part 7) prime rib tips and Tricks: Elevating Your Skills
Now for some of my top tips and tricks to elevate your prime rib game. I've learned a thing or two over the years, and I'm happy to share them with you.
Temperature Consistency: Maintaining Even Cooking
To ensure consistent temperature throughout the roast, I recommend using a meat thermometer with a probe that stays in the meat. This way, you can monitor the internal temperature without having to open the oven door. This is especially useful for larger roasts, where the temperature can vary significantly from the centre to the edges.
Avoid Overcrowding: Giving the Roast Room to Breathe
If you’re roasting multiple prime ribs, make sure there’s enough space in the oven for them to cook evenly. If the oven is too crowded, the meat won't cook properly. The roast needs to have enough room to circulate air around it, allowing for even cooking.
Rest Time: The Key to Tenderness
Remember, the resting time is crucial. It allows the juices to redistribute throughout the meat. Resist the urge to carve it right away – it’s worth the wait! Allowing the roast to rest ensures that the juices are evenly distributed, resulting in a much more tender and juicy final product.
Leftovers: Turning Prime Rib into a Feast
If you have leftovers, don’t worry – they're just as good as the original. You can slice them up and reheat them in the oven or on the stovetop. You can also use the leftovers to make sandwiches, salads, or even a delicious prime rib hash. prime rib leftovers are a gift that keeps on giving!
(Part 8) FAQs: Answering Your Prime Rib Questions
Here are some of the most common questions I get about cooking prime rib:
Q1: What is the best cut of beef for prime rib?
A: The best cut is a "standing rib roast," which is a cut of beef with the rib bones still attached. It’s a classic for a reason, and it offers the best flavor and tenderness.
Q2: How do I know if my prime rib is cooked to the right temperature?
A: The best way to check is with a meat thermometer. You want to insert the thermometer into the thickest part of the roast, making sure it doesn’t touch any bone. For medium-rare, aim for 135°F (57°C), for medium, aim for 140°F (60°C), and for well-done, 150°F (65°C).
Q3: How long should I roast a prime rib?
A: The roast time depends on the size of the roast and your desired level of doneness. A good rule of thumb is about 15 minutes per pound for medium-rare, 18 minutes per pound for medium, and 20 minutes per pound for well-done.
Q4: What are some good side dishes to serve with prime rib?
A: I love to serve roasted vegetables like potatoes, carrots, and asparagus. But other great options include creamy mashed potatoes, roasted Brussels sprouts with bacon, green beans with almonds, or cauliflower cheese.
Q5: What is the best way to reheat leftover prime rib?
A: You can reheat leftovers in the oven or on the stovetop. Just make sure to slice it up first and reheat it slowly over low heat. This ensures that the meat is reheated evenly and doesn't become dry.
(Part 9) Final Thoughts: Embrace the Prime Rib Journey
That's it, folks! You've got all the tools and knowledge you need to cook a perfect prime rib. It might seem intimidating at first, but trust me, it's not as difficult as it looks. Just follow my steps and be patient. You’ll be amazed by the results. And remember, cooking is all about having fun and experimenting. So go ahead, get creative, and impress your guests with your culinary prowess. You've got this!
Bonus: Creating a Table for Roast Time Reference
To help you plan your roast time, I've created a helpful table for you:
| Roast Weight (lbs) | Medium-Rare (135°F) | Medium (140°F) | Well-Done (150°F) |
|---|---|---|---|
| 3 | 45 minutes | 54 minutes | 60 minutes |
| 4 | 1 hour | 1 hour 12 minutes | 1 hour 20 minutes |
| 5 | 1 hour 15 minutes | 1 hour 30 minutes | 1 hour 40 minutes |
| 6 | 1 hour 30 minutes | 1 hour 48 minutes | 2 hours |
| 7 | 1 hour 45 minutes | 2 hours 6 minutes | 2 hours 20 minutes |
This table should give you a good starting point for roasting your prime rib. Remember to adjust the times based on your preferred level of doneness and your oven. And don't forget to use a meat thermometer to ensure accuracy!
Everyone is watching

Prime Rib Roast Cooking Time Chart: Per Pound Guide
Cooking TipsPrime rib roast. Just the name conjures images of lavish dinners, crackling fires, and hearty laughter. It’s ...

How Long to Bake Potatoes in the Oven (Perfect Every Time)
Cooking TipsBaked potatoes are a staple in my kitchen. They're incredibly versatile, delicious, and surprisingly easy to m...

Perfect Rice Every Time: The Ultimate Guide to Cooking Rice
Cooking TipsAs a self-proclaimed foodie, I've always been a bit obsessed with rice. It's the foundation of countless cuisi...

The Ultimate Guide to Cooking Asparagus: Tips, Techniques, and Recipes
Cooking TipsAsparagus. The mere mention of this spring delicacy conjures up images of vibrant green spears, crisp and burs...

Ultimate Guide to Cooking the Perfect Thanksgiving Turkey
Cooking TipsThanksgiving. Just the word conjures up images of overflowing tables laden with delicious food, the scent of r...
