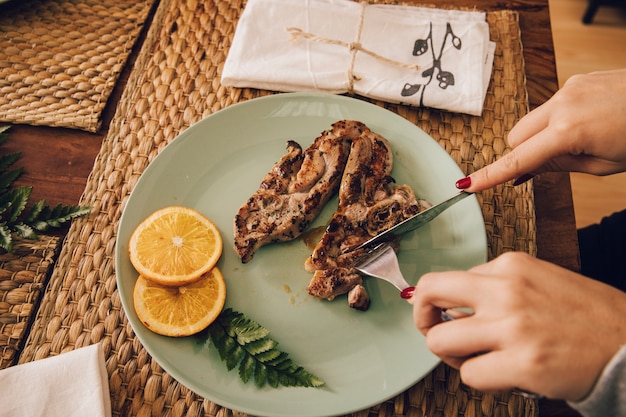
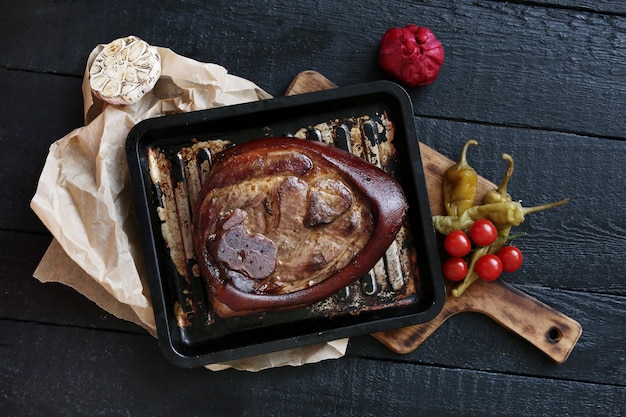
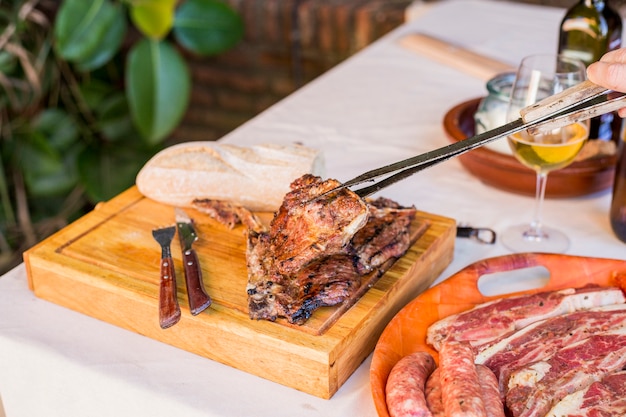
Let's talk prime rib, the star of any special occasion. A perfectly cooked prime rib is a culinary triumph, but getting it right can feel a bit like navigating a maze, especially for a novice. Don't worry, though! I'm here to share everything I've learned over the years, from selecting the perfect cut to achieving that succulent, melt-in-your-mouth texture. Let's dive in, shall we?
(Part 1) Choosing the Perfect Cut: A Prime Rib Odyssey

First things first, you need to find your prime rib. A good prime rib originates from the rib section of the beef, and the most popular choice is the "Standing rib roast." This cut, typically sporting 3-7 ribs, is a fantastic all-rounder, suitable for a variety of occasions.
Now, let's get a little more specific. You have options, and each one brings its unique flavour and texture to the table.
1. Prime vs. Choice: A Matter of Grade
This is your first big decision. "Prime" is the crème de la crème of beef, boasting higher marbling, resulting in a more tender and flavourful roast. It's undeniably the top pick for a special occasion. "Choice," a step down from Prime, is still a quality cut but with slightly less marbling. In my experience, "Choice" can be just as satisfying for prime rib, especially if you're budget-conscious.
2. Bone-In vs. Boneless: A Balancing Act
This choice is purely a matter of personal preference. Bone-in roasts impart a delectable flavour to the meat as they cook, with the bone acting as a natural heat conductor for even cooking. Boneless roasts, on the other hand, tend to cook a bit faster and are certainly easier to carve. I personally adore the rich flavour of bone-in, but if you're all about convenience, boneless might be your best bet.
3. Size Matters: Feeding Your Feast
Consider the size of your gathering. A 3-4 rib roast is ideal for a group of 6-8 people, while a 5-7 rib roast will easily feed 10-12. For a truly epic feast, you can even find roasts with 8 or more ribs! Remember, the bigger the roast, the longer it will take to cook.
(Part 2) Getting Ready to Roast: A Culinary Pre-Flight Check

Once you've selected your prime rib, it's time to get ready to roast. A little bit of pre-roast preparation goes a long way.
1. The Big Thaw: From Frozen to Ready
If your prime rib arrived frozen, be sure to give it ample time to thaw in the refrigerator. I typically allow about 24 hours for every 5 pounds of roast, so plan ahead! Thawing in the fridge ensures a safe and consistent thawing process.
2. Trim the Fat: A Matter of Precision
Now, examine your roast. It's likely sporting a layer of fat on top. Trim this layer down to about a 1/4 inch. Don't remove it all, though! That fat is the key to a moist, flavourful roast. However, you don't want a thick layer that will mostly render out during cooking. I like to leave a nice even layer and score it in a criss-cross pattern. This allows the fat to render more evenly and creates a beautiful crust.
3. Seasoning Up: The Flavour Palette
Now, for the fun part! The basic seasoning for a prime rib is salt and pepper, but the possibilities are endless. Here are some of my favourite combinations:
- Classic: Salt, pepper, garlic powder, onion powder
- Herby: Salt, pepper, rosemary, thyme, garlic powder
- Spicy: Salt, pepper, paprika, chili powder, cayenne pepper
You can also add a touch of Dijon mustard or even a bit of Worcestershire sauce to your roast before seasoning. This helps the seasonings adhere and adds another dimension of flavour.
(Part 3) The Roast: From Oven to Table

Alright, the moment of truth has arrived! We're finally ready to roast. Here's where we get into the nitty-gritty of cooking times and temperatures.
1. Preheat the Oven: A Hot Start
Preheat your oven to 450°F (232°C). That initial high heat is crucial for searing the exterior of the roast, creating a mouthwatering crust.
2. roasting time: A Guide for Doneness
This is where things get a bit tricky, as cooking time depends on the size and thickness of your roast and, of course, your preferred level of doneness. Here's a general guide to help you navigate the roasting process:
| Roast Size (lbs) | Rare (125-130°F) | Medium Rare (130-135°F) | Medium (140-145°F) | Medium Well (150-155°F) | Well Done (160°F ) |
|---|---|---|---|---|---|
| 3-4 lbs | 15-20 minutes | 18-25 minutes | 20-30 minutes | 25-35 minutes | 30-40 minutes |
| 5-7 lbs | 20-30 minutes | 25-35 minutes | 30-40 minutes | 35-45 minutes | 40-50 minutes |
| 8-10 lbs | 25-40 minutes | 30-45 minutes | 35-50 minutes | 40-55 minutes | 45-60 minutes |
Bear in mind, these are just estimates. You'll want to use a meat thermometer to determine the internal temperature of your roast. Once it hits your desired temperature, you'll know it's ready.
3. The Rest: A Crucial Step
Don't be tempted to carve your prime rib right after you take it out of the oven! Let it rest for at least 15-20 minutes, covered with foil. This allows the juices to redistribute throughout the meat, resulting in a much more tender and juicy roast.
(Part 4) Temperature Tips: Mastering the Heat
Now, let's discuss those vital temperatures. This is the most critical aspect of cooking a perfect prime rib.
1. Internal Temperature: A Thermometer's Tale
We've already covered the temperature ranges for different levels of doneness, but it bears repeating: use a meat thermometer! Insert it into the thickest part of the roast, ensuring it doesn't touch the bone.
2. Oven Temperature: From High to Low
That initial high heat (450°F) is essential for searing the outside. After about 15 minutes, lower the oven temperature to 325°F (163°C). This lower temperature allows the roast to cook evenly throughout and prevents it from drying out.
3. Doneness: A Guide to Your Preferences
Personally, I prefer a medium-rare prime rib, but it ultimately boils down to your own taste. Here's a quick guide to help you determine your preferred level of doneness:
- Rare: 125-130°F (52-54°C) - The centre will be red and cool to the touch.
- Medium Rare: 130-135°F (54-57°C) - The centre will be pink and warm to the touch.
- Medium: 140-145°F (60-63°C) - The centre will be mostly brown, with a slight pink tinge.
- Medium Well: 150-155°F (65-68°C) - The centre will be mostly brown with a hint of pink.
- Well Done: 160°F (71°C) - The centre will be completely brown.
(Part 5) Monitoring the Roast: A Culinary Vigil
You've got your roast in the oven, but don't just walk away! You need to keep a close eye on it to ensure it's cooking evenly and doesn't dry out.
1. Don't Touch it!: A Gentle Reminder
Resist the temptation to constantly open the oven door. Each time you open it, you lose heat, which can affect the cooking time and evenness.
2. Basting: A Touch of Moisture
About halfway through the cooking time, you can baste the roast with pan drippings or a mixture of butter, herbs, and spices. This helps keep the roast moist and adds extra flavour. But, again, resist the urge to over-open the oven door.
3. Temperature Checks: A Constant Vigil
Use your trusty meat thermometer to check the internal temperature of the roast every 15-20 minutes, especially towards the end of the cooking time. You want to ensure it's reaching the desired temperature evenly.
(Part 6) The Finish: A Grand Finale
We're almost there! Your prime rib is nearly ready. Now it's time to complete the culinary masterpiece.
1. Rest Time: A Moment of Patience
As I mentioned earlier, let the roast rest for at least 15-20 minutes, covered with foil, before carving. This allows the juices to redistribute and ensures a more tender and juicy roast.
2. Carving Time: The Art of the Slice
Use a sharp carving knife to slice the roast against the grain. This will make the slices more tender and easier to chew. I find it easiest to carve the roast while it's still on the bone.
3. Serving Up: The Culinary Triumph
Finally, serve your perfectly cooked prime rib with your favourite sides. Roasted vegetables, mashed potatoes, or a simple salad all complement this classic dish.
(Part 7) Beyond the Basics: Elevate Your Prime Rib Game
Okay, you've mastered the fundamentals. Now, what if you want to take your prime rib game to the next level?
1. reverse searing: A Masterful Technique
This method involves cooking the roast at a low temperature for an extended period, then searing it at high heat for a short time to create a crispy crust. It's an excellent way to achieve a juicy and tender roast with a perfectly browned exterior.
2. Rubs and Marinades: Flavour Explorations
We've already discussed seasoning, but you can get truly creative with rubs and marinades. There's an infinite range of combinations, from smoky to herby to spicy. Experiment and discover your favourite flavour profiles.
3. sous vide cooking: Precision and Control
If you're seeking absolute precision and control, sous vide cooking is a fantastic option. It involves cooking the roast in a water bath at a precise temperature, ensuring even cooking throughout, resulting in a perfectly tender and evenly cooked roast.
(Part 8) FAQs: A Guide to Prime Rib Quandaries
You have questions, I have answers! Here are some of the most frequently asked questions about prime rib cooking:
1. Can I cook prime rib in a slow cooker?
It's possible, but it's not ideal. A slow cooker can't get hot enough to create a nice crust on the roast. You'll end up with a tender roast, but it won't have that beautiful sear. If you're determined to use a slow cooker, I recommend browning the roast in a pan first, then transferring it to the slow cooker.
2. Can I freeze prime rib after cooking?
Absolutely! Cooked prime rib freezes beautifully. It's best to wrap it tightly in plastic wrap and then aluminum foil. It should be frozen for up to 3 months. To thaw, simply place it in the refrigerator for a couple of days.
3. What can I do with leftover prime rib?
Leftover prime rib is a culinary treasure! You can use it in sandwiches, salads, soups, or even tacos. Get creative and use your imagination.
4. What are the best sides to serve with prime rib?
Honestly, the possibilities are endless! Roasted vegetables, mashed potatoes, asparagus, green beans, and salads are all excellent choices.
5. How do I know if my prime rib is cooked properly?
The most reliable method is to use a meat thermometer. However, you can also use the touch test. If the roast feels firm to the touch, it's likely cooked through. If it feels squishy, it needs more time in the oven.
(Part 9) The Final Word: A culinary journey
Cooking a prime rib might seem intimidating, but it's really not that complicated. With a little planning, a bit of patience, and this guide as your compass, you can create a truly impressive meal that will leave your guests wanting more. Remember to relax, enjoy the process, and most importantly, have fun!
Everyone is watching

Prime Rib Roast Cooking Time Chart: Per Pound Guide
Cooking TipsPrime rib roast. Just the name conjures images of lavish dinners, crackling fires, and hearty laughter. It’s ...

How Long to Bake Potatoes in the Oven (Perfect Every Time)
Cooking TipsBaked potatoes are a staple in my kitchen. They're incredibly versatile, delicious, and surprisingly easy to m...

Perfect Rice Every Time: The Ultimate Guide to Cooking Rice
Cooking TipsAs a self-proclaimed foodie, I've always been a bit obsessed with rice. It's the foundation of countless cuisi...

The Ultimate Guide to Cooking Asparagus: Tips, Techniques, and Recipes
Cooking TipsAsparagus. The mere mention of this spring delicacy conjures up images of vibrant green spears, crisp and burs...

Ultimate Guide to Cooking the Perfect Thanksgiving Turkey
Cooking TipsThanksgiving. Just the word conjures up images of overflowing tables laden with delicious food, the scent of r...
