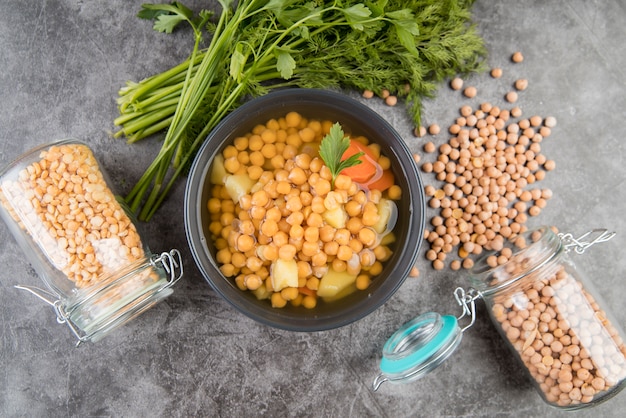
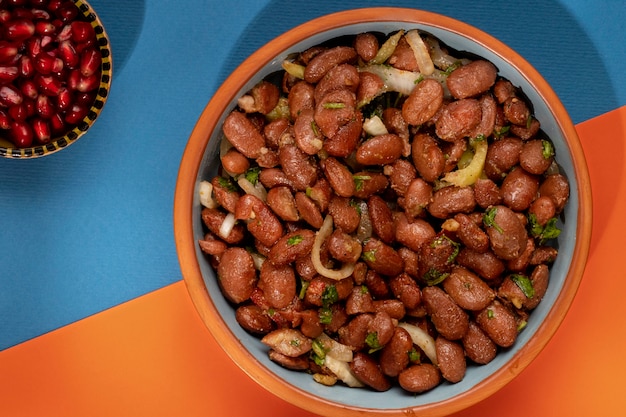
Let's face it, we all love a good bean dish, be it a comforting bowl of chili or a hearty plate of refried beans. But those little pinto beans can be a bit of a mystery. How long do they really need to cook? And what's the deal with soaking? I’ve been cooking for years, and I’ve learned a thing or two about getting those beans just right. So, grab your apron and a pot, because we're about to dive into the world of perfect pinto beans.
(Part 1) Unveiling the Importance of Soaking
Before we even think about putting those beans on the stove, let’s talk about soaking. I know, some folks skip this step entirely, but trust me, soaking is key to achieving those melt-in-your-mouth beans. It's not just about shortening cooking time (though that's a huge plus!), it's about creating a more digestible and flavourful bean.
The Science Behind Soaking: A Bean's Transformation
Think of a dry bean as a little fortress. It's got a tough outer layer that needs to be softened before it can break down and absorb all that delicious flavour. Soaking allows water to penetrate that outer shell, softening the bean and making it more receptive to the cooking process. It's like giving the bean a little spa treatment, making it more relaxed and ready to cook.
The Benefits of Soaking: Beyond Faster Cooking
So, what are the perks of soaking? Besides speeding up cooking time (who doesn't love a shortcut, right?), it offers several advantages:
- Faster Cooking Time: Soaked beans are like sponges – they soak up water quickly and cook faster than unsoaked beans, meaning less time on the stove and more time for enjoying your meal.
- Improved Digestibility: Soaking helps break down complex sugars in the beans, making them easier on your stomach and reducing those pesky gas issues.
- Reduced Phytic Acid: Beans contain phytic acid, which can interfere with the absorption of certain minerals. Soaking helps reduce the phytate content, making the beans more nutritious.
- More Flavorful Beans: By absorbing more water during soaking, the beans become more plump and flavorful, adding a delightful richness to your dishes.
(Part 2) Mastering the Art of Soaking: Cold Soak vs. Quick Soak
Now that you're convinced of the power of soaking, let’s talk technique. You've got two main methods to choose from: the classic cold soak and the time-saving quick soak.
The Cold Soak Method: For Those with Time to Spare
This is the traditional approach, perfect when you've got a bit of time on your hands. Here's how it works:
- Rinse Your Beans: Give those beans a good rinse under cold water to wash away any dust or debris. Think of it as a little pre-spa treatment for your beans!
- Choose Your Soaking Vessel: Select a spacious bowl or container big enough to hold the beans with plenty of water to spare.
- Add Water: Fill the container with water, ensuring the water level is at least 2 inches above the beans. This gives them ample room to soak and soften.
- Soak Overnight: Cover the container and let the beans soak in the refrigerator for at least 8 hours, or ideally overnight. This gives those beans ample time to absorb the water and soften up.
- Drain and Rinse: After their overnight soak, drain the beans and give them a quick rinse before cooking. They're ready to be transformed into deliciousness!
The Quick Soak Method: A Bean Lover's Time Saver
Got a craving for beans but short on time? The quick soak method is your best friend. It's a bit more intense, but it gets the job done in a fraction of the time.
- Rinse Your Beans: First things first, give those beans a good rinse under cold water to remove any impurities.
- Combine Beans and Water: In a large pot, combine your beans with enough water to cover them by about 2 inches.
- Bring to a Boil: Bring the mixture to a boil over high heat. This is where the quick soak gets its name – we're giving those beans a little shock treatment!
- Soak: Remove the pot from the heat, cover it, and let the beans soak for 1 hour. While this may seem like a short time, it's enough for the beans to absorb a good amount of water.
- Drain and Rinse: After their quick soak, drain the beans and rinse them before cooking. They're ready to be transformed into culinary magic!
(Part 3) Choosing Your Cooking Method: Stovetop or slow cooker?
So, you’ve got your beans soaking, and now it's time to get cooking! You've got two main contenders: the trusty stovetop and the versatile slow cooker.
Stovetop Cooking: The Classic Approach
This is the most common method, and for good reason. It's straightforward, reliable, and gives you a bit more control over the cooking process. Here's how to do it:
- Gather Your Ingredients: You'll need your soaked beans, water, and any seasonings you want to add.
- Combine Beans and Water: In a large pot, combine the beans with enough water to cover them by about 2 inches. This ensures the beans have enough room to cook evenly.
- Bring to a Boil: Bring the mixture to a boil over high heat. This initial boil helps to soften the beans even further.
- Simmer: Reduce the heat to low, partially cover the pot, and simmer for about 1 to 1 1/2 hours, or until the beans are tender. Simmering allows the beans to cook gently and evenly.
- Season: Add your favorite seasonings and salt during the last 30 minutes of cooking. This allows the flavors to meld and permeate the beans without making them too salty.
Slow Cooker Magic: A Hands-Off Approach
If you’re a fan of set-it-and-forget-it cooking, the slow cooker is your best friend. It's ideal for busy evenings when you want a comforting meal without fuss.
- Gather Your Ingredients: You'll need your soaked beans, water, and your favourite seasonings.
- Combine Beans and Water: In your slow cooker, combine the beans with enough water to cover them by about 2 inches.
- Cook on Low: Cook on low heat for 6 to 8 hours, or on high for 3 to 4 hours. The slow cooker does the work for you, ensuring perfectly tender beans with minimal effort.
- Season: Add your desired seasonings and salt during the last hour of cooking. This allows the flavours to infuse the beans while preserving their natural sweetness.
(Part 4) Cooking Times: A Guide to Bean Perfection
How long do you actually cook those pinto beans? It depends on factors like the size of the beans, whether they were soaked, and the amount of water you're using. But here's a general guideline to get you started:
Stovetop Cooking Times: A Breakdown
Here's a look at typical cooking times for pinto beans on the stovetop, keeping in mind that these are estimates and may vary slightly:
| Method | Cooking Time |
|---|---|
| Unsoaked Beans | 1 1/2 to 2 hours |
| Soaked Beans (Cold Soak) | 1 to 1 1/2 hours |
| Soaked Beans (Quick Soak) | 45 minutes to 1 hour |
Slow Cooker Cooking Times: A Slow and Steady Approach
And here's a quick look at cooking times for the slow cooker, allowing those beans to cook slowly and develop amazing flavour:
| Method | Cooking Time |
|---|---|
| Soaked Beans (Low Heat) | 6 to 8 hours |
| Soaked Beans (High Heat) | 3 to 4 hours |
(Part 5) The doneness test: How to Tell If Your Beans Are Ready
Don't just rely on the clock! It's essential to check your beans for doneness, especially since cooking times can vary. Here's how to tell if those beans are ready to eat:
The Mash Test: A Simple and Effective Check
Take a bean and mash it gently with a fork. If it easily mashes into a smooth paste, you're good to go. If it's still firm and resistant, it needs a bit more cooking time.
The Bite Test: For the Hands-On Bean Lover
For a more hands-on approach, give a bean a bite. A well-cooked bean should be tender, but not mushy, with a slight give.
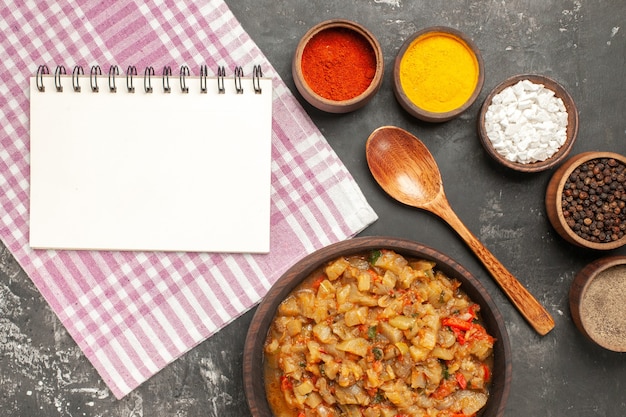
(Part 6) The Art of Flavoring: Turning Plain Beans into Culinary Delights
Now, let's talk flavor! Pinto beans are a blank canvas for your culinary creativity. Here are some of my favourite flavor combinations to get you started:
Classic Flavor Combinations: Timeless and Delicious
- Simple and Savory: Salt, pepper, and a bay leaf. This classic combo adds a subtle depth of flavor that complements many dishes.
- Smoky and Spicy: Smoked paprika, cumin, chili powder, and a pinch of cayenne pepper. This blend delivers a warm and smoky kick that's perfect for chili or southwestern dishes.
- Fresh and Bright: Garlic, onion, cilantro, and lime juice. This combination adds a vibrant and zesty flavour that's perfect for lighter bean dishes, salads, or salsas.
Creative Flavor Explorations: Beyond the Ordinary
Don't be afraid to get creative and experiment with different flavors. Here are a few ideas to spark your imagination:
- Mediterranean Flair: Add dried oregano, thyme, rosemary, and a pinch of red pepper flakes for a taste of the Mediterranean.
- Indian Inspiration: Mix in turmeric, ginger, cumin, coriander, and garam masala for a warm and aromatic Indian-inspired dish.
- Southwestern Spice: Combine ancho chili powder, cumin, oregano, and a touch of cinnamon for a southwestern flavour that's both earthy and smoky.
(Part 7) Storing Cooked Beans: Keeping Them Fresh and Delicious
You've cooked your perfect batch of pinto beans, and now you want to make sure they stay fresh and delicious for later use. Here's how to store them properly:
Refrigerator Storage: The Go-To Method for Short-Term Storage
The refrigerator is your best bet for keeping cooked beans for up to 5 days.
- Cool Down Completely: Let the beans cool to room temperature before transferring them to an airtight container. This prevents condensation and helps maintain their quality.
- Store in the Fridge: Place the container in the refrigerator for up to 5 days.
Freezing Cooked Beans: For Longer Storage and Convenience
You can also freeze cooked beans for longer storage and convenience.
- Cool Down Completely: Let the beans cool down completely before freezing to prevent ice crystals from forming and affecting their texture.
- Store in Freezer-Safe Bags: Portion the beans into freezer-safe bags, squeezing out as much air as possible to minimize freezer burn.
- Freeze for Up to 3 Months: Store the bags in the freezer for up to 3 months.
- Thaw and Reheat: Thaw frozen beans in the refrigerator overnight, then reheat them on the stovetop or in the microwave.
(Part 8) FAQs: Your Pinto Bean Questions Answered
Let’s address some common questions about cooking pinto beans and clear up any confusion you might have.
1. Can I Use canned pinto beans Instead of dried beans?
Absolutely! canned beans are a convenient option when you're in a hurry. Just make sure to rinse them thoroughly before using them to remove excess salt and sodium.
2. What if My Beans Are Still Hard After Cooking?
Don't worry! It happens. Add a little more water to the pot, bring it to a boil, and then reduce the heat to a simmer. Let the beans cook for another 30 minutes or so, checking for doneness along the way.
3. How Can I Prevent My Beans From Foaming Over While Cooking?
A little bit of oil or butter on top of the water will help to reduce foaming. You can also skim off any foam that appears during the cooking process.
4. What Can I Make with Cooked Pinto Beans?
The possibilities are endless! Here are just a few ideas to get your creative juices flowing:
- Chili: A classic comfort food that's perfect for chilly nights.
- Refried Beans: A staple in Mexican cuisine, refried beans are delicious as a side dish or as a filling for tacos and burritos.
- Salads: Add cooked beans to your favorite salads for a boost of protein and fiber.
- Soups and Stews: Beans are a great addition to hearty soups and stews, adding texture and flavor.
- Burgers and Meatloaf: Add cooked beans to your burger or meatloaf mixture for extra flavor and texture.
- Bean Dip: Blend cooked beans with your favorite seasonings for a delicious dip for tortilla chips or veggies.
- Bean Burrito Bowls: Layer cooked beans with rice, veggies, and your favorite toppings for a satisfying and customizable meal.
5. Can I Add Salt Before Cooking My Beans?
It's best to avoid adding salt at the beginning of the cooking process. Salt can actually make the beans harder to cook and can even cause them to split. It's best to add salt during the last 30 minutes of cooking, when the beans are almost done, allowing the flavours to meld and permeate the beans without making them too salty.
Everyone is watching

Perfect Rice Every Time: The Ultimate Guide to Cooking Rice
Cooking TipsAs a self-proclaimed foodie, I've always been a bit obsessed with rice. It's the foundation of countless cuisi...

Prime Rib Roast Cooking Time Chart: Per Pound Guide
Cooking TipsPrime rib roast. Just the name conjures images of lavish dinners, crackling fires, and hearty laughter. It’s ...

The Ultimate Guide to Cooking Asparagus: Tips, Techniques, and Recipes
Cooking TipsAsparagus. The mere mention of this spring delicacy conjures up images of vibrant green spears, crisp and burs...

Ultimate Guide to Cooking the Perfect Thanksgiving Turkey
Cooking TipsThanksgiving. Just the word conjures up images of overflowing tables laden with delicious food, the scent of r...

How Long to Bake Potatoes in the Oven (Perfect Every Time)
Cooking TipsBaked potatoes are a staple in my kitchen. They're incredibly versatile, delicious, and surprisingly easy to m...