Chicken! It's a kitchen staple for a reason. Versatile, affordable, and endlessly delicious, it can be cooked in countless ways. But let's be honest, sometimes nailing that perfectly cooked, juicy chicken on the stovetop feels like a bit of a culinary gamble. There's nothing worse than biting into a chicken breast that's still raw in the middle, or, even worse, ending up with dry, rubbery meat.
Over the years, I've learned a few tricks of the trade that have transformed my chicken game. I'm not just talking about avoiding those cooking disasters, but achieving that magical combination of crispy skin and succulent, tender meat. That's what this guide is all about – unlocking the secrets to perfect stovetop chicken.
So, grab a notebook, your trusty kitchen thermometer, and maybe a glass of something refreshing. Let's dive in!
Part 1: The Temperature Tango: A Crucial Dance

1.1: Why Temperature Reigns Supreme
Think of a thermometer as your culinary compass. It's the key to consistent success, especially when dealing with poultry. The safe internal temperature for chicken is 165°F (74°C). This isn't just a food safety rule; it's the magic number that ensures your chicken is cooked through, while remaining wonderfully moist and tender.
1.2: The Essential Tools of the Trade
Invest in a good instant-read thermometer. It's a small investment that'll pay off big time. I'm a big fan of those with a long probe. They make it easy to get a reading from the thickest part of the chicken without having to touch a hot pan (which is always a good thing!).
1.3: Understanding Chicken's Inner Workings
Chicken cooks from the outside in. As the skin starts to sizzle and brown, the inside is gradually reaching that crucial temperature. It's a delicate process, and patience is your secret weapon. Think of it as a culinary slow dance – the heat needs time to work its magic.
Part 2: Chicken Cuts and Types: The Foundation of Your Dish

2.1: Bone-In vs. Boneless: A Culinary Showdown
Boneless, skinless chicken breasts are a popular go-to, especially for their quick cooking time and versatility. They're perfect for stir-fries, salads, and those times when you need a quick meal on the table.
Bone-in chicken, on the other hand, takes a little more time to cook, but trust me, the extra effort is worth it. The bone acts like a natural moisture retainer, resulting in a more flavorful and juicy end product. Think roast chicken, stews, or even a comforting braise – bone-in chicken truly shines in these dishes.
2.2: chicken thighs: The Unsung Hero
Don't underestimate the mighty chicken thigh! It's a bit fattier than the breast, which means it stays moist and tender even after longer cooking times. They're perfect for grilling, roasting, or even pan-frying, and they have a rich, savory flavor that's hard to resist.
2.3: chicken wings: A Feast for the Senses
Ah, chicken wings! A classic crowd-pleaser, they're perfect for any occasion. You can pan-fry them, bake them, or even deep-fry them. But no matter the method, the magic lies in the crispy skin and juicy meat underneath. It's the ultimate combination of textures and flavors.
Part 3: pan-frying chicken: A Mastery of Basics

3.1: Choosing the Right Pan: Your Culinary Canvas
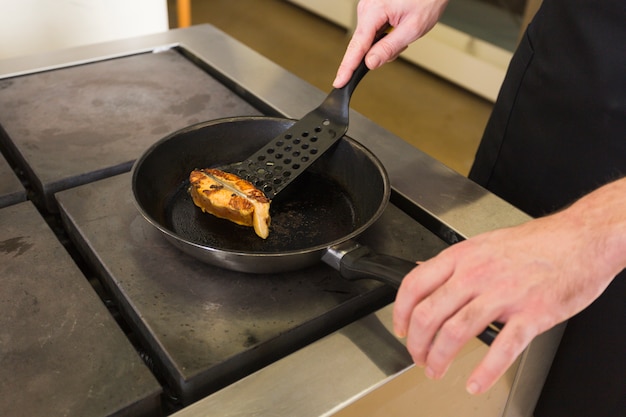
A good quality cast iron skillet is your best friend for pan-frying chicken. It distributes heat evenly, ensuring that your chicken cooks consistently and achieves that beautiful, crispy skin we all crave. If you're not a cast iron enthusiast, a heavy-bottomed stainless steel skillet is a great alternative.
3.2: Oil: The Secret Ingredient
Use a neutral oil with a high smoke point, like avocado oil or grapeseed oil. These oils won't burn at high heat, and they'll help your chicken brown beautifully, creating that irresistible golden crust.
3.3: Space is Key: Give Your Chicken Room to Breathe
Don't overcrowd the pan! This will result in steaming rather than browning, leading to soggy chicken, which is a big no-no. Cook your chicken in batches if needed to ensure that each piece has ample space to brown properly.
3.4: The Flip: A Delicate Dance
Once the chicken is nicely browned on one side, use tongs to carefully flip it over. Give it a minute or two on the other side to get that gorgeous color. Be gentle – you don't want to tear the skin.
Part 4: Chicken Breast: Mastering the Art of Stovetop Cooking
4.1: The Secret to juicy chicken breast
The key to tender chicken breast is to cook it over medium heat. High heat will lead to dry, tough meat, and that's not what we want.
4.2: Searing the Breast: Building a Flavor Foundation
Season the breasts generously with salt and pepper, then heat your oil in the pan. When it's shimmering, add the chicken and sear for 3-4 minutes per side, or until it's golden brown. This creates a delicious crust and locks in the juices.
4.3: Finishing Touches: Bringing it Home
Reduce the heat to medium-low and cook the chicken for another 5-7 minutes, or until the internal temperature reaches 165°F (74°C). You want the chicken to be cooked through without being dry.
4.4: The Importance of Resting: Letting the Flavors Blend
Don't rush to slice that chicken! Let it rest for 5-10 minutes before cutting into it. This allows the juices to redistribute throughout the meat, resulting in a more tender and flavorful final product. It's a simple step that makes a big difference.
Part 5: The Art of cooking chicken Thighs: Embrace Their Versatility
5.1: Chicken Thighs: More Forgiving Than You Think
Chicken thighs are surprisingly forgiving. They don't need to be watched as closely as breasts because their higher fat content helps them retain moisture even during longer cooking times.
5.2: Skin-Side Down First: The Key to Crispy Goodness
Start by searing the skin-side down for about 4-5 minutes. This creates a crispy, golden crust that is simply irresistible.
5.3: Flip and Finish: A Simple Process
Flip the thighs and continue cooking for another 5-8 minutes, or until the internal temperature reaches 165°F (74°C). You'll know they're done when the juices run clear when you pierce them with a fork.
5.4: A Note on bone-in chicken thighs: The Advantages of Bone
Bone-in chicken thighs take a little longer to cook, around 10-15 minutes total. But the bone plays a crucial role. It helps retain moisture, keeping the meat juicy and tender.
Part 6: Chicken Wings: The Journey to Crispy Perfection
6.1: The Wings of Glory: A Celebration of Flavor
Chicken wings are a culinary delight, but they require a little more attention than other cuts. It's all about getting that perfect balance of crispy skin and succulent meat.
6.2: Prepping the Wings: Setting the Stage
Before cooking, remove the wing tips. They tend to get dry, and you can use them to make a flavorful stock later.
6.3: Pan-Frying Wings: Achieving Crispy Perfection
Heat your oil over medium-high heat and add the wings. Cook for about 8-10 minutes, turning them frequently to ensure even browning and crispiness.
6.4: The Finishing Touch: A Final Burst of Flavor
Reduce the heat to low, cover the pan, and let the wings cook for another 5-7 minutes. This helps the internal temperature reach 165°F (74°C) without drying them out.
Part 7: The Power of spices and herbs: Elevate Your Flavor Game
7.1: Spice Up Your Chicken: Unleash Your Creativity
Don't be afraid to experiment with different spices and herbs to add depth and complexity to your chicken. There's a whole world of flavors waiting to be explored.
7.2: Classic Combinations: A Taste of Tradition
Here are some classic combinations that always deliver:
- Garlic powder, paprika, and onion powder: A warm, savory blend that's perfect for chicken
- Rosemary, thyme, and garlic: A fragrant, herbaceous mix that elevates any chicken dish
- Cumin, coriander, and chili powder: A blend that adds a touch of warmth and spice
7.3: A Pinch of This, a Dash of That: Finding Your Flavor Profile
Remember, a little goes a long way. Start with a small amount of spices and herbs, and adjust to your liking. The goal is to enhance the natural flavors of the chicken, not overpower them.
7.4: Don't Forget the Salt: The Foundation of Flavor
Salt is an essential seasoning that enhances the flavor of chicken. Season the chicken liberally with salt and pepper before cooking. It helps to draw out the moisture, creating a more flavorful and juicy final product.
Part 8: Don't Forget the Sides: Completing the Culinary Picture
8.1: A Delicious Accompaniment: Elevating Your Chicken Dish
Chicken pairs perfectly with a wide variety of side dishes. They offer a delightful contrast of textures and flavors, creating a complete and satisfying meal.
8.2: Some Ideas to Get You Started: Inspiration for Your Side Dish
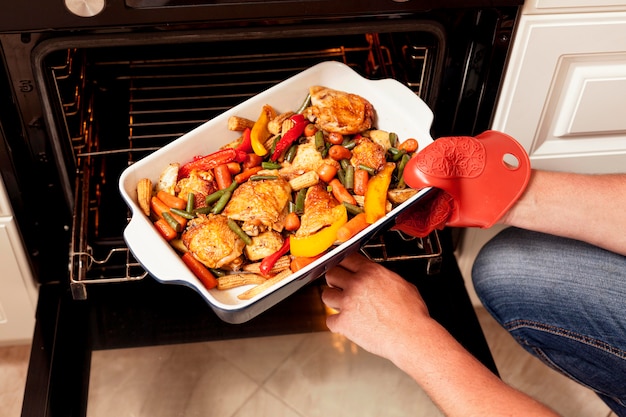
- Roasted vegetables like broccoli, carrots, and potatoes: A healthy and flavorful option that complements chicken beautifully
- A simple salad with a vinaigrette dressing: A refreshing contrast to the richness of the chicken
- Creamy mashed potatoes: A comforting classic that always goes well with chicken
- rice pilaf: A fragrant and versatile side dish that can be flavored with herbs, spices, or vegetables
8.3: Get Creative: Breaking the Mold
Don't be afraid to experiment with different side dishes to find your favorite combinations. You can explore different cuisines, try new flavor profiles, and discover what works best for your taste buds.
Part 9: Troubleshooting: Solving Common Stovetop Chicken Problems
9.1: Chicken Stuck to the Pan: A Sign of Not Enough Heat
If your chicken is sticking to the pan, it's likely that the pan isn't hot enough. Increase the heat and ensure that the oil is shimmering before adding the chicken.
9.2: Dry Chicken: A Sign of Overcooking
If your chicken is dry, it's likely that it was overcooked. Use a meat thermometer to check the internal temperature and ensure it doesn't exceed 165°F (74°C).
9.3: Raw Chicken: A Sign of Undercooking
If your chicken is still raw in the middle, it's likely that it wasn't cooked long enough. Return the chicken to the pan and cook it for a few more minutes, checking the internal temperature regularly.
9.4: Burnt Chicken: A Sign of Too Much Heat
If your chicken is burnt, it's likely that the heat was too high. Reduce the heat and cook the chicken for a longer period of time.
Part 10: FAQs: Addressing Your Chicken Cooking Queries
10.1: What's the Best Way to Cook Chicken on the Stovetop?
Pan-frying is a fantastic way to cook chicken on the stovetop, as it produces a crispy skin and juicy meat. However, you can also cook chicken in a skillet with a small amount of liquid, such as broth or wine, for a more flavorful and moist result.
10.2: How Do I Know When Chicken is Cooked?
The most reliable way to determine if chicken is cooked is to use a meat thermometer. The internal temperature should reach 165°F (74°C) in the thickest part of the meat. This ensures that the chicken is cooked through and safe to eat.
10.3: How Long Does it Take to Cook Chicken on the Stovetop?
The cooking time for chicken on the stovetop will vary depending on the cut and thickness of the meat. Chicken breasts typically take 5-7 minutes per side, while chicken thighs take 8-10 minutes per side.
10.4: Can I Cook frozen chicken on the Stovetop?
It's not recommended to cook frozen chicken on the stovetop. Frozen chicken will take much longer to cook and may not cook evenly, leading to inconsistencies in texture and doneness. It's best to thaw the chicken completely before cooking to ensure consistent results.
10.5: What Should I Do With Leftover Chicken?
Leftover chicken can be used in a variety of dishes, such as salads, sandwiches, or soups. It can also be stored in the refrigerator for up to 3-4 days.
Part 11: The Chicken Cookbook: A Handy Table for Reference
Here's a handy table summarizing the ideal cooking times for different cuts of chicken on the stovetop. This can be a quick reference guide when you're in the kitchen:
| Cut of Chicken | Cooking Time |
|---|---|
| Boneless, Skinless Chicken Breast | 5-7 minutes per side |
| Bone-In Chicken Breast | 8-10 minutes per side |
| Boneless, Skinless Chicken Thigh | 8-10 minutes per side |
| Bone-In Chicken Thigh | 10-15 minutes per side |
| Chicken Wings | 8-10 minutes, turning frequently, then 5-7 minutes covered |
Part 12: Final Thoughts: Embark on Your culinary journey
And there you have it – a comprehensive guide to mastering the art of stovetop chicken cooking! It's all about understanding the basics: temperature, cooking time, and the right techniques.
Remember, practice makes perfect. The more you cook chicken, the more confident you'll become. Don't be afraid to experiment, try new recipes, and most importantly, enjoy the process.
Happy cooking!
Everyone is watching

Prime Rib Roast Cooking Time Chart: Per Pound Guide
Cooking TipsPrime rib roast. Just the name conjures images of lavish dinners, crackling fires, and hearty laughter. It’s ...

How Long to Bake Potatoes in the Oven (Perfect Every Time)
Cooking TipsBaked potatoes are a staple in my kitchen. They're incredibly versatile, delicious, and surprisingly easy to m...

Perfect Rice Every Time: The Ultimate Guide to Cooking Rice
Cooking TipsAs a self-proclaimed foodie, I've always been a bit obsessed with rice. It's the foundation of countless cuisi...

The Ultimate Guide to Cooking Asparagus: Tips, Techniques, and Recipes
Cooking TipsAsparagus. The mere mention of this spring delicacy conjures up images of vibrant green spears, crisp and burs...

Ultimate Guide to Cooking the Perfect Thanksgiving Turkey
Cooking TipsThanksgiving. Just the word conjures up images of overflowing tables laden with delicious food, the scent of r...
