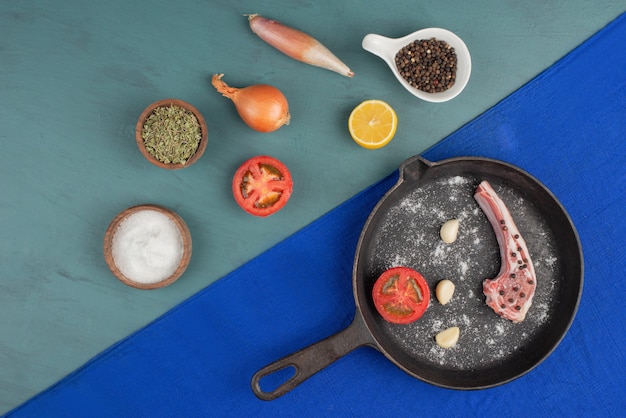
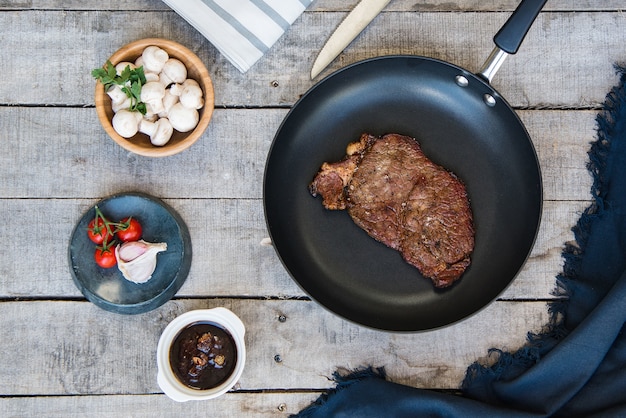
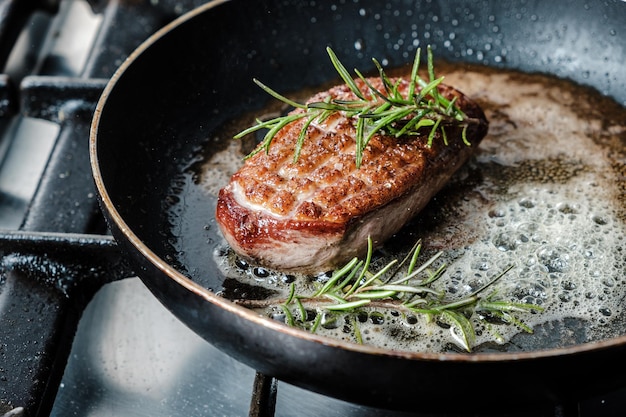
I've always loved a good steak. You know the kind, that perfect sear on the outside, a juicy, pink interior, and a flavour that makes you want to lick the plate clean. It’s a dish that screams indulgence, and I'm here to tell you, you can totally achieve that restaurant-quality steak right in your own kitchen. No fancy equipment or years of culinary training needed.
This guide is my love letter to all things steak. It’s a culmination of years of experimenting, trial and error, and lots of delicious meals. I'm going to break it down, step-by-step, from choosing the right cut to perfecting that iconic sear, and ending with the secrets to a perfectly rested steak. Let's get started!
(Part 1) The Steak: Your Culinary Canvas

Choosing the Cut: A Steak for Every Palate
The first step is choosing your steak. This isn't just about picking a random cut from the supermarket. It's about understanding your taste, the flavour you want, and what you'll be pairing it with.
Rib-Eye: My personal favourite. Rib-eye is known for its rich marbling, giving it a beautifully buttery texture that just melts in your mouth. It's a classic for a reason, and you can't go wrong with a good rib-eye, especially for special occasions.
Sirloin: If you're after a leaner option, sirloin is your go-to. It has a slightly tougher texture compared to rib-eye, but it holds its shape well on the grill, making it perfect for grilling. It's also a good choice for those who prefer a less fatty cut.
flank steak: Looking for a more affordable option with big flavour? Flank steak is your winner. It's best cooked quickly as it can get tough if overcooked. Its flavour is intense and rich, making it perfect for stir-fries, fajitas, or as a steak sandwich.
new york strip: This is a big, beautiful cut that's perfect for a special dinner. It's got a great balance of fat and leanness, resulting in a tender, juicy, and flavourful steak that everyone loves.
filet mignon: For the ultimate luxury experience, go for a filet mignon. It's the most tender and delicate cut, offering an incredible melt-in-your-mouth texture. Be warned, it's also the priciest option, but it's well worth the splurge for a special occasion.
Thickness: The Perfect Balance for Even Cooking
The thickness of your steak is crucial. A thicker steak requires longer cooking times and will develop a more pronounced sear. A thinner steak, on the other hand, cooks faster and will have a more delicate texture. Aim for a thickness of at least 1 inch to ensure even cooking and a beautiful sear.
Marbling: The Secret to Juiciness and Flavour
Marbling refers to the streaks of fat running through the meat. It's the key to a tender, juicy, and intensely flavourful steak. The more marbling, the richer and more luxurious the flavour. Look for cuts with good marbling throughout, especially around the edges.
Grading: Understanding the Quality
In the UK, steak is graded based on its marbling and maturity. You'll often see Prime, Choice, and Select grades. Prime is the highest grade, boasting the most marbling and the best overall flavour.
Buying Your Steak: Quality Matters
My advice? Buy your steak from a reputable butcher. They'll be able to guide you on the best cuts for your needs, offer expert advice on cooking methods, and usually have a wider selection than your local supermarket. If you're shopping at the supermarket, look for fresh, vibrant red meat with no signs of spoilage.
(Part 2) Prepping the Steak: Setting the Stage for Success

Bringing It to Room Temperature: A Crucial Step
Before you even think about touching your pan, take your steak out of the fridge and let it sit at room temperature for about 30 minutes. This allows the meat to warm up evenly, ensuring that it cooks more consistently and prevents the cold centre from shocking the hot pan.
Seasoning: The Foundation of Flavour
Now for the fun part: seasoning! While you can certainly get creative, a simple salt and pepper combination is often all you need. A good pinch of salt will draw out moisture, enhancing the natural flavour of the meat. I always use freshly ground black pepper for a more intense aroma and a satisfying crunch.
Beyond Salt and Pepper: Exploring Seasoning Options
Don't be afraid to experiment with other seasonings! Garlic powder, onion powder, paprika, and herbs like rosemary, thyme, or oregano can add a beautiful depth of flavour to your steak. Just remember that these ingredients can burn easily, so use them sparingly and add them towards the end of the cooking process.
(Part 3) The Cast Iron Pan: Your Culinary Weapon of Choice

Choosing Your Pan: The Heart of the Operation
Cast iron pans are the workhorses of the kitchen. Their incredible heat retention and even distribution make them perfect for searing steak. The heavy, thick construction ensures consistent heat throughout, creating that beautiful, crispy crust.
Seasoning Your Pan: Creating a Non-Stick Shield
A well-seasoned cast iron pan is your culinary best friend. Seasoning involves applying a thin layer of oil to the pan and heating it, which creates a polymerized, non-stick coating that prevents sticking and adds to the pan's longevity. If your pan isn't already seasoned, you'll need to do this before you start.
Preparing Your Pan: Reaching Peak Heat
Heat your cast iron pan over medium-high heat for a few minutes. The goal is to get it scorching hot. You'll know it's ready when a drop of water sizzles and evaporates immediately.
Adding Oil: Choosing the Right Lubricant
Add a tablespoon or two of high-heat oil to the pan. I recommend grapeseed oil or canola oil, as they have high smoke points and won't burn easily. Avoid olive oil, which has a lower smoke point and can impart a bitter flavour.
(Part 4) The Sear: The Art of Creating a Perfect Crust
Getting the Perfect Sear: The Key to Juicy Flavour
This is where the magic happens. The sear is the key to locking in the juices and creating that delicious, crispy crust.
Placing the Steak: Careful Placement is Key
Carefully place your steak in the hot pan. Don't overcrowd the pan; if you're cooking multiple steaks, cook them in batches to allow each steak to sear properly.
Resist the Urge to Move: Patience is Virtue
For the first minute or two, let the steak sit undisturbed. This gives it time to develop a beautiful, even crust. Resist the temptation to move it around!
Flip It: Time for the Second Side
Once the first side has a beautiful, dark sear, gently flip the steak over. You'll hear a satisfying sizzle as the juices release and the second side begins to brown.
(Part 5) Cooking Times: Getting It Just Right
Temperature Guide: Your Internal Thermometer
The best way to ensure your steak is cooked to your liking is to use a meat thermometer. Here's a general guide for internal temperatures:
| Doneness | Internal Temperature (°F) |
|---|---|
| Rare | 125-130 |
| Medium Rare | 130-135 |
| Medium | 140-145 |
| Medium Well | 150-155 |
| Well Done | 160 |
Adjusting for Thickness: A Matter of Timing
The thicker the steak, the longer it will take to cook. Adjust your cooking times accordingly.
Cooking Times: A General Guide
Rare: 2-3 minutes per side
Medium Rare: 3-4 minutes per side
Medium: 4-5 minutes per side
Medium Well: 5-6 minutes per side
Well Done: 6-7 minutes per side
Remember, these are just guidelines. Always use a meat thermometer to ensure your steak reaches the desired internal temperature.
(Part 6) Resting the Steak: The Secret to Tenderness
The Importance of Resting: Releasing the Juices
Once your steak is cooked to your liking, let it rest for 5-10 minutes before slicing. This is crucial! During the resting period, the juices redistribute throughout the meat, resulting in a much more tender and flavourful steak.
Cover It: Keeping Warm and Moist
Cover the steak loosely with aluminium foil to keep it warm while it rests.
(Part 7) Serving the Steak: Finishing Touches and Accompaniments
Slicing the Steak: Tenderness and Presentation
After resting, slice your steak against the grain. This means cutting across the muscle fibers, making it easier to chew and releasing more of the flavour.
Serving Options: Elevate Your Culinary Game
Now for the fun part: serving your perfect steak. Here are some classic and creative options:
Simple and Classic: A sprinkle of sea salt and a squeeze of lemon juice for a clean and bright flavour.
Herbed Butter: Melt a pat of butter with fresh herbs like rosemary or thyme for an aromatic and flavourful touch.
Creamy Sauce: A rich and creamy sauce made with mushrooms, cream, and herbs adds a luxurious touch.
Spicy Salsa: A fiery salsa made with fresh tomatoes, onions, and jalapenos for a punch of heat and freshness.
(Part 8) Tips and Tricks: Mastering the Art of Steak
reverse searing: A More Even Cook
For a more evenly cooked steak, try reverse searing. This involves cooking the steak slowly in the oven to an almost-done temperature, then finishing it with a quick sear in the pan. This method results in a more tender and juicy steak.
Use a Thermometer: Your Culinary Compass
Don't rely on visual cues alone. A meat thermometer is your best friend for ensuring your steak is cooked to your liking.
Invest in a Good Cast Iron Pan: A Kitchen Essential
If you haven't already, invest in a good quality cast iron pan. It will last a lifetime and become your go-to for all sorts of cooking, from searing steak to baking bread.
Seasoning is Key: Enhancing the Flavour
Don't skimp on seasoning! It adds flavour and helps create a crispy crust.
Don't Overcook It: Embrace the Pink!
Remember, a well-done steak is not necessarily a good steak. Embrace the pink!
Enjoy the Process: A culinary adventure
cooking steak should be an enjoyable experience. Relax, have fun, and experiment with different flavours.
FAQs
1. Can I use a regular pan instead of a cast iron pan?
You can, but a cast iron pan is ideal for searing steak because it distributes heat evenly and retains it well. If you don't have a cast iron pan, you can use a heavy-bottomed stainless steel pan.
2. What if my steak is too thin?
If your steak is too thin, you can cook it over medium heat for a shorter time, about 1-2 minutes per side, to avoid overcooking.
3. How can I tell if my steak is cooked to my liking without a thermometer?
You can use the “touch test” by gently pressing the centre of the steak. A rare steak will feel soft and spongy, a medium-rare steak will feel slightly firm, and a well-done steak will feel firm and springy.
4. What if my steak is tough?
If your steak is tough, it’s likely because it was overcooked. To prevent this, use a meat thermometer and cook your steak to the desired temperature.
5. Can I freeze steak?
You can freeze steak, but it's best to freeze it for a short period of time, up to 3 months. Thaw the steak in the refrigerator overnight before cooking.
So, there you have it! My comprehensive guide to achieving that perfect steak in a cast iron pan. Now go forth, embrace your inner chef, and impress your loved ones with a delicious, juicy steak. Happy cooking!
Everyone is watching

Prime Rib Roast Cooking Time Chart: Per Pound Guide
Cooking TipsPrime rib roast. Just the name conjures images of lavish dinners, crackling fires, and hearty laughter. It’s ...

How Long to Bake Potatoes in the Oven (Perfect Every Time)
Cooking TipsBaked potatoes are a staple in my kitchen. They're incredibly versatile, delicious, and surprisingly easy to m...

Perfect Rice Every Time: The Ultimate Guide to Cooking Rice
Cooking TipsAs a self-proclaimed foodie, I've always been a bit obsessed with rice. It's the foundation of countless cuisi...

The Ultimate Guide to Cooking Asparagus: Tips, Techniques, and Recipes
Cooking TipsAsparagus. The mere mention of this spring delicacy conjures up images of vibrant green spears, crisp and burs...

Ultimate Guide to Cooking the Perfect Thanksgiving Turkey
Cooking TipsThanksgiving. Just the word conjures up images of overflowing tables laden with delicious food, the scent of r...
