As a self-proclaimed breakfast enthusiast, there's nothing I love more than a perfectly poached egg. The pillowy-soft yolk, the delicate white that melts in your mouth - it's a culinary masterpiece. But let's be honest, poaching eggs can be a bit of a challenge. One minute you're feeling confident, the next your egg is a rubbery mess. I've been there, believe me! But after countless trials and errors (and a few burnt pots), I've finally cracked the code to consistently perfect poached eggs.
Today, I'm sharing my secrets, my hard-won wisdom, and the techniques that have transformed me from poached egg disaster to master chef. Whether you're a seasoned cook or a breakfast novice, this guide has something for everyone. Let's dive in!
Part 1: The Essential Equipment
The Right Pot: Your Foundation for Success
First things first, you need the right pot. Not just any old pot will do. You want a saucepan that's medium in size, about 2-3 litres, with a flat, wide base. This will allow for gentle simmering and prevent the eggs from overcrowding. Imagine a spacious haven where your eggs can gently cook without bumping into each other, resulting in a smooth, even cook.
I've found that a saucepan with a diameter of around 18-20 cm is ideal. It's not too big, so you're not wasting water, and not too small, so your eggs have enough space. Remember, we're aiming for elegance, not a crowded egg party!
A Slotted Spoon: Your Egg Handler Extraordinaire
Your trusty slotted spoon is your best friend when it comes to poaching. You'll use it to gently lower the eggs into the water, and to lift them out once they're cooked. Look for a spoon with a wide, flat base, so it can easily hold the egg without it slipping through the gaps.
A good slotted spoon should feel comfortable in your hand and have sturdy, smooth edges. You want to ensure a secure grip and prevent any accidental egg drops. After all, we're aiming for a graceful egg handling experience.
A Small Bowl: Creating the Perfect Whirlpool
This is for swirling the water just before you drop the eggs in. You'll need it to create a gentle whirlpool, which helps keep the egg whites together and prevents them from spreading out too much. It's like creating a miniature water vortex, gently guiding your egg whites into a neat, compact form.
A small bowl, about 15 cm in diameter, is ideal. It's just the right size to create a swirling motion without overwhelming the water.
Part 2: Mastering the Water: The Heart of Poaching
The Importance of Simmering: The Gentle Approach
Now, let's talk about the water. It's crucial to have the water simmering gently, not boiling. Think of a gentle bubbling, almost like a quiet simmer. You can tell it's simmering when small bubbles rise slowly to the surface. If the water is boiling, it'll be too turbulent and your egg whites will spread out, creating a messy, unappealing shape.
Imagine the water as a warm bath for your eggs. Too hot, and they'll scurry about in a panic, their whites scattering in all directions. But just the right temperature, and they'll relax, forming a beautiful, compact shape.
Vinegar, the Secret Weapon: A Little Trick for Texture
Now for the secret ingredient - vinegar! Adding a tablespoon of white vinegar to the simmering water helps keep the egg whites together and gives the egg a more firm texture. Don't worry, it won't make your egg taste like vinegar. The vinegar evaporates during the cooking process, leaving you with a perfectly poached egg.
The vinegar acts like a gentle guide, helping the egg whites coagulate quickly and evenly. It's a bit like a culinary magic trick, making your poached egg beautifully firm and smooth.
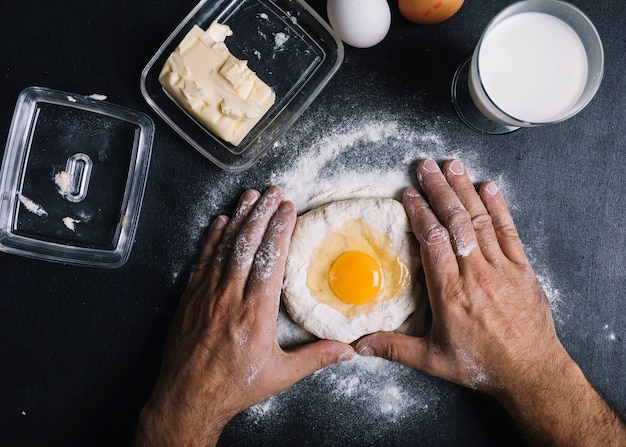
Part 3: The Egg Preparation: From Shell to Perfection
choosing the right eggs: Freshness Matters
I prefer to use fresh, free-range eggs for poaching. The yolks are richer and the whites are more firm, which makes for a more beautiful and satisfying poached egg. Think of it as choosing the finest ingredients for your culinary masterpiece.
fresh eggs have a lovely, vibrant yolk, with a rich, creamy texture. The whites are also more cohesive, resulting in a poached egg with a beautiful, compact form.
The Cold Water Plunge: A Quick Refresh
Before you drop your eggs into the simmering water, give them a quick dip in a bowl of cold water. This helps to remove any loose egg whites that might cloud the water and make your egg look less appealing. It's like giving your egg a refreshing dip before it takes a luxurious bath in simmering water.
The cold water shock helps to tighten the egg white, ensuring that only the most pristine parts are submerged. It's a subtle step that can make a world of difference to the final presentation.
Part 4: The Poaching Technique: The Art of the Gentle Drop
The Gentle Drop: A Delicate Touch
Now, for the moment of truth. Hold the egg gently in your hand, and gently lower it into the simmering water, using your slotted spoon to guide it. Make sure the egg doesn't break. Treat your egg with the care it deserves, ensuring a smooth and gentle transition into the water.
Imagine you're cradling a precious jewel. Gently guide it into the water, allowing it to sink gracefully to the bottom.
The Whirlpool: A Guiding Current
Once the egg is in the water, gently swirl the water around the egg using your spoon. This helps to keep the egg whites tightly packed and prevents them from spreading out too much. It's like creating a miniature water vortex, gently guiding your egg whites into a neat, compact form.
Think of the whirlpool as a comforting embrace, gently swirling the egg whites together, ensuring a flawless, even cook.
The cooking time: To Your Taste
Cooking time depends on how runny you want your yolk. For a runny yolk, cook for 2-3 minutes. For a slightly firmer yolk, cook for 4-5 minutes. I personally prefer a runny yolk, so I usually cook mine for 3 minutes. It's a matter of personal preference, so experiment until you find the perfect texture for your taste.
Think of the cooking time as a spectrum of yolk textures. From a silky, runny yolk to a slightly firmer, more set yolk, there's a perfect spot for every preference.
Part 5: The Finishing Touches: Elevating Your Creation
Lifting the Egg: Graceful Extraction
Once your egg is cooked to your liking, carefully lift it out of the water using your slotted spoon. Gently tilt the spoon to drain excess water, and place the egg on a paper towel to absorb any remaining moisture. Treat your poached egg with the utmost care, ensuring a smooth transition from the water to your plate.
Think of the slotted spoon as a rescue boat, gently lifting your egg from the water and guiding it to safety.
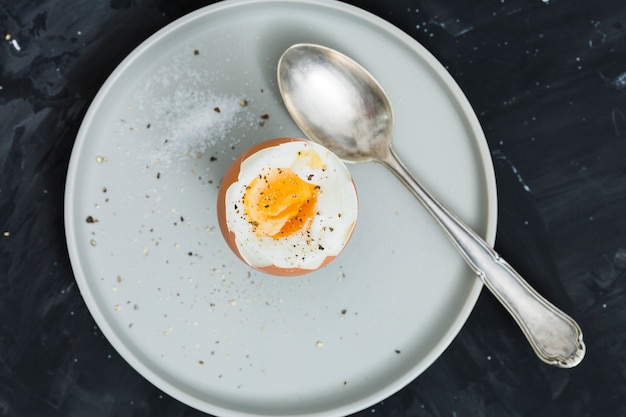
Seasoning Perfection: Adding a Touch of Flavor
Salt and pepper are the perfect accompaniments to a poached egg. Season generously, or add your favourite spices. I love a pinch of paprika or cayenne pepper for a little kick. A sprinkle of seasoning adds a burst of flavor, enhancing the natural taste of the egg.
Imagine the seasoning as a final flourish, adding a touch of artistry to your culinary masterpiece.
Part 6: Troubleshooting Common Poaching Problems: Solving the Puzzles
Even with the best of intentions, sometimes things don't go exactly to plan. Here are a few common poaching problems and how to solve them:
Egg Whites Spreading Out: Maintaining Shape
If your egg whites are spreading out too much, it's likely because the water is too hot. Reduce the heat and let the water simmer gently. Think of the water as a comforting embrace, gently guiding the egg whites together, ensuring a flawless, even cook.
Eggs Not Cooking Evenly: Ensuring a Consistent Cook
If your egg is not cooking evenly, try swirling the water around the egg more often. This will help ensure that the heat is distributed evenly. Imagine the water as a gentle current, constantly circulating around your egg, ensuring a smooth and consistent cook.
Eggs Turning Out Too Hard: Achieving the Perfect Texture
If your eggs are turning out too hard, try cooking them for a shorter amount of time. You can also try using older eggs, as they tend to cook more quickly than fresh eggs. Experiment with cooking times and egg freshness until you find the perfect texture for your taste.
Part 7: Creative Poached Egg Ideas: Beyond the Basics
Once you've mastered the art of poaching, the possibilities are endless! Here are a few creative ideas to inspire you:
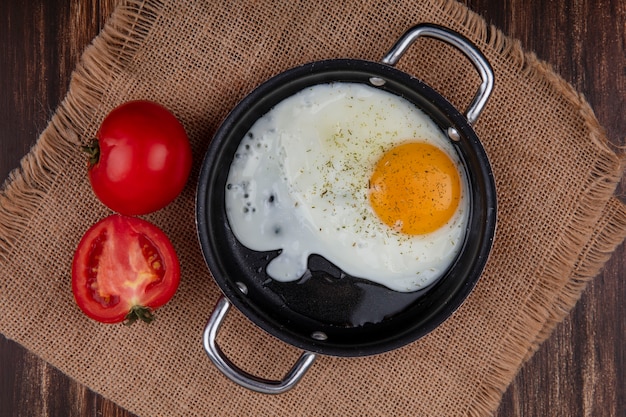
Poached Eggs on Toast: A Classic Delight
A classic for a reason! Serve your poached egg on top of toasted sourdough bread with a drizzle of hollandaise sauce. A simple yet elegant combination, perfect for a satisfying brunch or a quick and easy breakfast.
Poached Eggs with Avocado: A Healthy and Delicious Fusion
A healthy and delicious combination. Top your poached egg with mashed avocado, a sprinkle of chili flakes, and a squeeze of lemon juice. A refreshing and flavorful dish, perfect for those who appreciate a balanced meal.
Poached Eggs with smoked salmon: A Luxurious Experience
A luxurious and flavorful breakfast. Serve your poached egg on top of a bed of smoked salmon with a dollop of crème fraiche and some dill. A delectable combination of textures and flavors, perfect for a special occasion.
Part 8: Beyond the Basics: Exploring Advanced Techniques
The sous vide method: Precise and Consistent
For the ultimate in poached egg perfection, try the sous vide method. Simply place your eggs in a sealed bag, submerge them in a water bath at a precise temperature, and let them cook for a set amount of time. The results are incredibly consistent and the yolk is perfectly runny. A sophisticated technique for the discerning cook, resulting in a truly exceptional poached egg.
Poaching in a Ramekin: An Alternative Approach
If you don't have a saucepan, you can poach eggs in a ramekin. Simply grease the ramekin, crack the egg into it, and place it in a bain marie (a bowl of hot water). A versatile method, allowing you to poach eggs even if you don't have a specific poaching pan.
Part 9: FAQs: Answering Your Poaching Questions
1. Can I poach multiple eggs at once?
Absolutely! Just make sure you have enough space in your saucepan so that the eggs don't crowd each other. I usually poach two eggs at a time, but you can poach up to four in a larger saucepan. A little planning goes a long way when poaching multiple eggs.
2. What happens if I don't use vinegar?
You can poach eggs without vinegar, but they may not be as firm or have as nice a shape. The vinegar helps to keep the egg whites together and prevents them from spreading out too much. While not essential, vinegar does enhance the overall texture and appearance of your poached eggs.
3. Can I poach eggs in a microwave?
It's not recommended to poach eggs in a microwave, as they can end up rubbery and unevenly cooked. Stick to the stovetop for best results. While tempting, microwaving eggs is not the ideal method for poaching.
4. How can I tell if a poached egg is cooked?
The egg white should be completely set, and the yolk should be cooked to your desired level of doneness. If the yolk is still runny, continue cooking for a few more seconds. A gentle jiggle of the egg will reveal its internal state.
5. What should I do if my egg breaks when I lower it into the water?
Don't worry, it happens! Just use your slotted spoon to gently scoop up the broken egg white and discard it. The yolk will still cook, but the egg will have a less appealing shape. Even the most experienced cooks have occasional egg mishaps.
Conclusion
Poaching eggs may seem intimidating at first, but trust me, it's much easier than you think. With a little practice and these tips, you'll be whipping up perfect poached eggs in no time. So go on, give it a try! And remember, practice makes perfect (or at least, almost perfect). Embrace the joy of mastering this culinary skill, and enjoy the delicious results.
Everyone is watching

Prime Rib Roast Cooking Time Chart: Per Pound Guide
Cooking TipsPrime rib roast. Just the name conjures images of lavish dinners, crackling fires, and hearty laughter. It’s ...

How Long to Bake Potatoes in the Oven (Perfect Every Time)
Cooking TipsBaked potatoes are a staple in my kitchen. They're incredibly versatile, delicious, and surprisingly easy to m...

Perfect Rice Every Time: The Ultimate Guide to Cooking Rice
Cooking TipsAs a self-proclaimed foodie, I've always been a bit obsessed with rice. It's the foundation of countless cuisi...

The Ultimate Guide to Cooking Asparagus: Tips, Techniques, and Recipes
Cooking TipsAsparagus. The mere mention of this spring delicacy conjures up images of vibrant green spears, crisp and burs...

Ultimate Guide to Cooking the Perfect Thanksgiving Turkey
Cooking TipsThanksgiving. Just the word conjures up images of overflowing tables laden with delicious food, the scent of r...