choosing the right cut: The Foundation of Flavor

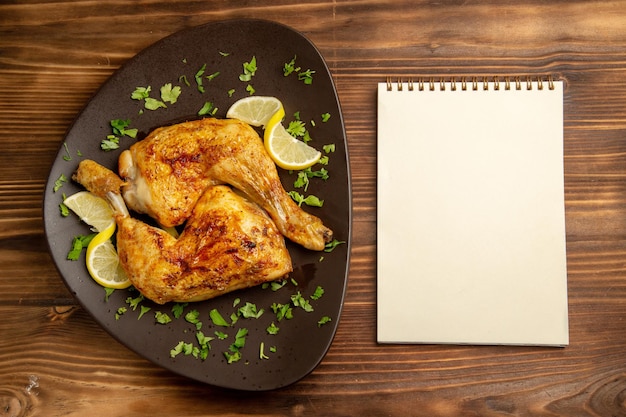
Before we even start thinking about heat and pans, let's talk about the star of the show—the chicken. Now, I'm a big fan of chicken breasts for pan-searing. They're typically thinner, which means they cook quickly and evenly, and they hold their shape nicely. This is especially helpful if you're planning on slicing them up for a salad or serving them with a side dish.
But hey, don't feel limited. chicken thighs, with their naturally juicier flesh, are another great option. They hold up well to higher heat and can be incredibly flavorful. If you're going for a more rustic or casual vibe, chicken thighs are the way to go. Just be aware that thicker cuts will take a bit longer to cook.
Preparing the Chicken: The Secret to a Crisp Crust

Alright, so you've got your chicken. Now, let's prep it for pan-searing success. Patting the chicken dry with paper towels is a crucial step that shouldn't be skipped. Moisture creates steam, which can hinder that beautiful browning process we're aiming for.
Seasoning: The Flavor Symphony
I'm a minimalist when it comes to seasoning my chicken. Salt and pepper—that's all you really need. It allows the natural flavors of the chicken to shine through. But hey, if you're feeling adventurous, feel free to get creative. Herbs like rosemary, thyme, or oregano are fantastic additions, as are spices like garlic powder, paprika, or even a dash of cayenne for a bit of heat.
And here's a little trick I learned from my grandma: before you season, rub the chicken with a touch of olive oil. It creates a barrier between the chicken and the pan, preventing sticking and helping the crust develop even more beautifully.
The Pan: Your Culinary Weapon of Choice

Now, let's talk about the pan. A cast-iron skillet is my go-to for pan-searing. It gets incredibly hot, distributes heat evenly, and can retain that heat, which is essential for achieving a crispy crust. The heat helps to render the fat in the chicken skin, which creates those crispy bits we all crave.
If you don't have a cast-iron skillet, don't fret. A heavy-bottomed stainless steel pan will work just fine. Just make sure it's oven-safe because you might need to transfer the chicken to the oven to finish cooking.
Pan-Searing the Chicken: The Art of High Heat
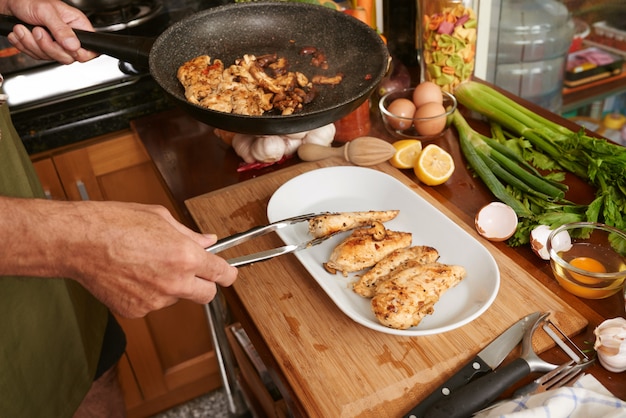
Alright, it's time for the main event! Get your pan super hot. I'm talking medium-high heat, the kind that makes the pan sizzle when you touch it. This is crucial for searing the chicken and creating that gorgeous, crispy crust. The pan needs to be smoking hot before you add the chicken.
Gently place your chicken in the hot pan. You'll hear that satisfying sizzle – that's a good thing! It means your pan is hot enough. Now, be patient. Don't rush to flip the chicken. Let it sit for about 3-4 minutes per side, allowing it to form a beautiful crust. Remember, the longer you let it cook undisturbed, the crispier it will become. Avoid moving the chicken too much, or you’ll interrupt the formation of the crust.
If you're using bone-in chicken, consider cooking it a bit longer on the bone-in side to ensure it's cooked through.
Checking for Doneness: The Signs of a Perfect Cook
Now, how do you know if your chicken is cooked through? Well, there are a few ways. First, the classic method: a meat thermometer. Insert the thermometer into the thickest part of the chicken, and you want it to reach an internal temperature of 165 degrees Fahrenheit (74 degrees Celsius).
If you don't have a thermometer, you can use the "finger press" method. Gently press on the chicken with your finger. If it feels firm and springs back, it's cooked through. But if it feels spongy, it needs a bit more time in the pan.
Finishing Touches: Resting for Juiciness
Once your chicken is cooked through, remove it from the pan and let it rest for about 5-10 minutes before slicing and serving. Resting allows the juices to redistribute throughout the meat, resulting in a juicy and flavorful piece of chicken.
Cooking Time Guide: Your Road Map to Perfection
Now for the part you've been waiting for: the cooking time guide! This is a general guide, so always double-check the internal temperature of your chicken with a meat thermometer to make sure it's cooked through.
Chicken Cut | Cooking Time | Internal Temperature | Notes
| Chicken Breast (bone-in) | 15-20 minutes | 165 degrees Fahrenheit (74 degrees Celsius) | Cook until the juices run clear. | ||||
| Chicken Breast (boneless, skinless) | 8-10 minutes | 165 degrees Fahrenheit (74 degrees Celsius) | Cook until the juices run clear and the chicken is no longer pink. | ||||
| Chicken Thigh (bone-in) | 20-25 minutes | 165 degrees Fahrenheit (74 degrees Celsius) | Cook until the juices run clear and the chicken is no longer pink. | ||||
| Chicken Thigh (boneless, skinless) | 12-15 minutes | 165 degrees Fahrenheit (74 degrees Celsius) | Cook until the juices run clear and the chicken is no longer pink. | ||||
| Chicken Drumstick | 30-40 minutes | 165 degrees Fahrenheit (74 degrees Celsius) | Cook until the juices run clear and the chicken is no longer pink. |
FAQs: Addressing Your Chicken Concerns
1. Can I pan-sear frozen chicken?
It's not a good idea to pan-sear frozen chicken. It won't cook evenly, and it might not reach a safe internal temperature. Always thaw your chicken completely in the refrigerator before cooking.
2. What if my chicken is sticking to the pan?
If your chicken is sticking, your pan might not be hot enough. Increase the heat to medium-high and let the pan get screaming hot. You can also try using a non-stick pan.
3. What can I do with leftover pan-seared chicken?
Leftover pan-seared chicken is incredibly versatile! It's fantastic in salads, sandwiches, or wraps. You can also make a delicious chicken salad or a hearty chicken soup.
4. What are some tips for getting a crispy crust?
To get that perfect crispy crust, make sure your pan is super hot before adding the chicken. Don't overcrowd the pan, and let the chicken cook undisturbed for a few minutes before flipping it.
5. Can I pan-sear chicken in the oven?
Absolutely! You can pan-sear chicken in the oven. Preheat your oven to 400 degrees Fahrenheit (204 degrees Celsius) and place the pan in the oven for about 5-10 minutes, depending on the thickness of the chicken.
Conclusion: Your Pan-Seared Chicken Triumph
So there you have it—my tips for creating a perfectly pan-seared chicken. Choose the right cut, prep it properly, get your pan scorching hot, and check the internal temperature. With a little practice and these helpful tips, you'll be enjoying delicious, juicy, and perfectly pan-seared chicken in no time. Bon appetit!
Everyone is watching

Perfect Rice Every Time: The Ultimate Guide to Cooking Rice
Cooking TipsAs a self-proclaimed foodie, I've always been a bit obsessed with rice. It's the foundation of countless cuisi...

Prime Rib Roast Cooking Time Chart: Per Pound Guide
Cooking TipsPrime rib roast. Just the name conjures images of lavish dinners, crackling fires, and hearty laughter. It’s ...

The Ultimate Guide to Cooking Asparagus: Tips, Techniques, and Recipes
Cooking TipsAsparagus. The mere mention of this spring delicacy conjures up images of vibrant green spears, crisp and burs...

Ultimate Guide to Cooking the Perfect Thanksgiving Turkey
Cooking TipsThanksgiving. Just the word conjures up images of overflowing tables laden with delicious food, the scent of r...

How Long to Bake Potatoes in the Oven (Perfect Every Time)
Cooking TipsBaked potatoes are a staple in my kitchen. They're incredibly versatile, delicious, and surprisingly easy to m...
