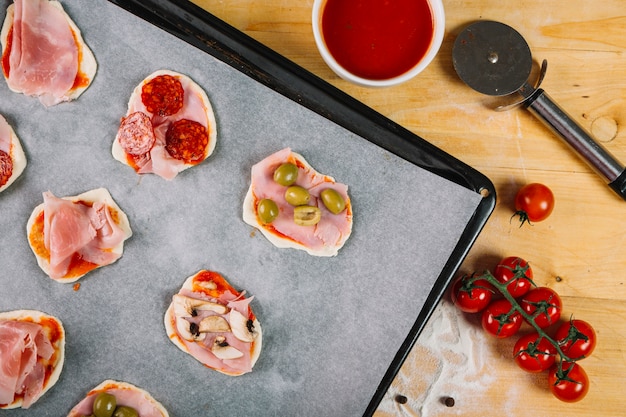
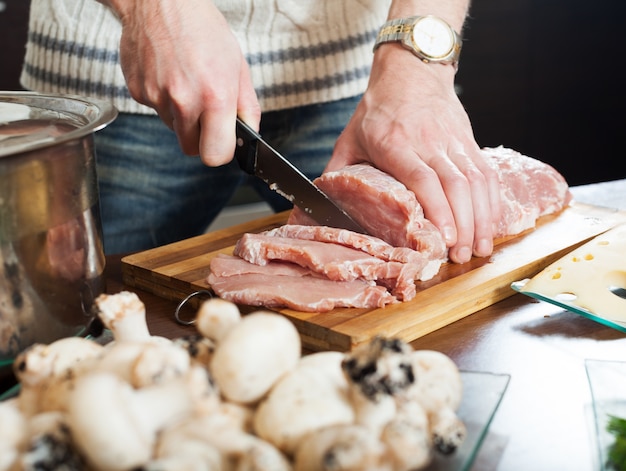
There's something truly magical about a perfectly cooked ham. It’s a real crowd-pleaser, perfect for any occasion, from a casual family dinner to a grand holiday feast. And the best part? It’s surprisingly easy to make. I’ve been making oven-baked ham for years, and I’ve learned a thing or two along the way. I’m here to share my secrets, my tips and tricks, and my tried-and-true recipe for a juicy, flavorful ham that’ll have everyone licking their plates clean. Trust me, even if you’ve never cooked a ham before, you’ll be a pro after reading this.
(Part 1) Choosing the Right Ham:

The first step to a perfect oven-baked ham is choosing the right one. Believe it or not, there are a ton of options out there, and knowing what you’re looking for can make all the difference.
types of ham: A Quick Guide
Here's the thing about hams: they come in all shapes, sizes, and flavours. Let’s break down the most common types, so you can choose the one that best fits your needs:
- spiral-sliced ham: This is my go-to. It’s already pre-sliced, making it super convenient for carving and serving. This type is usually fully cooked, so you just need to warm it up.
- bone-in ham: This type comes with the bone still attached. It offers a more traditional flavour and can be a bit more challenging to carve, but it’s worth the effort. You'll need to cook it from raw, and it can take a bit longer.
- cured ham: This ham has been cured, usually with salt and sometimes sugar, to preserve it. It often has a saltier flavour.
- smoked ham: Smoked hams have been cooked over wood smoke, which gives them a distinct and delicious flavour. They are typically fully cooked but may need additional heating.
Size Matters: Feeding the Crowd
The size of the ham you choose will depend on the number of people you’re serving. If you’re just feeding a few people, a smaller ham will do just fine. But for a big gathering, you’ll want to go for something larger. Here's a handy table to help you decide:
| Ham Size | Serving Size |
|---|---|
| 5-7 lbs | 6-8 people |
| 8-10 lbs | 10-12 people |
| 12-14 lbs | 15-20 people |
Flavor Profile: A World of Choices
Let's talk about flavor! Hams come with a range of flavors, from classic honey-glazed to more adventurous options like maple-bourbon or brown sugar-mustard. Think about the occasion and your guests' preferences. For a casual gathering, you might opt for a classic honey glaze. For a more festive occasion, a maple-bourbon glaze might be a great choice.
(Part 2) Preparing the Ham: Getting Ready for the Oven

Now that you've got your ham, it’s time to get it ready for the oven. Here’s a step-by-step guide:
1. Remove the Packaging: First Things First
First things first, remove the ham from its packaging. If it’s in a plastic bag, be sure to take it out and pat it dry with paper towels. This will prevent any moisture from steaming up in the oven.
2. Score the Ham (Optional): A Flavorful Touch
Scoring the ham helps the glaze penetrate better and creates a beautiful, golden brown crust. To score, use a sharp knife to make diagonal cuts about 1/4 inch deep across the fat side of the ham. It’s best to score the ham before applying the glaze, so it can absorb the flavours more fully.
3. Place the Ham in a roasting pan: Creating a Safe and Flavorful Base
Grab a roasting pan large enough to accommodate the ham. Place the ham in the pan, fat side up. This will allow the fat to render and baste the ham during cooking.
4. Add Liquid to the Pan: Keeping it Moist and Delicious
Pour about 1 cup of liquid into the roasting pan. This will help keep the ham moist and add extra flavor. Water is fine, but for extra flavour, try apple juice, orange juice, or even beer.
(Part 3) The Glazing Game: Elevating Your Ham to Deliciousness

Glazing is where the magic happens. It gives the ham a beautiful shine, adds extra flavour, and makes it extra delicious. Here’s how to glaze your ham to perfection:
Types of Glazes: From Classic to Creative
You can find pre-made glazes at the supermarket, but I prefer making my own. It’s easy, and you can customize the flavors to your liking. Here are a few ideas to get you started:
- Classic Honey-Glaze: This is a classic for a reason! Mix honey, Dijon mustard, and a pinch of brown sugar. It’s sweet, tangy, and delicious.
- Maple-Bourbon Glaze: If you like a little kick, try mixing maple syrup, bourbon, and a touch of ginger.
- Brown Sugar-Mustard Glaze: A sweet and savory option, this glaze combines brown sugar, mustard, and a touch of apple cider vinegar.
- Fruit-Based Glaze: Get creative with fresh or dried fruits! Try a cranberry-orange glaze, a pineapple-ginger glaze, or a fig-balsamic glaze for a unique twist.
Applying the Glaze: A Timing Trick
Once your glaze is ready, you’ll want to apply it to the ham. You can brush it on every 30 minutes during the cooking process, or you can wait until the last 30 minutes of cooking. The key is to not glaze too early. If you glaze too early, the glaze might burn. Wait until the last 30 minutes to prevent that.
Glazing Tips: Mastering the Art
- Brush it On: Use a pastry brush to apply the glaze evenly to the ham.
- Don't Overdo It: If you glaze too early, the glaze might burn. Wait until the last 30 minutes to prevent that.
- Baste, Baste, Baste: While the ham is cooking, be sure to baste it regularly with the liquid from the roasting pan. This will keep the ham moist and flavorful.
(Part 4) Cooking the Ham: Time for the Oven
Now, let’s get this ham in the oven!
Oven Temperature: The Perfect Heat
Preheat your oven to 325 degrees Fahrenheit (160 degrees Celsius). This temperature ensures even cooking and helps prevent the ham from drying out.
cooking time: A Guide for Success
The cooking time will depend on the size of your ham. Check the package instructions for a specific guide, but generally, you can expect to cook a ham for about 15-20 minutes per pound. Remember, this is just a guideline. Always check the internal temperature to make sure it’s cooked through.
Internal Temperature: Ensuring Safety and Flavor
Use a meat thermometer to ensure the ham is cooked through. The internal temperature should reach 140 degrees Fahrenheit (60 degrees Celsius) for a fully cooked ham. Don't rely solely on the time! The internal temperature is the most accurate way to ensure the ham is cooked safely.
Resting Time: Enhancing Tenderness and Flavor
Once the ham is cooked, let it rest for about 10 minutes before carving. This allows the juices to redistribute, resulting in a more flavorful and tender ham. The resting time is crucial for achieving the perfect texture.
(Part 5) Carving the Ham: A Skillful Presentation
After the resting period, it’s time to carve your beautiful, juicy ham. Here are a few tips for a successful carving experience:
1. Use a Sharp Knife: Making the Task Easier
A sharp knife will make all the difference. A carving knife is ideal, but a good chef’s knife will also work. A sharp knife will slice through the ham cleanly, ensuring even slices and preventing tearing.
2. Carve Against the Grain: Enhancing Tenderness
Carve the ham in thin slices, cutting against the grain. This makes it easier to chew and adds to the overall tenderness of the ham. Carving against the grain is key for achieving a delicate texture.
3. Save the Bones: A Culinary Treasure
Don’t throw away the bones! They’re perfect for making a delicious ham and bean soup or a flavorful stock. The ham bones are full of flavor and can be used to create a hearty and flavorful soup or stock.
(Part 6) Serving the Ham: Creating a Culinary Masterpiece
Now for the best part - serving your delicious ham! Here’s how to make your ham the star of the show:
1. Presentation is Key: A Feast for the Eyes
Arrange the carved ham on a platter, and garnish it with a few sprigs of fresh rosemary or thyme. You can also add a few slices of pineapple or fresh fruit for a pop of color and flavour. Presentation is everything, and a beautifully arranged ham will impress your guests.
2. side dishes: A Flavorful Accompaniment
Serve your ham with a variety of side dishes. Classic choices include mashed potatoes, roasted vegetables, or a green salad. Don’t be afraid to get creative and experiment with different flavors!
- Mashed Potatoes: A creamy and comforting classic.
- Roasted Vegetables: Add color and flavor with roasted brussels sprouts, asparagus, or carrots.
- Green Salad: A refreshing contrast to the richness of the ham.
- sweet potato Casserole: A sweet and savory side dish that complements the ham beautifully.
3. Don't Forget the Bread: Soaking Up the Goodness
A loaf of crusty bread is a must-have for soaking up all those delicious juices.
(Part 7) Leftovers: A Culinary Treasure Trove
Leftovers? No problem! Here’s how to make the most of your leftover ham:
1. ham sandwiches: A Classic for a Reason
A classic for a reason! Combine leftover ham with your favorite condiments and bread for a satisfying sandwich.
2. Ham and Bean Soup: A Hearty and Flavorful Comfort
Use the leftover ham bones to make a hearty and flavorful soup.
3. ham and cheese quiche: A Savory and Satisfying Meal
Chop up the leftover ham and add it to a quiche for a savory and satisfying meal.
4. Ham and potato salad: A New Twist on a Classic
Add diced ham to your favorite potato salad recipe for a boost of flavor and protein.
5. Ham fried rice: A Fusion of Flavors
Combine leftover ham with your favorite fried rice recipe for a quick and delicious meal.
6. Ham and broccoli stir-fry: A Healthy and Flavorful Option
Slice up the leftover ham and add it to a stir-fry with broccoli, carrots, and your favorite sauce for a quick and healthy meal.
7. Ham and Pineapple Pizza: A Sweet and Savory Delight
Try a unique twist on pizza by adding diced ham and pineapple to your favorite crust.
(Part 8) Tips and Tricks: Mastering the Art of Ham Baking
Over the years, I've learned a few extra tips and tricks that can elevate your ham game even further.
1. Don't Overcook: Achieving perfect tenderness
Ham is best cooked to an internal temperature of 140 degrees Fahrenheit. Overcooking can make it dry and tough.
2. Glaze Wisely: Timing is Key
Glazing too early can burn the sugar in the glaze. Wait until the last 30 minutes of cooking to apply the glaze. This ensures a beautiful golden crust without burning the glaze.
3. Rest is Key: Allowing the Juices to Redistribute
Allow the ham to rest for 10 minutes after cooking before carving. This helps the juices redistribute, resulting in a more flavorful and tender ham.
4. Don't Be Afraid to Experiment: Unleashing Your Creativity
Don't be afraid to try different flavor combinations for your glaze. There’s no right or wrong way to make a ham, so have fun and get creative!
FAQs: Your Ham Questions Answered
1. What’s the Best Way to Reheat Leftover Ham?
You can reheat leftover ham in the oven, in the microwave, or on the stovetop. For the oven, preheat to 325 degrees Fahrenheit and reheat the ham for about 15 minutes. For the microwave, heat on high for 30-60 seconds, or until warmed through. On the stovetop, heat over medium heat in a skillet for 5-10 minutes, or until warmed through.
2. Can I Freeze Leftover Ham?
Yes, you can freeze leftover ham. To freeze, wrap it tightly in plastic wrap and then in aluminum foil. It will keep in the freezer for up to 3 months.
3. What Should I Serve with Ham?
Ham pairs well with a variety of side dishes, including mashed potatoes, roasted vegetables, green salads, and fruit salads. You can also serve it with bread, biscuits, or cornbread.
4. How Do I Know When Ham Is Done Cooking?
Use a meat thermometer to check the internal temperature of the ham. It should reach 140 degrees Fahrenheit for a fully cooked ham.
5. Can I cook ham in a slow cooker?
Yes, you can cook ham in a slow cooker. Set the slow cooker to low and cook the ham for 6-8 hours, or until the internal temperature reaches 140 degrees Fahrenheit.
And that, my friends, is how you bake a ham that’s not only perfect, but also incredibly delicious and easy to make! I hope you give it a try and impress everyone around you with your culinary skills. And if you have any other questions or tips to share, please don’t hesitate to leave a comment below. Happy cooking!
Everyone is watching

Perfect Rice Every Time: The Ultimate Guide to Cooking Rice
Cooking TipsAs a self-proclaimed foodie, I've always been a bit obsessed with rice. It's the foundation of countless cuisi...

Prime Rib Roast Cooking Time Chart: Per Pound Guide
Cooking TipsPrime rib roast. Just the name conjures images of lavish dinners, crackling fires, and hearty laughter. It’s ...

The Ultimate Guide to Cooking Asparagus: Tips, Techniques, and Recipes
Cooking TipsAsparagus. The mere mention of this spring delicacy conjures up images of vibrant green spears, crisp and burs...

Ultimate Guide to Cooking the Perfect Thanksgiving Turkey
Cooking TipsThanksgiving. Just the word conjures up images of overflowing tables laden with delicious food, the scent of r...

How Long to Bake Potatoes in the Oven (Perfect Every Time)
Cooking TipsBaked potatoes are a staple in my kitchen. They're incredibly versatile, delicious, and surprisingly easy to m...
