Let's face it, there's nothing quite like the taste of a perfectly cooked new york strip steak. It's a symphony of flavors, a juicy, tender masterpiece that melts in your mouth. And when you grill it, that smoky, charred flavor adds another dimension of deliciousness. But achieving that perfect grill-marked, succulent steak isn't always easy. You might find yourself staring at a charred, dry piece of meat instead of the culinary triumph you had envisioned.
Fear not, my friends! I'm here to guide you through the grilling process, sharing my tried-and-true techniques for creating a New York strip steak that's not only edible, but truly exceptional. We'll cover everything from choosing the right steak to mastering the art of the sear, and even address some common grilling mistakes to avoid. So grab your tongs, gather your ingredients, and let's dive into this adventure together.
Part 1: Choosing Your Steak - The Foundation of Flavor

The first step is crucial: selecting the right steak. Think of it like choosing the perfect canvas for your culinary masterpiece. You wouldn't paint a landscape on a tiny postcard, would you? The same goes for grilling a steak. You need a good foundation to build on.
Thickness is Key
For a New York strip, you want a steak that's at least 1-inch thick. This ensures even cooking and prevents it from drying out too quickly. It gives you room for that beautiful, juicy interior while still allowing the exterior to get that incredible sear.
Marbling: The Secret Weapon
Now, let's talk about marbling. It's the fat that's interspersed throughout the meat, and it's the key to achieving that juicy, flavorful steak. Think of it as the sprinkles on a cupcake - the more sprinkles, the more delicious, right? Well, in this case, the more marbling, the more tender and flavorful your steak will be. You want a steak with good, visible marbling, but don't go overboard. A steak swimming in fat might be overkill. It's all about balance, my friends.
A Butcher's Expertise
I always love getting the butcher's advice. I ask them to pick out a steak that has a good balance of fat and lean. They've got years of experience and can spot a good steak from a mile away. It's worth the extra conversation and a little trust.
Decoding the Grades
Now, you might see those little USDA grade stamps on the steak. That's the US Department of Agriculture's way of telling you how much marbling the steak has. The most common grades are Select, Choice, and Prime.
Let's break it down:
| Grade | Marbling | Tenderness | Flavor | Price |
|---|---|---|---|---|
| Select | Least marbling | Leanest | Mild | Most affordable |
| Choice | Moderate marbling | Tender | Good flavor | Mid-range price |
| Prime | Most marbling | Most tender | Rich flavor | Most expensive |
For everyday grilling, Choice is a good option. Prime is perfect for special occasions when you want to indulge in that extra rich flavor. Select is great for budget-conscious cooks or if you prefer a leaner steak.
Part 2: Prepping the Steak - Setting the Stage for Success

Okay, you've got your perfect steak. Now it's time to prep it for grilling. This is where we get into the nitty-gritty, making sure your steak is ready for its star turn on the grill.
Pat It Dry: The Importance of a Dry Surface
The first step is to pat your steak dry with paper towels. This is crucial because it removes excess moisture, which can lead to steaming rather than searing. You want that lovely, crispy crust, not a soggy, steamed steak. Plus, a dry surface helps the seasoning adhere better, allowing the flavors to really sink in and coat the steak.
Seasoning: A Flavor Bomb Explosion
Now comes the fun part: seasoning! This is where you can really personalize your steak. A classic salt and pepper combo is always a winner, but don't be afraid to get creative. You can experiment with herbs and spices like garlic powder, onion powder, paprika, or even a touch of cayenne for a kick of heat. I love to use a good quality kosher salt and freshly ground black pepper.
Remember, less is more when it comes to seasoning. A light dusting is all you need. You don't want to mask the natural flavor of the steak. And don't forget the sides! A little garlic butter or smoked paprika can add that extra layer of flavor. Let your imagination run wild!
A Light Touch of Oil
Before hitting the grill, give your steak a light coating of olive oil. This helps create that beautiful crust and prevents sticking to the grill grates. But again, we're talking light coating. You don't want it swimming in oil. Just enough to create a nice, even glaze on the surface.
Part 3: Getting the Grill Ready - Setting the Stage for the Sear

You've got your steak prepped and ready to go. Now it's time to fire up the grill!
charcoal grill: The Classic Choice
If you're using a charcoal grill, you want medium-high heat. The coals should be glowing red and have a light layer of ash. You're aiming for a temperature of about 450-500°F (232-260°C) for that perfect sear. If you're using a chimney starter, the coals are ready when they're glowing red and a good portion of them are covered in white ash.
Gas Grill: A Modern Approach
For a gas grill, preheat it to medium-high heat. You want to make sure your grill is hot enough before putting your steak on. A good way to test the temperature is to hold your hand about 6 inches above the grates. If you can only hold it there for 3 seconds, you're good to go!
Clean Grates: A Foundation for Success
Once your grill is nice and hot, clean the grates with a grill brush. This prevents your steak from sticking and keeps your grill clean. Remember, a clean grill means happy grilling.
Part 4: The Big Sear: Creating the Perfect Crust
We're finally at the heart of the grilling process: the sear. This is where we create that coveted crispy crust, the hallmark of a great grilled steak.
Sizzle and Smoke: The Signs of Success
Place your steak directly on the hot grill grates. You should hear that beautiful sizzle, which means the heat is working its magic. Let it cook for about 3-4 minutes per side, or until it develops a nice, dark crust.
Rotation for Those Beautiful Grill Marks
Remember, it's not just about cooking the steak, it's about those gorgeous grill marks. Rotate your steak 90 degrees every minute or so. This creates that criss-cross pattern and gives your steak that restaurant-worthy look.
Space for Breathing: Avoiding a Steamed Steak
Don't overcrowd the grill. Give your steaks some space to breathe and cook evenly. If you have more than one steak, you might need to cook them in batches. You want that steak to get a nice, even sear on all sides, not be steamed by a crowded grill.
Part 5: Flipping and Finishing - Mastering the Interior
We've achieved the perfect sear. Now it's time to flip the steak and cook the interior to your liking.
Check the Crust: A Visual Indicator
Before flipping, take a peek at your steak. Is it developing that nice, crispy crust you're aiming for? You want a beautiful dark brown exterior. Remember, patience is key. The less you poke and prod your steak, the better. Now, go ahead and flip it!
internal temperature: The Science of Doneness
After flipping, use a meat thermometer to check the internal temperature. This is the best way to ensure your steak is cooked to your liking. The temperature you're looking for depends on your preferred doneness. Here's a handy guide:
- Rare: 125-130°F (52-54°C)
- Medium-Rare: 130-135°F (54-57°C)
- Medium: 135-140°F (57-60°C)
- Medium-Well: 140-145°F (60-63°C)
- Well Done: 145°F (63°C) or higher
For a New York strip, I personally prefer medium-rare. It's that perfect balance of tenderness and flavor. But ultimately, it's your steak, cook it to your liking!
The Resting Time: Re-Distributing Flavor and Juices
Once the steak has reached your desired doneness, remove it from the grill and let it rest for about 5-10 minutes. This is crucial. It allows the juices to redistribute throughout the steak, making it more tender and flavorful. Cover it loosely with aluminium foil to keep it warm. You're almost there!
Part 6: Serving Time - Enjoying Your Culinary Triumph
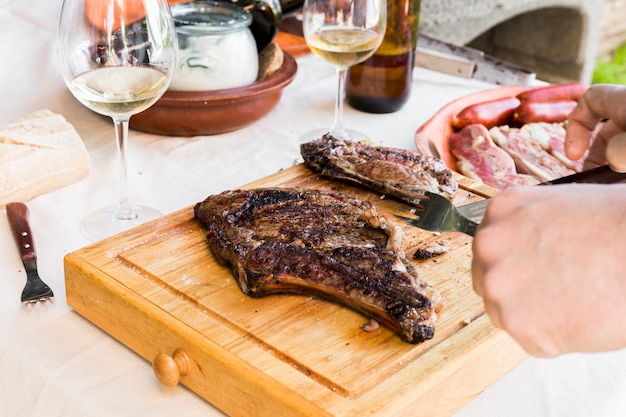
The moment of truth has arrived! Your perfectly grilled new york strip steak is ready to be devoured!
Slicing with Finesse: A Final Touche
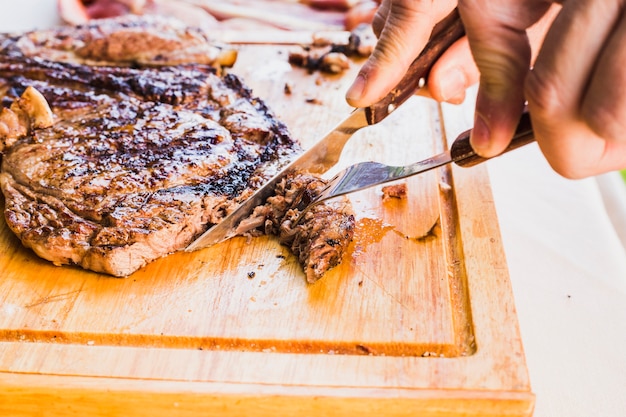
After the steak has rested, slice it against the grain. This means slicing perpendicular to the direction of the muscle fibers. This makes it easier to chew and creates more tender bites.
Sides that Complement: A Culinary Symphony
No steak is complete without delicious sides. Consider classics like mashed potatoes, asparagus, or a green salad. But don't be afraid to get creative! How about roasted brussels sprouts with balsamic glaze, or a side of creamy polenta? The possibilities are endless!
Sauces to Enhance: A Finishing Touch
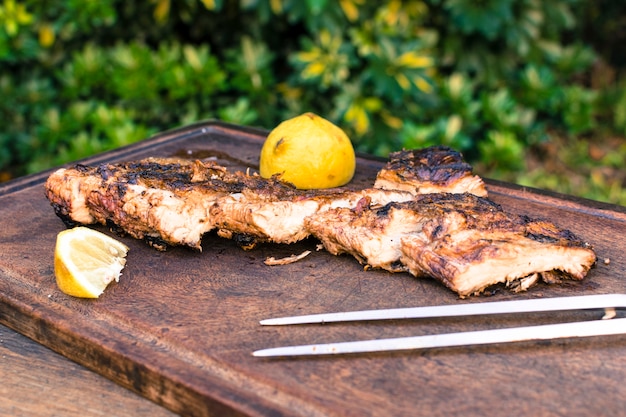
A little sauce can elevate your steak to a new level. A simple compound butter, a garlic herb sauce, or even just a squeeze of lemon juice can make all the difference. Experiment and find your perfect pairing.
Part 7: Avoiding Grilling Mistakes - Learning from Experience
Even the best of us make mistakes in the kitchen. Here are some common grilling mistakes to avoid:
Overcrowding: A Recipe for Uneven Cooking
We've already touched on this, but it's worth repeating. Don't crowd the grill. It prevents your steak from getting a nice, even sear and can lead to uneven cooking. Give those steaks some space to breathe!
Poke and Prod: A No-No for Moisture Retention
Resist the urge to constantly poke and prod your steak. It causes it to lose moisture and become dry. Let it cook undisturbed, and only check the temperature once or twice. Patience, my friends!
Skipping the Rest: A Missed Opportunity for Juiciness
Never skip the resting time! It's essential for redistributing juices, resulting in a more tender and flavorful steak. Cover it loosely with foil and let it rest for 5-10 minutes. You'll be glad you did.
Part 8: FAQs - Addressing Your Grilling Questions
Now, let's tackle some common grilling questions:
1. How do I know when my steak is cooked to my liking?
The best way to tell is by using a meat thermometer. Insert it into the thickest part of the steak and check the internal temperature. The temperatures for different levels of doneness are listed in the chart above.
2. What if my steak sticks to the grill?
If your steak sticks, don't panic! Use a spatula or tongs to gently pry it loose. If it's really stuck, try letting it cool for a minute or two before trying again. In the future, clean your grill grates before grilling to prevent sticking.
3. What should I do if my steak is overcooked?
If your steak is overcooked, it's tough to fix. But you can try to salvage it by slicing it thinly and making a steak sandwich or adding it to a salad. It won't be as juicy, but you can still enjoy it.
4. Can I grill a steak on a gas grill?
Absolutely! Gas grills are great for grilling steak. Just preheat to medium-high heat and clean the grates before grilling. Use the same techniques for both charcoal and gas grills.
5. What can I do to make my steak extra juicy?
There are a few things to make your steak extra juicy: Choose a steak with good marbling, don't overcook it (use a thermometer!), and let it rest for 5-10 minutes after grilling.
Part 9: Experiment and Enjoy - Your culinary journey Begins Here
So there you have it, my friends, a step-by-step guide to grilling the perfect New York strip steak. It might seem like a lot, but it's all worth it! You'll be rewarded with a juicy, flavorful steak that will impress even the most discerning palates.
Go forth and grill like a pro! And remember, the most important part is to have fun and enjoy the process. Experiment with different seasonings, sauces, and sides to find what you like best.
Happy grilling!
Everyone is watching

Prime Rib Roast Cooking Time Chart: Per Pound Guide
Cooking TipsPrime rib roast. Just the name conjures images of lavish dinners, crackling fires, and hearty laughter. It’s ...

How Long to Bake Potatoes in the Oven (Perfect Every Time)
Cooking TipsBaked potatoes are a staple in my kitchen. They're incredibly versatile, delicious, and surprisingly easy to m...

Perfect Rice Every Time: The Ultimate Guide to Cooking Rice
Cooking TipsAs a self-proclaimed foodie, I've always been a bit obsessed with rice. It's the foundation of countless cuisi...

The Ultimate Guide to Cooking Asparagus: Tips, Techniques, and Recipes
Cooking TipsAsparagus. The mere mention of this spring delicacy conjures up images of vibrant green spears, crisp and burs...

Ultimate Guide to Cooking the Perfect Thanksgiving Turkey
Cooking TipsThanksgiving. Just the word conjures up images of overflowing tables laden with delicious food, the scent of r...
