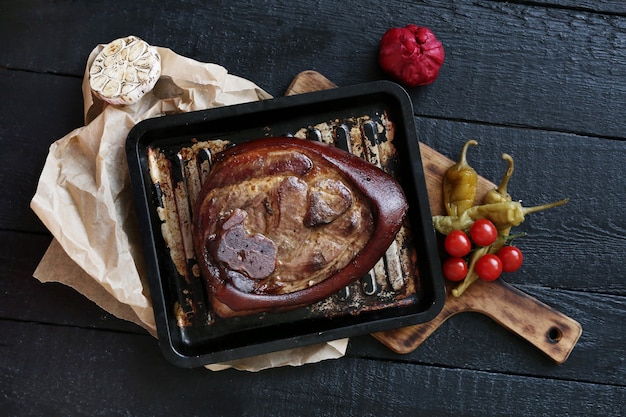
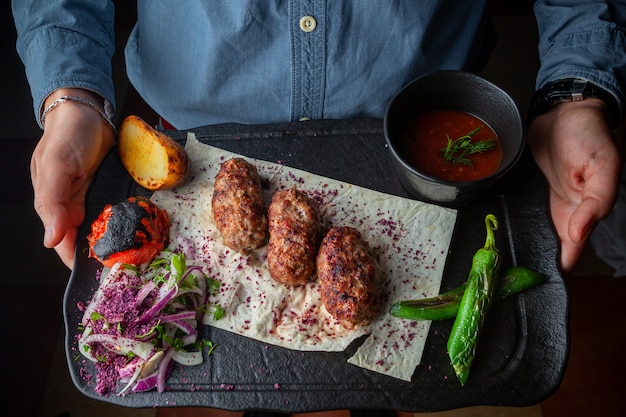
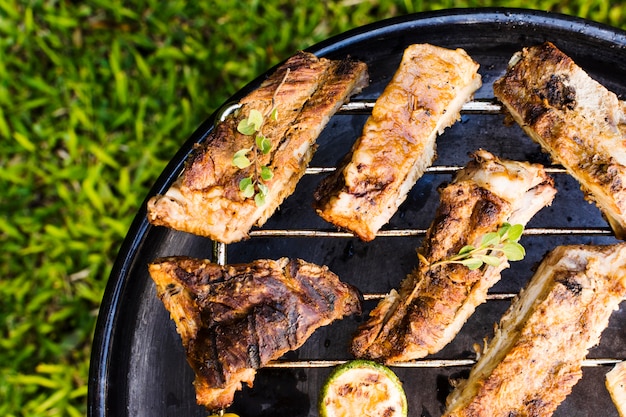
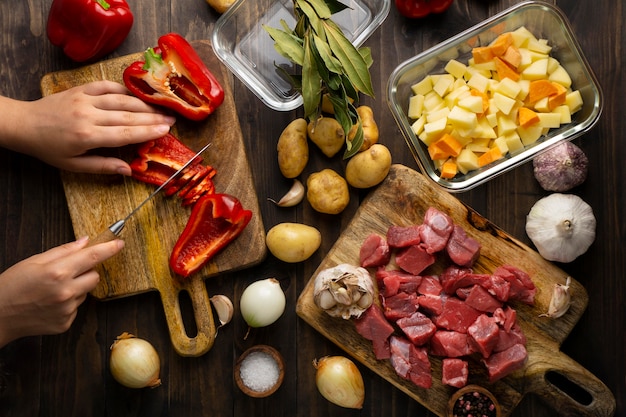
Let's face it, ribs are a classic. But have you ever tried oven-baked flanken ribs? These beauties are a revelation! They're incredibly tender, bursting with flavour, and best of all, they're ready in a fraction of the time of traditional slow-cooked ribs. Trust me, once you've experienced the magic of flanken ribs, you'll be singing their praises. So, grab a fork, a beverage, and get ready to embark on a culinary adventure.
Part 1: What Are Flanken Ribs?

Firstly, let's get down to basics. Flanken ribs, also known as "short ribs" or "plate ribs", are a cut of meat that comes from the lower part of the cow's ribcage, just above the belly. What makes them truly special is their unique shape - they run across the bone rather than along it. This means they have a beautiful marbling of fat, which melts down during cooking, making them incredibly juicy and flavourful.
Why Choose Flanken Ribs?
Now, you might be thinking, "Why not just stick to regular ribs?" Well, flanken ribs have a few aces up their sleeve. They're incredibly forgiving, meaning they're not as prone to drying out as other cuts, so you can relax a bit about overcooking them. Secondly, their unique cut means they have a larger surface area that can be exposed to heat, resulting in faster cooking times. We're talking about delicious, melt-in-your-mouth ribs in a fraction of the time. And lastly, they simply have this incredible, rich flavour that's hard to resist. It's a symphony of sweet and savory notes that dance on your tongue.
Part 2: Getting Your Flanken Ribs Ready

You've got your flanken ribs, now what? The secret to perfect oven-baked flanken ribs lies in the preparation. It's all about creating a beautiful canvas for flavour, one that's smooth, even, and ready to absorb the magic of your rub. Let's dive into the details.
Removing the Membrane: A Crucial Step
First things first, you need to tackle the membrane. It's that tough, rubbery layer that covers the underside of the ribs. This membrane can make your ribs tough and chewy, so it's crucial to remove it. You can use a sharp knife or a meat tenderizer. Gently pry it away from the ribs, being careful not to tear the meat. Once it's off, you'll be amazed at how much smoother and more even the surface of the ribs looks. You can even give it a quick rinse under cold water to remove any lingering bits.
Trimming the Fat: A Matter of Taste
Now, we come to the fat. Flanken ribs have beautiful marbling, which is essential for their juiciness and flavour. However, you might want to trim some of the excess fat. This is completely up to your personal preference. I usually go for a good trimming, leaving a thin layer of fat on the ribs. Remember, the fat will melt down during cooking, creating delicious juices that will baste the ribs and enhance their flavour. If you trim too much, you might end up with drier ribs.
Creating a Flavor-Infused Rub: The Magic Touch
Now comes the truly fun part: making the rub. A good rub is essential for infusing your ribs with incredible flavour. You can use a store-bought rub, or you can get creative and make your own. I like to keep it simple, using a combination of brown sugar, paprika, garlic powder, onion powder, salt, and pepper. But feel free to experiment! Play around with different herbs and spices like thyme, rosemary, or even a touch of chili powder. Find the blend that speaks to your taste buds. The key is to rub it all over the ribs, ensuring every crevice is coated. It's this thorough rub that will ensure every bite is a symphony of flavour.
Part 3: The Oven-Baked Magic: Time to Cook!

Okay, you've got your prepped and rubbed ribs, now it's time for the oven to work its magic! We're going for a low and slow bake, allowing the ribs to cook until they're incredibly tender, falling off the bone. It's a simple process that yields stunning results.
Preheat Your Oven: A Crucial First Step
First things first, preheat your oven to 300°F (150°C). It's a good idea to give your oven at least half an hour to reach the desired temperature. This will ensure even cooking and delicious results.
Preparing the Ribs for Baking: Getting Them Ready
Find a large roasting pan and place a rack inside. This will prevent the ribs from sitting directly on the bottom of the pan and will allow for even cooking. Place the ribs on the rack, ensuring they're spread out evenly to ensure even cooking.
Time to Bake: Patience is Key
Now, pop those ribs into your preheated oven and let them bake for about 2 to 3 hours, or until they're tender enough to fall off the bone. You'll know they're done when you can easily pull a rib apart with a fork.
Basting: A Secret to Juiciness
While the ribs are baking, you can add a touch of magic with basting. Every 30-45 minutes, use a brush to generously apply a basting sauce. I like to use a mix of apple cider vinegar and apple juice, but you can use any kind of liquid you like. This will keep the ribs moist and flavorful and give them a beautiful glaze. Just make sure to avoid using any sugary sauces as they can burn during the long baking time.
Part 4: The Finishing Touches: Elevating Your Flanken Ribs
Your ribs are tender, flavorful, and practically begging to be eaten. But there are a few finishing touches that will elevate them to a whole new level of deliciousness. Think of your ribs as a blank canvas, ready to be adorned with a symphony of flavours.
Adding Sauce: A Symphony of Flavors
Once the ribs are cooked, it's time to add a sauce. This is where you can really unleash your creativity. You can use a store-bought barbecue sauce, or you can create your own. I like to use a tangy and smoky sauce, but you can experiment with sweet, spicy, or even fruity flavors. Just make sure the sauce is thin enough to coat the ribs evenly. You can simply brush it onto the ribs while they're still in the oven during the last 30 minutes of baking, or you can remove them from the oven, let them cool slightly, and then slather them in sauce.
Choosing Sides: Complimenting the Stars
No good rib dish is complete without a selection of sides that complement the main event. Think about it: those tender, flavorful ribs need a supporting cast to create a truly unforgettable meal. Here are some classic pairings that always hit the spot:
- Creamy Coleslaw: The crispness and tang of coleslaw cuts through the richness of the ribs, providing a refreshing contrast.
- Mac and Cheese: A classic comfort food that goes hand in hand with any kind of barbecue.
- Baked Beans: A sweet and savory side that adds another layer of flavour.
- Cornbread: A Southern staple that perfectly complements the ribs with its sweet and slightly crumbly texture.
Adding a Touch of Fire: Taking Things Up a Notch
For those who like things a little hotter, you can add a touch of fire to your ribs. A simple way to do this is to sprinkle a pinch of cayenne pepper over the ribs before baking. Or, if you're feeling adventurous, you can use a hot sauce, such as Tabasco or sriracha, to give your ribs a fiery kick. Just be warned: a little goes a long way!
Part 5: Serving and Enjoying Your Masterpiece
Alright, you've got your ribs, you've got your sides, and you've got that incredible aroma filling your kitchen. Now it's time to serve and enjoy your masterpiece! Let's make this experience memorable, with a touch of presentation and a generous serving of happiness.
Presentation: Making a Visual Feast
Don't underestimate the power of presentation. Those ribs deserve to be showcased! Arrange them on a large platter, surrounding them with your chosen sides. You can even get creative with garnishes. A sprinkling of fresh parsley or a few sprigs of rosemary can add a touch of elegance.
Serving: Making It a Shared Experience
Ribs are all about sharing. So, gather your loved ones, put on some good music, and dig in! Make sure to have plenty of napkins on hand, as these ribs are sure to get messy. And don't forget to enjoy the experience! Let the flavours explode in your mouth, savouring each bite.
Part 6: Storing and Reheating: Keeping the Flavour Alive
So you've got some leftover ribs, and you're wondering what to do with them. Fear not, those tasty ribs are far from finished! You can easily store them and reheat them for a delicious meal later. Let's explore some tips and tricks to keep those ribs fresh and flavourful.
Storing: Locking in the Goodness
The best way to store leftover ribs is in an airtight container in the refrigerator. They'll stay good for up to 3-4 days. Just make sure they're properly sealed to prevent any unwanted flavours from mingling with them.
Reheating: Bringing Back the Magic
Now, for reheating, you have a few options. You can reheat them in the oven, but be careful not to overcook them. If you want a quicker option, you can reheat them in the microwave. Just make sure to use a microwave-safe container and add a splash of water to prevent them from drying out.
Part 7: Exploring Variations: Taking Your Ribs on a Flavour Adventure
Now, let's talk variations! The beauty of oven-baked flanken ribs is that they're incredibly versatile. You can tweak the recipe to suit your taste buds and experiment with different flavours. Let's explore some exciting ideas to take your ribs on a flavour adventure.
Adding a Sweet Touch: Honey Glazed Ribs
For a touch of sweetness, try adding a honey glaze to your ribs. Just mix some honey with a bit of soy sauce, garlic powder, and ginger. Brush it on the ribs during the last 30 minutes of baking. The honey will caramelize, creating a delicious, sticky glaze.
Spicing Things Up: Spicy Chipotle Ribs
If you enjoy a bit of heat, you can add some smoky and spicy flavour to your ribs using chipotle peppers. Just blend a couple of chipotle peppers in adobo sauce with some garlic and onion. Mix it with your favourite barbecue sauce and brush it onto the ribs during the last 30 minutes of baking.
A Sweet and Savory Combo: Asian-Inspired Ribs
For a fusion of flavours, try an Asian-inspired rib dish. Combine soy sauce, honey, rice vinegar, and sesame oil. Brush it onto the ribs during the last 30 minutes of baking. You can also add some chopped green onions and sesame seeds for a finishing touch.
Part 8: FAQs: Answering Your Rib-tastic Questions
We've covered a lot of ground today, but you might still have some burning questions about oven-baked flanken ribs. Let's dive into some common queries and find those answers.
FAQs
| Question | Answer |
|---|---|
| Can I use frozen flanken ribs? | Yes, you can use frozen flanken ribs. Just make sure to defrost them completely before cooking. You can defrost them in the refrigerator overnight, or you can use the defrost setting on your microwave. |
| How long do I cook flanken ribs in the oven? | The cooking time for flanken ribs will vary depending on the size of the ribs and the temperature of your oven. Generally, they will need to cook for 2 to 3 hours at 300°F (150°C). |
| How do I know when flanken ribs are done? | The ribs are done when they are tender enough to fall off the bone. You can test this by gently pulling on a rib. If it comes apart easily, they are ready. |
| What if my flanken ribs are dry? | If your ribs are dry, you can try adding a bit of liquid to the roasting pan while they are baking. You can use water, apple juice, or even beer. |
| What are some other ways to cook flanken ribs? | Flanken ribs can also be cooked on the grill, in a slow cooker, or in a pressure cooker. |
There you have it, a complete guide to oven-baked flanken ribs. Now, go forth and conquer the world of rib-tastic deliciousness!
Everyone is watching

Perfect Rice Every Time: The Ultimate Guide to Cooking Rice
Cooking TipsAs a self-proclaimed foodie, I've always been a bit obsessed with rice. It's the foundation of countless cuisi...

Ultimate Guide to Cooking the Perfect Thanksgiving Turkey
Cooking TipsThanksgiving. Just the word conjures up images of overflowing tables laden with delicious food, the scent of r...

The Ultimate Guide to Cooking Asparagus: Tips, Techniques, and Recipes
Cooking TipsAsparagus. The mere mention of this spring delicacy conjures up images of vibrant green spears, crisp and burs...

Can You Cook Spaghetti with Gasoline? (The Shocking Truth)
Cooking TipsWe've all seen those crazy internet trends. You know, the ones that make you wonder, "Did someone actually try...

Chorizo and Eggs Recipe: The Ultimate Guide
Cooking TipsRight, let’s talk about chorizo and eggs. You know, that classic Spanish dish that's always a winner. It's th...
