Let's be honest, chicken thighs are the unsung heroes of the poultry world. They're juicy, flavourful, and way more forgiving than their dry, sometimes-tough breast counterparts. I've always been a big fan of chicken thighs, and there's something magical about them baked in the oven. That crispy skin, the tender, succulent meat... it's a symphony of textures and flavours that's hard to beat.
But, like many of you, I've always struggled with the cooking time. How long do you bake them at 400°F? Is it 30 minutes? 40 minutes? An hour? It felt like a recipe for overcooked, dry chicken. So, I decided to embark on a culinary quest of sorts – to unlock the secrets of perfect oven-baked chicken thighs at 400°F, and share my findings with you.
I’ve experimented with different timings, various chicken cuts, and different ovens, and I think I’ve cracked it! In this article, we'll delve into everything you need to know, from picking the perfect chicken thighs to achieving perfect doneness, and everything in between. By the end, you'll be a chicken-baking pro, ready to impress your family and friends with juicy, delicious chicken thighs every time!
(Part 1) Choosing the Right Chicken Thighs

Let’s start with the basics. You can’t just grab any old chicken thighs from the supermarket and expect them to be perfect. Choosing the right thighs is crucial for a successful bake. Keep these factors in mind:
1. Skin-On or Skin-Off?
This is a personal preference, but I’m a big fan of skin-on chicken thighs. That crispy skin adds a whole other dimension of flavour and texture, and it helps to keep the meat moist and juicy. But if you’re trying to watch your fat intake, skinless chicken thighs are a good option. Just make sure to season them generously to compensate for the missing skin!
2. Bone-In or Boneless?
Another matter of personal preference! bone-in chicken thighs take a bit longer to cook, but they’re typically more flavorful and stay juicier because the bone helps to retain moisture. boneless chicken thighs are quicker to cook, but they can dry out easily if you’re not careful.
3. Size Matters!
This is a big one! The size of your chicken thighs will directly affect the cooking time. Smaller thighs will cook faster than larger ones. If you're using a mix of sizes, it's best to separate the largest thighs so they have more room to cook evenly.
(Part 2) Prepping the Chicken Thighs

You’ve chosen your perfect chicken thighs. Now it’s time to get them ready for the oven! This step is essential for achieving juicy, flavorful results.
1. Rinse and Pat Dry
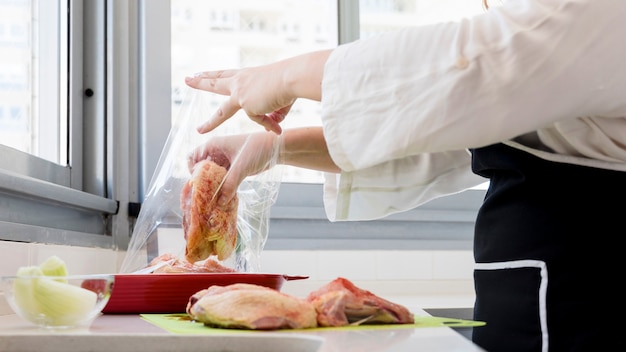
First, rinse the chicken thighs under cold running water. You want to wash away any excess grime or bacteria. Then, pat them dry thoroughly with paper towels. This will help the skin to crisp up nicely in the oven and ensure even cooking.
2. Seasoning is Key
Here’s where the fun starts! Seasoning your chicken thighs is a crucial part of the process, and it’s where you can truly unleash your creativity. I like to use a simple mixture of salt, pepper, and paprika, but you can add whatever your heart desires! Garlic powder, onion powder, dried herbs, lemon zest, even a pinch of cayenne pepper – the possibilities are endless! You can even make your own rub using a combination of different spices.
Just make sure to season generously! You don’t want to be left with bland chicken, do you?
3. The Importance of Fat
If you're using skin-on thighs, don't trim the fat completely. You actually need a bit of it to keep the chicken moist and flavorful. Just remove any excess fat that seems excessive. The fat will render as the chicken cooks, adding flavor and keeping the meat juicy.
(Part 3) Baking the Chicken Thighs

You’re ready to bake! This is the heart of the process. Remember, we're aiming for perfect 400°F cooking time, so follow these tips carefully:
1. Preheat the Oven
Always preheat your oven to 400°F (200°C) before you start. This is crucial for ensuring the chicken cooks evenly and quickly.
2. Choosing the Right Baking Dish
I prefer to use a baking sheet with a rack. The rack lifts the chicken thighs off the bottom of the pan, allowing hot air to circulate around them. This helps to cook them evenly and prevents them from sticking.
If you don't have a baking rack, you can use a roasting pan, but make sure to grease it well to prevent sticking.
3. Don't Overcrowd the Pan
Give your chicken thighs some space to breathe! If you overcrowd the pan, they won't cook evenly, and you might end up with some soggy, undercooked thighs. Make sure there's enough space between each thigh so that they can all cook properly.
(Part 4) The Golden Rule: Timing is Everything
Here’s the thing about cooking time: it’s not a one-size-fits-all situation. Every oven is different, and even chicken thighs from the same batch can vary in size. So, what’s the perfect 400°F baking time?
Let's break it down:
1. The Basic Guidelines
Here's a general guideline for 400°F baking times, based on the size of your chicken thighs:
| Chicken Thigh Type | Approximate Baking Time |
|---|---|
| Bone-in, Skin-on | 30-40 minutes |
| Bone-in, Skinless | 25-35 minutes |
| Boneless, Skin-on | 20-30 minutes |
| Boneless, Skinless | 15-25 minutes |
Remember, these are just estimates. You’ll need to check for doneness using a meat thermometer.
2. The Meat Thermometer Test
The best way to know if your chicken is cooked through is to use a meat thermometer. Insert the thermometer into the thickest part of the thigh, making sure it doesn't touch any bone. The chicken is cooked through when the internal temperature reaches 165°F (74°C).
(Part 5) The Art of Checking Doneness
You’ve popped the chicken thighs in the oven, and you’re waiting patiently. But how do you know when they’re ready? Here are some tips to help you check for doneness without relying solely on the meat thermometer:
1. The Visual Cue: Skin Color
The skin of the chicken thighs should be golden brown and crispy. You should also see some fat rendered out from the skin as well. This indicates that the chicken has been cooking long enough for the skin to crisp up and the fat to release.
2. The Jiggle Test
Gently press the chicken with your finger. If it feels firm and doesn't jiggle, it's probably cooked through. If it feels soft or wobbly, it needs more time in the oven.
3. The Juice Test
If you're still not sure, you can use a fork to poke the chicken. If clear juices run out, the chicken is cooked. If the juices are pink, it needs a bit more time in the oven.
(Part 6) Resting is Key
Once your chicken thighs are cooked, don’t immediately dive in! Let them rest for about 5-10 minutes before serving. This allows the juices to redistribute, resulting in much more tender and flavorful chicken. Think of it as a crucial step in the process to unlock the full potential of your chicken thighs!
(Part 7) cooking tips and Tricks
So, you’ve got the basics down, but here are some extra tips and tricks to help you bake the perfect chicken thighs every time:
1. The Roasting Pan Trick
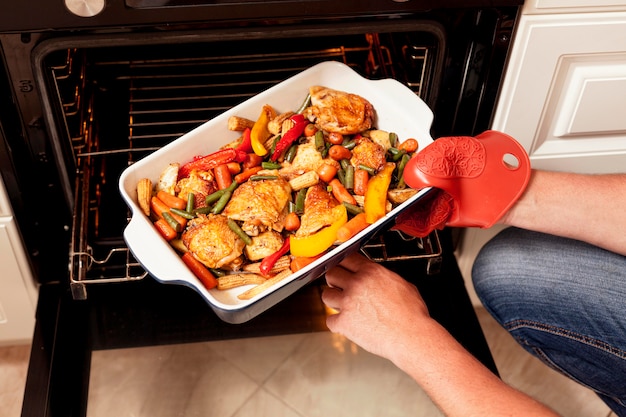
If you're using a roasting pan, you can add some vegetables to the bottom of the pan. The vegetables will roast along with the chicken, absorbing some of the juices and adding flavor. Think carrots, onions, potatoes, or even zucchini. You’ll end up with a delicious, wholesome meal with minimal effort!
2. The Basting Technique
For extra-juicy chicken, you can baste the thighs with melted butter or olive oil during cooking. This will help to keep them moist and tender. Just be careful not to over-baste, as this can make the skin soggy.
3. The Brine Advantage
If you really want to take things to the next level, you can brine the chicken thighs before cooking. This involves soaking them in a salt water solution for a few hours. Brining helps to keep the meat moist and flavorful, making it incredibly tender and succulent. It's a bit more work, but it's worth it for those who appreciate that extra level of juicy perfection!
(Part 8) Beyond the Basics: Flavor Variations
We’ve covered the fundamentals of baking chicken thighs, but now let’s talk about some fun flavour variations. Get ready to unleash your creativity!
1. Mediterranean Delight
For a burst of Mediterranean flavor, try seasoning the chicken thighs with a mixture of oregano, thyme, garlic powder, lemon zest, and a pinch of salt and pepper. This combination will transport your taste buds to a sunny Mediterranean island!
2. Spicy Kick
If you like it hot, add some chili powder, cayenne pepper, and smoked paprika to your seasoning mix. You can also add a sprinkle of chopped jalapeno peppers for a spicy kick. This variation will certainly heat things up!
3. Asian-Inspired Fusion
For a taste of Asia, use soy sauce, ginger, garlic, and sesame oil to marinade the chicken thighs before baking. You can also add a splash of honey or maple syrup for sweetness. This is a delicious and easy way to add an exotic touch to your chicken thighs!
4. Sweet and Savory
For a sweet and savory flavor, try a combination of brown sugar, paprika, and garlic powder. This will give the chicken thighs a lovely crust and a delicious sweetness. It's a perfect blend of sweet and savory, sure to be a crowd-pleaser!
5. Herb-Infused Goodness
For a simple yet satisfying flavor, use fresh herbs like rosemary, thyme, or sage. You can simply rub them on the chicken thighs or make a herb paste. Fresh herbs bring a vibrant, fragrant aroma to your dish.
(Part 9) Serving Up Perfection
Your chicken thighs are baked to perfection. Now, it's time to serve them up! Here are some ideas:
1. The Classic side dishes
You can’t go wrong with classic side dishes like mashed potatoes, roasted vegetables, or a simple green salad. These classic pairings complement the rich flavor of the chicken thighs beautifully.
2. Grain Bowl Goodness
For a healthier option, serve your chicken thighs over a bed of quinoa, rice, or couscous. Add some chopped veggies and a drizzle of tahini sauce for extra flavor. This is a delicious and nutritious meal that's perfect for a quick and satisfying lunch or dinner.
3. Wrap it Up
If you're looking for a quick and easy meal, try wrapping your chicken thighs in a tortilla with some avocado, salsa, and sour cream. This is a perfect on-the-go option that's both delicious and satisfying!
4. The Sandwich Solution
Who doesn't love a good chicken sandwich? You can use the chicken thighs to make delicious sandwiches on ciabatta bread, with some lettuce, tomato, and aioli. It's a classic comfort food that's always a crowd-pleaser!
(Part 10) FAQs
Here are some frequently asked questions about baking chicken thighs:
1. Can I Bake Chicken Thighs Frozen?
It's not recommended to bake frozen chicken thighs. It's best to thaw them completely in the refrigerator before baking. This will ensure that the chicken cooks evenly and safely. Frozen chicken can take longer to cook and may not be cooked thoroughly throughout.
2. How Do I Know if My Chicken Thighs Are Done?
The best way to check for doneness is to use a meat thermometer. The chicken is cooked through when the internal temperature reaches 165°F (74°C). You can also use the visual cues, jiggle test, and juice test as described earlier. However, the meat thermometer is the most reliable method for ensuring safe and thorough cooking.
3. What Happens if I Overcook My Chicken Thighs?
Overcooked chicken thighs will be dry and tough. If you're not sure if your chicken is cooked through, it's better to err on the side of caution and cook it for a few more minutes. However, keep a close eye on it, and check for doneness regularly to avoid overcooking.
4. Can I Bake Chicken Thighs in a slow cooker?
Yes, you can bake chicken thighs in a slow cooker. Simply add the chicken thighs to the slow cooker, season them, and cook on low for 6-8 hours or on high for 3-4 hours. Make sure to check the chicken for doneness before serving. slow cooking is a great way to achieve tender, flavorful chicken thighs without having to worry about overcooking them.
5. What Are Some Other Ways to Cook Chicken Thighs?
Chicken thighs can be cooked in many different ways. You can pan-fry them, grill them, roast them, or even use them in a stew or casserole. The possibilities are endless!
And there you have it! Everything you need to know about baking chicken thighs to perfection. Remember, practice makes perfect! So keep trying, experiment with different flavors, and don’t be afraid to tweak the recipe to your liking. Happy baking!
Everyone is watching

Prime Rib Roast Cooking Time Chart: Per Pound Guide
Cooking TipsPrime rib roast. Just the name conjures images of lavish dinners, crackling fires, and hearty laughter. It’s ...

How Long to Bake Potatoes in the Oven (Perfect Every Time)
Cooking TipsBaked potatoes are a staple in my kitchen. They're incredibly versatile, delicious, and surprisingly easy to m...

Perfect Rice Every Time: The Ultimate Guide to Cooking Rice
Cooking TipsAs a self-proclaimed foodie, I've always been a bit obsessed with rice. It's the foundation of countless cuisi...

The Ultimate Guide to Cooking Asparagus: Tips, Techniques, and Recipes
Cooking TipsAsparagus. The mere mention of this spring delicacy conjures up images of vibrant green spears, crisp and burs...

Ultimate Guide to Cooking the Perfect Thanksgiving Turkey
Cooking TipsThanksgiving. Just the word conjures up images of overflowing tables laden with delicious food, the scent of r...
