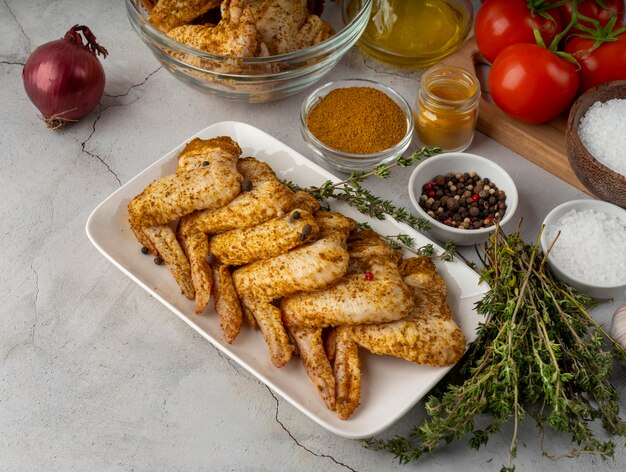
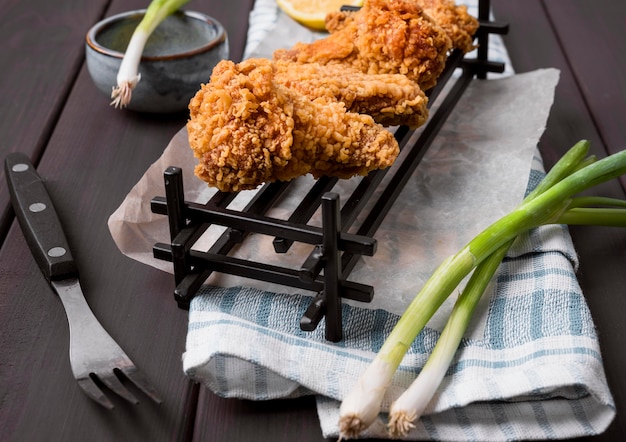
There's something undeniably satisfying about a crispy, juicy chicken tender. They're perfect for a quick and easy meal, a tasty snack, or even a fun finger food for a party. But let's face it, who wants to spend hours in the kitchen deep-frying? It's messy, it can be a little greasy, and frankly, sometimes you just want something simpler. That's where oven-baked chicken tenders come in.
This method delivers all the crispy, flavorful goodness you crave without the hassle. Plus, it's incredibly versatile. You can experiment with different seasonings, breading techniques, and even dipping sauces to create a truly unique experience each time. And the best part? Getting the perfect cooking time down is easier than you think.
Part 1: Setting the Stage

To begin this culinary adventure, you'll need to gather your ingredients. You want quality ingredients for the best results, so I recommend using good quality chicken tenders, preferably boneless and skinless. My go-to choice is a fresh batch from the butcher's counter at my local supermarket. I ask them to cut the chicken breasts into strips, but if that's not an option, pre-cut ones from the frozen food aisle will do.
Step 1: Prepping the Chicken
Once you have your chicken tenders, it's time to give them a little TLC. I start by patting them dry with paper towels, ensuring they're not wet, which could make them steam instead of crisp up. Then, I season them generously with salt and pepper. It's a classic combination that never disappoints, but feel free to add other spices like paprika, garlic powder, onion powder, or even a dash of cayenne pepper if you like a little kick.
Step 2: The Breadcrumb Magic
Now for the fun part - breading! I've experimented with all sorts of techniques, from a simple flour coating to crunchy panko crumbs. But my personal favourite, hands down, is a combination of all-purpose flour, breadcrumbs, and grated parmesan cheese. This gives the tenders a fantastically crispy texture and a delicious cheesy flavour that takes things to another level. Just make sure to shake off any excess breading before baking. You don't want it to stick to the baking sheet!
Part 2: Into the Oven

With your prepped chicken tenders ready to go, it's time to fire up the oven.
Step 3: The Power of Preheating
The oven is the key to this recipe's success, so before you even think about popping those tenders in, make sure it's preheated to 425 degrees Fahrenheit (220 degrees Celsius). This is crucial for achieving that golden-brown, crispy exterior that we all crave.
Step 4: Timing is Everything
Here's the magic number: bake those tenders for 15-20 minutes. However, don't just blindly follow the timer. Keep a watchful eye on them! You want them to be cooked through, with a nice crispy coating. Use a meat thermometer to check if you’re unsure. The internal temperature should reach 165 degrees Fahrenheit (74 degrees Celsius).
If your oven tends to run a bit hot or cold, adjust the cooking time accordingly. You might need to reduce it slightly if it runs hot, or increase it if it's cooler.
Step 5: The Rest is Golden
Once the tenders are cooked through, take them out of the oven and let them rest for a few minutes. This allows the juices to redistribute, resulting in even more succulent chicken. While they're resting, get your dipping sauce ready. I'm a big fan of honey mustard, but ranch dressing, barbecue sauce, or even a simple mix of ketchup and mayonnaise are fantastic options.
Part 3: The 425-Degree Secret

Now, let's delve into the magic behind that 425-degree temperature. It's a crucial element for achieving oven-baked chicken tenderness perfection. Here's why it works so well:
Why 425 Degrees Fahrenheit is the Magic Number
- Crispy exterior: The high heat helps to create a crispy, golden-brown crust on the outside of the tenders. It's all about that perfect balance between heat and time.
- Juicy interior: While the high heat cooks the outside quickly, the oven's internal heat ensures that the chicken cooks through evenly without drying out.
- Quick cooking time: Because of the high temperature, you won't be waiting around for hours. This is a quick and easy meal that you can enjoy on a busy weeknight.
You can experiment with other temperatures, but I've found that 425 degrees consistently delivers the best results. If you are using a convection oven, you may need to adjust the temperature and cooking time slightly.
Part 4: Tips and Tricks
Over the years, I've discovered a few tricks that have taken my oven-baked chicken tenders to the next level. Here are some tips to help you achieve crispy, juicy perfection:
1. Don’t Overcrowd the Baking Sheet
Make sure you don't overcrowd the baking sheet. This will prevent the chicken from cooking evenly, potentially resulting in soggy tenders. Space them out so they have room to breathe and get that perfect crispy coating on all sides.
2. Flip Them Halfway Through
For extra crispness, flip the tenders halfway through the cooking time. This will ensure that both sides are golden brown and crispy.
3. Use a Wire Rack
If you want to elevate your crispy game, place the tenders on a wire rack over a baking sheet. This allows the heat to circulate around the tenders, resulting in even crispier skin. It's a simple trick that makes a big difference.
4. Avoid Opening the Oven Too Often
Opening the oven door too often can let out heat and cause the temperature to drop. This can affect the cooking time and make it harder to achieve the perfect crisp. Only open it to check on your tenders occasionally.
5. Experiment with Different Flavours
Don't be afraid to get creative with your breading and seasonings. You can try adding herbs, spices, or even cheese to your breading. The possibilities are endless!
Part 5: Variations
While the classic oven-baked chicken tender is a winner in its own right, sometimes it's fun to mix things up. Here are a few variations I've tried and loved:
1. Spicy Chicken Tenders
For those who like a little heat, add a pinch of cayenne pepper or a dash of chili powder to your breading. It adds a subtle kick. You can also use a spicy sauce for dipping, like sriracha or buffalo wing sauce, to take the heat up a notch.
2. Parmesan Chicken Tenders
If you're a cheese lover, you'll adore this variation. Simply add grated parmesan cheese to your breading mix. It adds a delicious cheesy flavour and a crispy texture.
3. Garlic Herb Chicken Tenders
For a more flavorful twist, add garlic powder, onion powder, and dried herbs like oregano, basil, or thyme to your breading. It creates a delicious and aromatic flavour.
4. Honey Garlic Chicken Tenders
For a sweet and savory option, try marinating your chicken tenders in a honey garlic sauce before baking. This adds a delicious glaze to the tenders. You can also brush the sauce on during baking for a more intense flavor.
Part 6: Serving Suggestions
Oven-baked chicken tenders are so versatile! They make a fantastic meal on their own, but they also pair well with a variety of sides. Here are a few of my favourite combinations:
1. Side Salads
For a lighter meal, serve your chicken tenders with a side salad. I like to use mixed greens, tomatoes, cucumbers, and a light vinaigrette. You can even add some crumbled bacon or cheese to the salad for a more indulgent option.
2. mashed potatoes
For a more comforting meal, serve your chicken tenders with mashed potatoes. I like to add a little butter and milk to my mashed potatoes for extra richness. You can also get creative with your mashed potatoes by adding herbs, spices, or even cheese.
3. Roasted Vegetables
For a healthier option, serve your chicken tenders with roasted vegetables. I love roasting broccoli, Brussels sprouts, carrots, and asparagus. The roasting process brings out the natural sweetness of the vegetables, creating a delicious side dish.
4. rice pilaf
For a flavorful and aromatic side, serve your chicken tenders with a rice pilaf. I like to use basmati rice and add some herbs and spices to the pilaf. You can use herbs like parsley, cilantro, or chives, and spices like cumin, coriander, or turmeric.
5. Pasta Salad
For a fun and easy side, serve your chicken tenders with a pasta salad. I like to use a variety of pasta shapes and add vegetables, cheese, and a vinaigrette dressing. You can even add some grilled chicken or chickpeas to the pasta salad for extra protein.
Part 7: Storage and Reheating
Oven-baked chicken tenders are great for meal prep, which is especially helpful for busy weeknights. Here's how to store and reheat them for optimal results:
Storage
Once your chicken tenders are completely cooled, store them in an airtight container in the refrigerator for up to 3 days.
Reheating
To reheat your chicken tenders, preheat your oven to 350 degrees fahrenheit (175 degrees Celsius). Place the tenders on a baking sheet and bake for 10-15 minutes, or until heated through.
You can also reheat chicken tenders in the microwave for 30-60 seconds, but this will result in a softer texture. If you're looking for a crispy reheating experience, the oven is always your best bet.
Part 8: FAQs
Here are a few frequently asked questions about oven-baked chicken tenders:
1. Can I bake chicken tenders frozen?
It's not recommended to bake chicken tenders frozen. They will cook unevenly and may not be fully cooked through. Thaw them in the refrigerator overnight before baking.
2. Can I use a different type of chicken?
Yes, you can use boneless, skinless chicken breasts or thighs, but you may need to adjust the cooking time slightly. Chicken breasts will generally cook faster than thighs.
3. Can I use a different type of breading?
Absolutely! You can experiment with different types of breading, such as panko breadcrumbs, crushed crackers, or even cornflakes. Just make sure to use breadcrumbs that are specifically designed for breading, as they tend to be drier and will create a crispier coating.
4. What if my chicken tenders are dry?
If your chicken tenders are dry, you can try adding a little bit of moisture to the breading. You can add a tablespoon of milk or water to the breading mix, or even marinade the chicken in a mixture of milk and spices before breading.
5. What if my chicken tenders are not crispy?
If your chicken tenders are not crispy, you may need to increase the baking time or use a higher temperature. You can also try broiling the chicken tenders for the last few minutes of cooking to help achieve a crispier exterior. Be careful not to burn them, though.
Part 9: Conclusion
There you have it! My secret to perfectly oven-baked chicken tenders. It's a simple and delicious recipe that's perfect for a quick and easy meal. So ditch the deep fryer and embrace the oven. You'll be amazed at how easy and delicious it is to make restaurant-quality chicken tenders at home. Remember, the 425-degree temperature is key! Trust me, your taste buds will thank you. Happy baking!
Everyone is watching

Prime Rib Roast Cooking Time Chart: Per Pound Guide
Cooking TipsPrime rib roast. Just the name conjures images of lavish dinners, crackling fires, and hearty laughter. It’s ...

How Long to Bake Potatoes in the Oven (Perfect Every Time)
Cooking TipsBaked potatoes are a staple in my kitchen. They're incredibly versatile, delicious, and surprisingly easy to m...

Perfect Rice Every Time: The Ultimate Guide to Cooking Rice
Cooking TipsAs a self-proclaimed foodie, I've always been a bit obsessed with rice. It's the foundation of countless cuisi...

The Ultimate Guide to Cooking Asparagus: Tips, Techniques, and Recipes
Cooking TipsAsparagus. The mere mention of this spring delicacy conjures up images of vibrant green spears, crisp and burs...

Ultimate Guide to Cooking the Perfect Thanksgiving Turkey
Cooking TipsThanksgiving. Just the word conjures up images of overflowing tables laden with delicious food, the scent of r...
