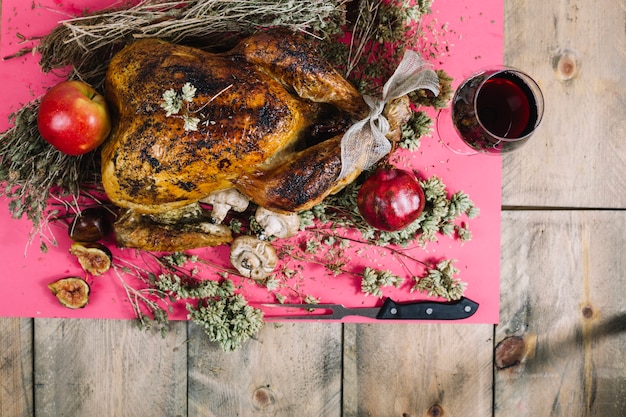
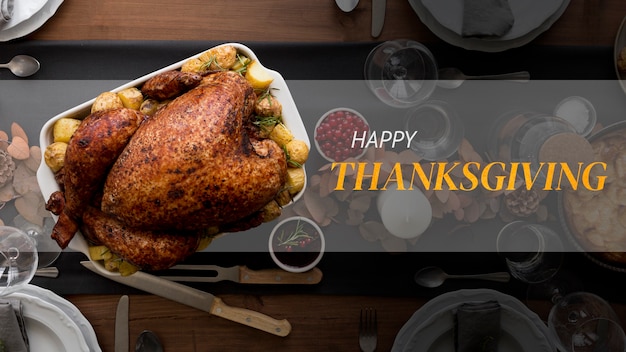
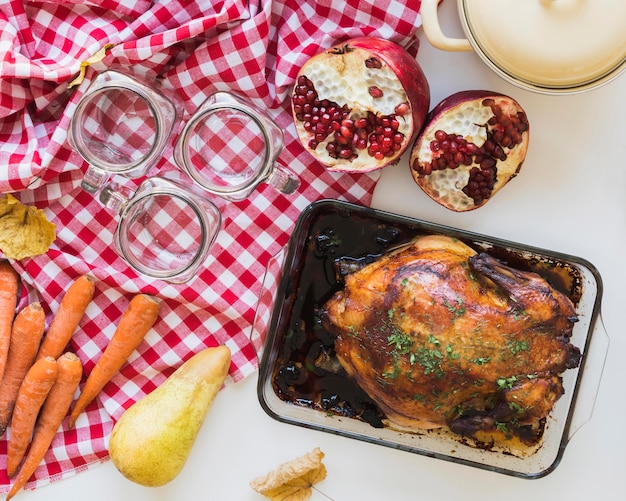
Ah, the turkey. The star of the Christmas table, the centerpiece of a thanksgiving feast, the reason for a gathering of friends and family. Getting it right, though, can be a bit of a pressure cooker. But don't worry, I'm here to walk you through every step of the way, from choosing the perfect bird to carving it with confidence. This is my tried-and-tested guide to roasting a 10lb turkey to absolute perfection.
Part 1: Choosing and Preparing Your Turkey

Finding the Perfect Bird
First things first, let's talk turkey selection. For a family of 4-6, a 10lb turkey is a good size to ensure everyone gets their fill. Now, the great debate: fresh or frozen? I'm a bit of a purist, so I always opt for fresh. But frozen turkeys are perfectly fine, just make sure you give it ample time to thaw in the fridge – about a day for every 5lbs!
Brining: A Choice to Make
Now, here's a controversial topic: brining. This is essentially soaking the turkey in a salty solution, which helps keep it moist and juicy. I've tried both brining and not brining, and frankly, I don't find it to be an absolute necessity. But if you're aiming for that extra-juicy texture, then go for it! Just ensure you have a container large enough to accommodate your bird.
Prepping for the Oven
Alright, your turkey is thawed and ready to go. Pat it dry with paper towels and get ready to stuff the cavity with your favourite herbs and aromatics. I'm a big fan of rosemary, thyme, and sage, but feel free to experiment. Chopped onions and garlic add another layer of flavour.
Part 2: Roasting the Turkey: The Art of Patience

Getting Ready for the Roast
Preheat your oven to 325°F (160°C). Grab a roasting pan big enough for your turkey, and give it a light coating of olive oil. You can add some chopped vegetables like carrots, onions, and celery to the bottom of the pan. These will not only roast along with the turkey but also add flavour to the pan juices.
The Golden Rule of Slow and Steady
The key to a perfectly cooked turkey is slow and steady roasting. Many recipes recommend a high-temperature sear for the first 30 minutes, followed by a lower temperature for the rest of the cooking time. However, I've found that roasting at a lower temperature from the beginning works just as well – just be prepared for a longer cooking time!
Timing is Key: Know Your Oven
For a 10lb turkey, expect to spend around 3-4 hours in the oven. But remember, each oven is unique, so always check the internal temperature with a meat thermometer.
Part 3: Checking for Doneness: Beyond the Juices

The Meat Thermometer: Your Culinary Compass
This is where the meat thermometer is your best friend! You want to ensure your turkey is cooked through and safe to eat. The ideal internal temperature for a turkey is 165°F (74°C) in the thickest part of the thigh. Don't rely solely on the juices running clear – that's not a foolproof indicator.
Resting: Allowing the Juices to Redistribute
Once your turkey is cooked, let it rest for at least 15 minutes before carving. This allows the juices to redistribute, resulting in a juicier and more flavorful bird.
Part 4: Carving with Confidence: A Feast for the Eyes
Mastering the Art of Carving
Now comes the moment of truth: carving. Make sure you have a sharp carving knife and a cutting board that's big enough to accommodate the turkey. Start by carving the legs and thighs, then move on to the breast.
Leftover Magic: From Bones to Broth
Don't throw away those turkey bones! They're the key to a delicious turkey stock. Simply simmer them in water with vegetables for a few hours, strain, and use the stock for soups, stews, or even gravy.
Part 5: Gravy: The Essential Sauce for Success
The Heart of the Feast: Gravy
What's a roast turkey without gravy? It's the perfect complement to the succulent bird. The best gravy is made from the pan juices of the roasted turkey.
Crafting the Perfect Gravy
Remove the turkey from the pan and pour off the excess fat. Add flour to the pan and stir until it's browned. Gradually whisk in chicken or turkey stock until the gravy is smooth and thickened. Season with salt and pepper to taste.
Part 6: Serving the Turkey: A Culinary Masterpiece
The Grand Finale: Presentation is Key
Now, it's time to showcase your culinary masterpiece! Arrange your carved turkey on a platter, pour that rich gravy over it, and serve alongside your favourite sides. My personal go-to is roast potatoes, stuffing, and seasonal vegetables.
The Feast Begins: Sharing the Joy
Gather your loved ones around the table, raise a toast, and enjoy the fruits of your labor. It's a time for sharing, laughter, and celebrating the joy of food and company.
Part 7: FAQs: Answering Your Burning Questions
1. Can I Cook a Turkey in a slow cooker?
While you can cook a turkey in a slow cooker, it's not recommended for a whole bird. Slow cookers are fantastic for smaller cuts of meat, but a whole turkey might not fit and could result in uneven cooking.
2. My Turkey is Too Big for the Oven: What Now?
If your turkey is too large for your oven, you can try cooking it in two halves. Just make sure to reduce the cooking time accordingly.
3. How Long Can I Keep Cooked Turkey in the Fridge?
Cooked turkey can be stored safely in the fridge for 3-4 days. It can also be frozen for 2-3 months.
4. Is it Okay to Stuff the Turkey the Day Before?
It's not recommended to stuff the turkey the day before. This increases the risk of bacteria growth, so it's best to stuff it just before roasting.
5. My Turkey is a Bit Dry: What Can I Do?
If your turkey is a bit dry, you can add some gravy to the platter. You can also check the internal temperature with a meat thermometer to ensure it wasn't overcooked.
Part 8: Final Thoughts: A Celebration of Flavor
There you have it! My tried-and-true guide to roasting a 10lb turkey to perfection. Remember, practice makes perfect, so don't be afraid to experiment and discover what works best for you. And most importantly, have fun!
Part 9: Extra Tips for an Extraordinary Roast
Here are a few more tips to elevate your turkey roasting game:
1. The Art of Basting: Keeping it Moist
Basting the turkey with the pan juices helps keep it moist. You can do this every 30-45 minutes during the cooking process.
2. Trussing for a Perfect Shape: Even Cooking
Trussing the turkey helps keep it in shape and ensures even cooking. Use string or skewers to tie the legs and wings together.
3. Altitude Adjustments: Temperature Considerations
If you're cooking at a higher altitude, you might need to adjust the cooking time. Check your recipe for specific instructions.
Part 10: Conclusion: A Feast for the Senses
roasting a turkey might seem intimidating, but with a little planning and preparation, it's a surprisingly straightforward process. Patience and checking the internal temperature are key to ensuring a perfectly cooked bird. Most importantly, enjoy the process and the delicious results! Now go forth and conquer those turkeys!
Everyone is watching

Prime Rib Roast Cooking Time Chart: Per Pound Guide
Cooking TipsPrime rib roast. Just the name conjures images of lavish dinners, crackling fires, and hearty laughter. It’s ...

How Long to Bake Potatoes in the Oven (Perfect Every Time)
Cooking TipsBaked potatoes are a staple in my kitchen. They're incredibly versatile, delicious, and surprisingly easy to m...

Perfect Rice Every Time: The Ultimate Guide to Cooking Rice
Cooking TipsAs a self-proclaimed foodie, I've always been a bit obsessed with rice. It's the foundation of countless cuisi...

The Ultimate Guide to Cooking Asparagus: Tips, Techniques, and Recipes
Cooking TipsAsparagus. The mere mention of this spring delicacy conjures up images of vibrant green spears, crisp and burs...

Ultimate Guide to Cooking the Perfect Thanksgiving Turkey
Cooking TipsThanksgiving. Just the word conjures up images of overflowing tables laden with delicious food, the scent of r...
