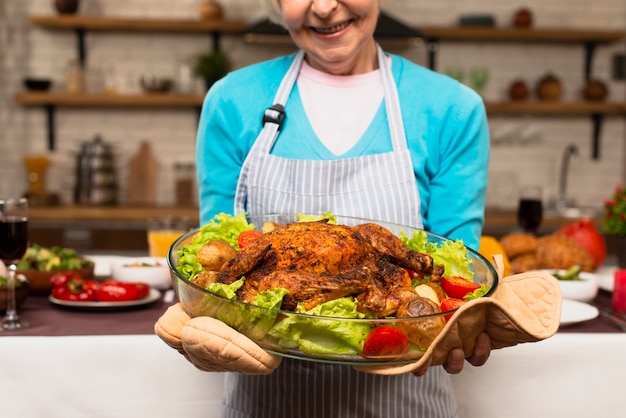
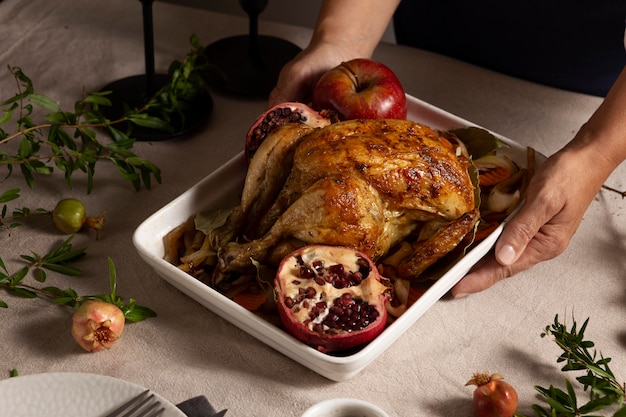
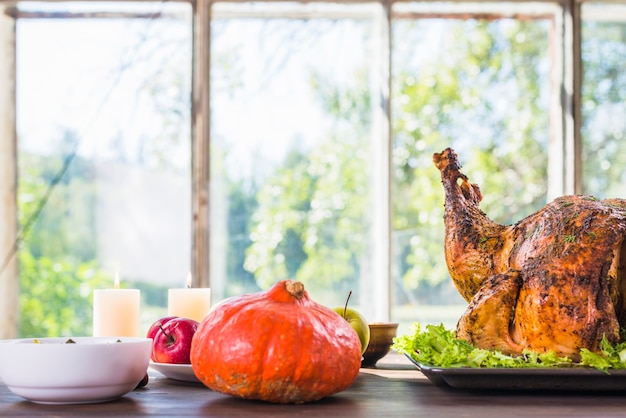
The aroma of a perfectly roasted turkey wafting through your home, the warmth of family and friends gathered around the table – these are the things that make Christmas dinner truly special. But before you can even imagine those moments, you need to conquer the crucial task of cooking the star of the show: a 15-pound turkey.
I've been tackling this culinary challenge for years, and let me tell you, there's more to it than simply chucking it in the oven and hoping for the best. It’s a journey that requires careful planning, a bit of know-how, and a healthy dose of confidence.
This ultimate guide is here to demystify the art of cooking a 15-pound turkey, turning you into a seasoned pro in no time. We’ll cover everything from picking the perfect bird to ensuring it’s cooked to juicy perfection, leaving you with a turkey that’s not only safe to eat, but also a culinary masterpiece. So, grab a cuppa, settle in, and let’s embark on this delicious adventure together.
Part 1: Understanding Your Turkey

1.1 Choosing the Perfect Bird
First things first, you need to choose a turkey worthy of your festive feast. A 15-pound turkey is a fantastic choice for a gathering of 10-12 people, leaving you with plenty of delicious leftovers for sandwiches, soups, and even creative culinary adventures. Now, you've got two paths to choose from: fresh or frozen.
Personally, I lean towards fresh turkeys, embracing the traditional approach. But if you’re planning ahead, frozen turkeys can be just as delicious. Whatever your preference, keep an eye out for a turkey with a healthy, pale pinkish hue. Avoid any birds that show signs of bruising or discoloration, and always check the packaging for the expiry date.
1.2 Getting Ready to Roast
Now that you’ve got your turkey, it's time to prepare it for its starring role. Start by gently removing the turkey from its packaging and patting it dry with kitchen paper. Remember, a dry turkey cooks more evenly and develops a beautiful crispy skin.
Next, delve into the turkey’s cavity and remove the giblets and neck. These little packages are often packed with flavour, and you can use them to create a truly delectable gravy. If you’re not a gravy enthusiast, simply toss them in the bin.
1.3 The Stuffing Dilemma
Ah, the age-old question: to stuff or not to stuff? Some folks swear by stuffing their turkeys, while others prefer to cook it separately. I'm a fan of stuffing, but I always choose to cook it separately.
Why? Well, stuffing cooked inside the turkey might not reach a safe temperature, potentially leading to food poisoning. A safer approach is to cook your stuffing separately in a baking dish, ensuring it reaches a safe temperature of 165°F (74°C). This allows you to enjoy the comforting flavours of stuffing without compromising safety.
Part 2: Ready, Set, Cook!

2.1 Preheating the Oven
Now it’s time to set the stage for your turkey’s transformation. Preheat your oven to 325°F (160°C). I find that preheating the oven for 30 minutes before placing the turkey inside ensures it’s up to temperature and ready to create the perfect roast.
2.2 Seasoning for Flavor
Before you pop your turkey in the oven, give it a good rub with some seasoning. A simple blend of salt, pepper, and paprika is a classic choice, but feel free to get creative! I like to add a pinch of garlic powder and onion powder to boost the flavour, but you can experiment with herbs like rosemary, thyme, or sage for a more complex taste.
2.3 Positioning for Perfection
Now, here’s where precision comes into play. Position your turkey breast side up in a roasting pan. The breast is the most delicate part of the turkey, and cooking it upside down could lead to a dry, disappointing outcome. You can also use a roasting rack inside the pan to lift the turkey off the bottom, promoting even heat circulation and preventing the turkey from stewing in its own juices.
2.4 Turkey Timing: The Crucial Calculation
The moment of truth has arrived! For a 15-pound turkey, expect a cooking time of around 3-4 hours. However, remember that oven temperatures and individual turkey variations can influence the cooking time.
Here’s a handy table to provide a rough guide for various turkey weights:
| Turkey Weight | Cooking Time |
|---|---|
| 10-12 pounds | 2 1/2 - 3 hours |
| 12-14 pounds | 3 - 3 1/2 hours |
| 14-16 pounds | 3 1/2 - 4 hours |
| 16-18 pounds | 4 - 4 1/2 hours |
Remember, these times are just estimates. For guaranteed success, you need to check the turkey’s internal temperature.
Part 3: Ensuring Doneness

3.1 Temperature is King
The key to a perfectly cooked turkey is achieving the right internal temperature. This is where a meat thermometer becomes your culinary hero.
Insert the thermometer into the thickest part of the turkey thigh, making sure it doesn’t touch any bone. The turkey is fully cooked when the thermometer reads 165°F (74°C). This ensures that all the bacteria are eliminated, leaving you with a safe and delicious meal.
3.2 The "Pop-Up" Thermometer
Some turkeys come with a built-in pop-up thermometer. When this pops up, it usually indicates that the turkey has reached the minimum safe temperature. However, I recommend using a separate meat thermometer for added reassurance. The pop-up thermometer isn’t always a reliable indicator, and you want to ensure complete peace of mind.
3.3 The "Touch Test"
If you're feeling adventurous, you can try the "touch test." Gently press the thigh of the turkey. If it feels firm and springy, it’s likely cooked. But this method isn’t foolproof, and I would still recommend using a meat thermometer to verify.
Part 4: The Importance of Resting
4.1 Allowing the Juices to Redistribute
Your turkey is cooked to perfection, but there’s one more vital step: resting. Let the turkey rest for about 30 minutes before carving. This allows the juices to redistribute throughout the meat, resulting in a more succulent and flavorful bird.
You can gently tent the turkey with some aluminium foil to help it stay warm while it rests.
Part 5: Carving with Confidence
5.1 Gathering Your Tools
To carve your turkey like a pro, you’ll need a sharp carving knife and a sturdy carving fork. If you're not confident wielding a carving knife, a pair of kitchen shears can do the job, but it might take a little longer.
5.2 The Carving Process
Start by separating the drumsticks from the thighs. Then, carefully cut the breasts off the bone and slice them into thin pieces. Don't forget to remove the wishbone – a delightful tradition that can be saved for good luck!
Part 6: Gravy Goodness
6.1 Creating Delicious Gravy
No Christmas dinner is complete without a rich and flavourful gravy. You can create a truly impressive homemade gravy using the turkey drippings, or use a gravy mix for a quicker option.
For a homemade gravy, simply strain the turkey drippings into a saucepan, discarding any excess fat. Whisk in some flour, then slowly add chicken or turkey stock, stirring constantly. Bring the mixture to a boil, then reduce the heat and simmer until the gravy thickens.
Part 7: Leftover Adventures
7.1 Turkey Leftover Inspiration
You’ve got a beautiful turkey, and everyone’s satisfied. But now you’ve got a treasure trove of leftovers, and it’s time to think creatively!
- turkey sandwiches: A classic and always delicious option. You can create simple sandwiches with lettuce and tomato or get creative with cranberry sauce, mayonnaise, and other toppings.
- turkey soup: A warm and comforting meal for a chilly day. Use your leftover turkey meat, broth, and vegetables for a flavourful soup that will warm you from the inside out.
- Turkey curry: Spice things up with a flavourful turkey curry. Leftover turkey meat combines beautifully with curry spices, vegetables, and coconut milk.
- turkey salad: Perfect for a light lunch or dinner. Combine your leftover turkey with mayonnaise, celery, and your favourite seasonings for a refreshing salad.
Part 8: Tips and Tricks for Turkey Triumph
8.1 turkey brining
Brining is a technique that involves soaking the turkey in a salt solution for several hours or even overnight. It helps to keep the turkey incredibly moist and tender. If you have time, I highly recommend brining your turkey. It’s an extra step that yields a truly remarkable result.
8.2 roast vegetables
To elevate your festive feast, roast some vegetables alongside the turkey. Potatoes, carrots, and parsnips are always a crowd-pleasing choice. You can also get creative with Brussels sprouts, butternut squash, or other seasonal vegetables.
8.3 Don't Overcook the Turkey
Overcooking is the cardinal sin of turkey roasting. Keep a watchful eye on the cooking time, and remember that a little undercooked is better than overcooked. The key is to achieve a juicy, tender turkey that melts in your mouth.
Part 9: Frequently Asked Questions
9.1 What if my turkey is too small?
If you have a smaller turkey, adjust the cooking time accordingly. Consult a chart or follow the guidelines provided with your turkey for accurate timing.
9.2 Can I freeze my leftover turkey?
Yes, you can freeze leftover turkey. Make sure it’s properly cooled and stored in airtight containers or freezer bags. It can be stored in the freezer for up to 4 months.
9.3 What if my turkey has a greenish tint?
A greenish tint on the turkey is often a sign of spoilage. It’s best to discard the turkey and start fresh. Safety comes first, and you want to ensure that your meal is free from harmful bacteria.
9.4 How do I reheat leftover turkey?
You can reheat leftover turkey in the oven, microwave, or on the stovetop. Ensure it's heated through to a safe temperature of 165°F (74°C) before serving.
9.5 Can I use a roasting bag?
Yes, you can use a roasting bag. It can help to keep the turkey moist and tender. However, roasting bags can sometimes trap steam and moisture, making it difficult to achieve a crispy skin. If you're aiming for a golden-brown, crispy skin, I recommend using a traditional roasting pan.
Now you're armed with all the knowledge and confidence you need to create a Christmas dinner that will be remembered for its delicious turkey and the joy of sharing it with loved ones. Go forth, unleash your inner chef, and get cooking! And remember, this guide is always here for you, a helpful companion on your culinary journey. Happy cooking!
Everyone is watching

Prime Rib Roast Cooking Time Chart: Per Pound Guide
Cooking TipsPrime rib roast. Just the name conjures images of lavish dinners, crackling fires, and hearty laughter. It’s ...

How Long to Bake Potatoes in the Oven (Perfect Every Time)
Cooking TipsBaked potatoes are a staple in my kitchen. They're incredibly versatile, delicious, and surprisingly easy to m...

Perfect Rice Every Time: The Ultimate Guide to Cooking Rice
Cooking TipsAs a self-proclaimed foodie, I've always been a bit obsessed with rice. It's the foundation of countless cuisi...

The Ultimate Guide to Cooking Asparagus: Tips, Techniques, and Recipes
Cooking TipsAsparagus. The mere mention of this spring delicacy conjures up images of vibrant green spears, crisp and burs...

Ultimate Guide to Cooking the Perfect Thanksgiving Turkey
Cooking TipsThanksgiving. Just the word conjures up images of overflowing tables laden with delicious food, the scent of r...
