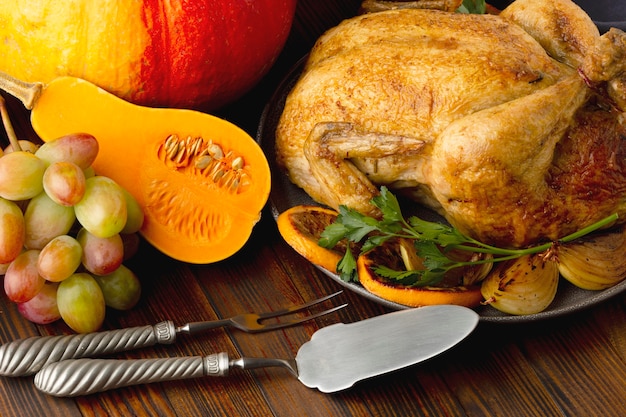
There's a certain charm to a perfectly roasted cornish hen, isn't there? That crispy, golden skin, the juicy, succulent meat, and the wonderful aroma that fills the entire house… But let's face it, getting that 'just right' roast is a bit of a balancing act. Undercook it, and you're left with a raw centre. Overcook it, and you're dealing with dry, tough meat.
Over the years, I've had my fair share of both triumphant and disastrous Cornish hen roasts. It's a learning curve, but I've finally figured out the key to consistently delicious results. So, put on your apron, gather your ingredients, and let's embark on this culinary adventure together!
(Part 1) Choosing Your Cornish Hens: A Culinary Starting Point
The journey to a delicious roasted cornish hen starts with selecting the right birds. It's like choosing the perfect ingredients for a masterpiece. Here's my recipe for success:
1. Size and Weight Matters
Cornish hens are smaller than regular chickens, typically weighing between 1 and 1.5 pounds each. I've found that hens weighing around 1.25 pounds are ideal for roasting. They're big enough to comfortably serve two people, but not so large that they dry out.
2. Appearances Count
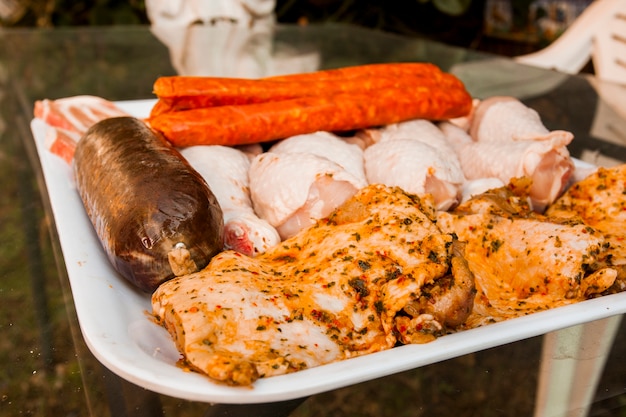
When picking out your Cornish hens, pay attention to their appearance. Look for hens with plump, firm breasts. You want to see a good amount of fat under the skin. This fat will ensure your hens cook evenly and stay moist and tender.
3. Freshness is Key
Freshness is crucial. If you're buying your hens at the supermarket, make sure they're well-chilled, and the packaging is intact. I always check the "use by" date and aim to cook them within a day or two of purchase for the best flavor.
(Part 2) Prepping Your Cornish Hens for Roasting: A Detailed Guide
Now that you've got your perfect cornish hens, it's time to get them ready for the oven. Here's my tried-and-true preparation method:
1. Pat Them Dry
Remove the hens from their packaging and pat them dry with paper towels. This step is essential for creating that beautiful crispy skin. The drier the skin, the crispier it will get in the oven.
2. The Art of Seasoning
This is where you can get creative. I love a simple blend of salt, pepper, and paprika, but feel free to experiment with your favourite herbs and spices. A pinch of rosemary, thyme, or even a sprinkle of garlic powder can add another dimension of flavour.
3. The Choice of Stuffing (Optional)
Stuffing your Cornish hens adds extra flavour and moisture. I love using a simple breadcrumb stuffing with herbs and onions. However, you can also use a traditional sausage stuffing if you prefer. If you're stuffing, make sure to do so loosely. Don't pack it in too tightly, as this can prevent the stuffing from cooking evenly.
4. Tying It All Together
For a neat and even roast, I tie the legs of the Cornish hens together with kitchen twine. This helps to keep the hens in shape and prevents them from splaying out during cooking, resulting in a more aesthetically pleasing and evenly cooked bird.
(Part 3) The Roasting Process: Time is of the Essence
Now it's time to get those Cornish hens into the oven and watch them transform into a culinary masterpiece. Here's what you need to know:
1. Preheat Your Oven to Perfection
Preheat your oven to 400 degrees Fahrenheit (200 degrees Celsius). This ensures even cooking and helps develop a beautiful golden-brown crust.
2. roasting time: A General Guide
The roasting time for Cornish hens will vary slightly depending on their size and weight. Here's a general guideline to help you get started:
| Weight | Roasting Time |
|---|---|
| 1 pound | 30-40 minutes |
| 1.25 pounds | 40-50 minutes |
| 1.5 pounds | 50-60 minutes |
3. Temperature Check: Ensuring a Safe and Delicious Roast
To ensure the hens are cooked through, use a meat thermometer inserted into the thickest part of the thigh. The internal temperature should reach 165 degrees Fahrenheit (74 degrees Celsius). If you don't have a meat thermometer, you can check the hens are cooked by piercing the thickest part of the thigh with a fork. If the juices run clear, they're ready.
4. Let Them Rest: A Crucial Step for Juicy Meat
Once the hens are cooked, allow them to rest for about 10 minutes before carving. This allows the juices to redistribute throughout the meat, ensuring it stays juicy and tender.
(Part 4) The Art of Basting: Elevating the Flavor and Texture
Basting those Cornish hens is a game-changer. It adds a lovely shine and richness to the skin, while also helping to ensure the meat remains juicy and tender. It's like a little hug of flavour for your birds.
1. The Basting Formula: Simple and Delicious
I like to use a simple basting mixture of melted butter and chicken stock. But feel free to get creative! Add herbs and spices to your basting mixture to give the hens an extra dimension of flavour. A splash of lemon juice or a drizzle of honey can add a hint of sweetness.
2. The Basting Technique: A Simple, Yet Effective Method
Start basting your hens halfway through the cooking time. Simply use a spoon to drizzle the basting mixture over the hens, making sure to coat all sides evenly. Repeat the basting process every 15-20 minutes for the remaining cooking time.
(Part 5) side dish Inspiration: Complementing the Cornish Hen
No Cornish hen feast is complete without the perfect side dishes. Here are some of my favourite pairings:
1. Roasted Root Vegetables: A Classic Combination
The earthy sweetness of roasted root vegetables like carrots, potatoes, and parsnips is a perfect match for the savoury flavour of Cornish hen. Simply toss them in olive oil, salt, pepper, and your favourite herbs, then roast them in the oven alongside the hens.
2. Creamy Polenta: A Comforting and Satisfying Side
Creamy polenta is a classic accompaniment to roasted chicken and works equally well with Cornish hens. It's a comforting and satisfying side dish that complements the savoury flavours of the chicken perfectly.
3. Green Salad: Adding a Fresh and Light Element
A crisp, refreshing salad is the perfect counterpoint to the richness of a roasted Cornish hen. I like to use a simple mix of greens, cherry tomatoes, and cucumbers, with a light vinaigrette dressing.
(Part 6) Leftover Cornish Hen: A Culinary Treasure
Let's be honest, sometimes there's a little bit of Cornish hen left over. And guess what? Leftovers are a culinary goldmine! They're perfect for creating delicious meals the next day.
1. Cornish Hen Salad: A Quick and Easy Lunch
Chop up the leftover Cornish hen meat and add it to a salad with mixed greens, tomatoes, cucumbers, and a tangy vinaigrette. It's a quick and easy meal that's packed with flavour.
2. Cornish Hen Soup: A Hearty and Satisfying Meal
Leftover Cornish hen meat makes an amazing base for a hearty soup. Simply simmer it in a pot with chicken broth, vegetables, and your favourite herbs.
3. Cornish Hen Sandwiches: A Delicious Lunch Option
Add some leftover Cornish hen meat to your favourite sandwich bread with mayonnaise, lettuce, and tomato for a satisfying and flavourful lunch.
(Part 7) Tips and Tricks: Mastering the Art of Roasting
Over the years, I've picked up a few tricks that elevate the experience of roasting cornish hens. Here are some helpful tips to keep in mind:
1. The Power of Brining: Enhancing Moisture and Flavor
Brining Cornish hens before roasting can make a significant difference in the final result. It helps to lock in moisture and creates a more flavorful and juicy bird. To brine your hens, simply submerge them in a mixture of water, salt, and sugar for a few hours or overnight.
2. Temperature Control: Achieving Crispy Skin and Juicy Meat
Don't be afraid to increase the oven temperature to 450 degrees Fahrenheit (232 degrees Celsius) for the first 15-20 minutes of cooking. This helps to create a crispy skin. Then, reduce the temperature to 400 degrees Fahrenheit (200 degrees Celsius) for the remaining cooking time.
3. Space for Even Cooking: Giving Your Hens Room to Breathe
Give your Cornish hens some breathing room in the oven. If you're roasting multiple hens, make sure to space them out so they cook evenly and don't steam.
(Part 8) Cornish Hen Variations: Beyond the Basics
Now that you've mastered the basics of roasting cornish hens, it's time to explore some creative variations to take your culinary skills to the next level:
1. Citrusy Cornish Hens: A Refreshing Twist
Give your Cornish hens a refreshing twist with a citrusy glaze. Simply mix together melted butter, lemon juice, orange zest, and herbs like rosemary and thyme. Brush the glaze over the hens during the last 15-20 minutes of cooking.
2. Spicy Cornish Hens: A Kick of Heat
Spice things up with a blend of chili powder, cumin, paprika, and cayenne pepper. Rub the spice mixture onto the hens before roasting for a kick of heat.
3. Herb-Crusted Cornish Hens: Aromatic and Flavorful
Create a flavourful crust by combining chopped herbs like parsley, thyme, and rosemary with breadcrumbs and grated Parmesan cheese. Press the herb mixture onto the hens before roasting for a crispy and aromatic crust.
FAQs: Answers to Common Cornish Hen Questions
Here are some frequently asked questions about roasting Cornish hens:
1. How do I know if my Cornish hen is cooked?
The best way to know if your Cornish hen is cooked through is to use a meat thermometer. Insert it into the thickest part of the thigh, and it should register 165 degrees Fahrenheit (74 degrees Celsius). If you don't have a meat thermometer, you can check the hens are cooked by piercing the thickest part of the thigh with a fork. If the juices run clear, they're ready.
2. Can I roast Cornish hens with stuffing?
Yes, you can stuff Cornish hens, but it's important to stuff them loosely and not pack the stuffing in too tightly. This allows the stuffing to cook evenly and prevents the hens from bursting.
3. What do I do with leftover Cornish hen?
Leftover Cornish hen is delicious! You can use it to make salads, soups, sandwiches, or even pasta dishes.
4. How do I store Cornish hens?
Cornish hens should be stored in the refrigerator for up to 2 days. You can also freeze them for up to 3 months.
5. Can I cook Cornish hens in a slow cooker?
While Cornish hens can be cooked in a slow cooker, I prefer to roast them in the oven for a crispier skin.
Everyone is watching

Prime Rib Roast Cooking Time Chart: Per Pound Guide
Cooking TipsPrime rib roast. Just the name conjures images of lavish dinners, crackling fires, and hearty laughter. It’s ...

How Long to Bake Potatoes in the Oven (Perfect Every Time)
Cooking TipsBaked potatoes are a staple in my kitchen. They're incredibly versatile, delicious, and surprisingly easy to m...

Perfect Rice Every Time: The Ultimate Guide to Cooking Rice
Cooking TipsAs a self-proclaimed foodie, I've always been a bit obsessed with rice. It's the foundation of countless cuisi...

The Ultimate Guide to Cooking Asparagus: Tips, Techniques, and Recipes
Cooking TipsAsparagus. The mere mention of this spring delicacy conjures up images of vibrant green spears, crisp and burs...

Ultimate Guide to Cooking the Perfect Thanksgiving Turkey
Cooking TipsThanksgiving. Just the word conjures up images of overflowing tables laden with delicious food, the scent of r...