Ah, ham! It's a classic for a reason, isn't it? Whether it's a festive centerpiece for Christmas or Easter, a comforting family dinner, or even a quick and easy weeknight meal, ham always seems to hit the spot. But let's be honest, there's nothing worse than a dry, overcooked ham. You know, the kind that makes you feel like you're chewing on a rubber band? Ugh! I've been there, trust me.
So, buckle up, my fellow food enthusiasts! I'm about to share my hard-earned wisdom on how to cook ham to absolute perfection. We're talking about juicy, flavorful ham that'll leave everyone wanting more.
Now, I'm not claiming to be a culinary superstar or anything. But I've definitely had my fair share of ham-cooking mishaps over the years. And I've learned a thing or two along the way! I’m here to guide you through the process, step by step. We'll cover everything from choosing the right ham to the best cooking methods, and of course, the all-important timing.
Part 1: The Ham Hunt – Choosing Your Perfect Slice
First things first, let's talk about picking the right ham. You’ve got a lot of options at the supermarket, and making the right choice will set you up for success.
types of ham – Fresh vs. Cured
There are two main types of ham you'll find:
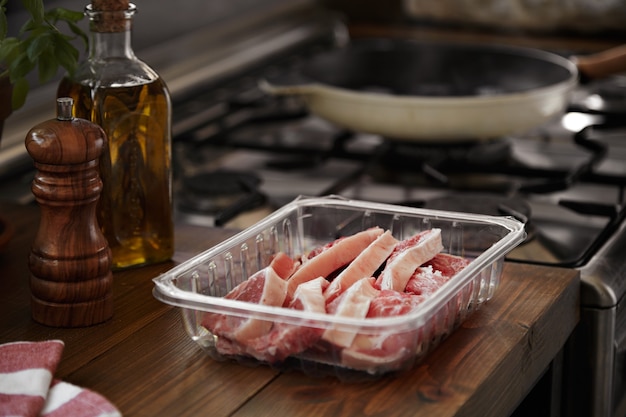
- fresh ham: This is the raw, uncooked version, usually sold with the bone in. It requires longer cooking times, but offers a more intense flavor.
- cured ham: This is the pre-cooked ham you usually see in the deli section. It's already been cured and smoked, so it needs less cooking time, making it a great option for busy folks.
Now, if you're after that classic holiday ham look, go for a bone-in ham. They just look more impressive, don't they? Plus, they tend to have a richer flavor than boneless hams. However, if you’re looking for something more convenient, boneless ham is definitely easier to carve and manage.
Sizing Up Your Ham
Think about how many people you're feeding. You don't want to end up with too much ham leftover or, worse, not enough! A good rule of thumb is about 1/2 pound of ham per person. I usually go for a little extra because you can always freeze leftovers.
Label Check – Deciphering the Ham’s Tale
Always check the label on the ham for important information. Look for the date of packaging, the type of cure used (if any), and if it's pre-cooked or raw. This will guide you in choosing the right cooking method and timing.
Part 2: Prepping for Perfection – Getting Ready to Cook
Now that you've got your ham, it’s time to get ready for cooking. You want to make sure it's properly prepped and seasoned. I know, it might sound basic, but getting this right can make a huge difference in the final result.
The Score – Fat Attack!
Scoring the fat on your ham is essential. This helps create a crispy, caramelized crust and allows for better flavor penetration. Using a sharp knife, make shallow cuts about 1/2 inch apart, going all the way through the fat layer.
Think of scoring like giving the ham a little massage. You’re opening up the fat layer so the glaze can penetrate deeper and the flavors can really bloom.
The Glaze – A Shiny, Delicious Coat
Once you've scored your ham, it's time to glaze it. This adds a beautiful sheen and extra flavor. I always use a combination of brown sugar, honey, and mustard for my glaze. It's a classic recipe for a reason!
You can also experiment with different glazes. Try adding a touch of orange zest or a splash of apple cider vinegar for a tangy twist.
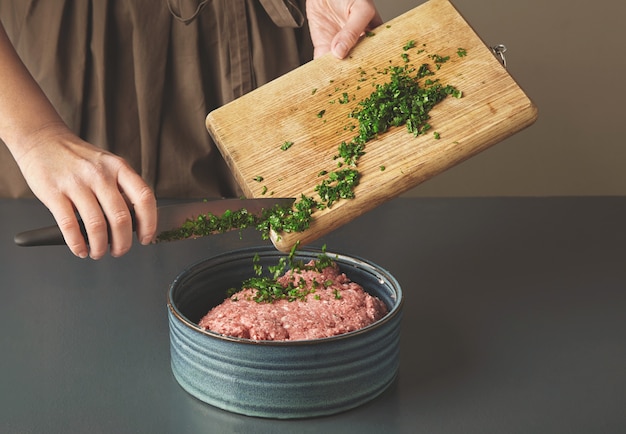
Flavoring – Beyond the Glaze
There's no limit to how you can flavor your ham. I love using cloves, black peppercorns, and bay leaves to add a touch of spice. Just press them into the fat and score marks before glazing. You can also get creative with herbs like rosemary, thyme, and sage.
Remember, the more flavor you pack in, the more delicious your ham will be.
Part 3: Cooking Methods – Finding Your Perfect Match
Alright, now that we’ve got our ham prepped and ready to go, let's talk about the cooking methods.
Oven Cooking – The Classic Approach
Oven cooking is the most common and straightforward method. Here’s how I do it:
- Preheat your oven to 325 degrees Fahrenheit (160 degrees Celsius).
- Place your ham in a roasting pan, fat side up, and add about 1 cup of water to the bottom of the pan. This will help keep the ham moist.
- Cover the ham with foil and cook for about 15-20 minutes per pound.
- Remove the foil, baste with glaze, and continue cooking for another 30-45 minutes or until the internal temperature reaches 140 degrees Fahrenheit (60 degrees Celsius).
For a crispy crust, you can broil the ham for a few minutes at the end. Just keep a close eye on it to avoid burning.
Oven cooking gives you a lot of control over the ham’s cooking process, but it can be a bit time-consuming.
slow cooker – The Hands-Off Approach
If you’re looking for an effortless way to cook your ham, the slow cooker is your friend. It's perfect for busy days, especially when you're planning a big holiday meal.
- Place your ham in the slow cooker and add a cup of water to the bottom of the cooker.
- Cook on low for 6-8 hours, or on high for 3-4 hours.
- Remove the ham from the slow cooker and baste with glaze.
- Return the ham to the slow cooker and cook on low for another 30 minutes or until heated through.
The slow cooker is a great way to ensure your ham is juicy and tender. But you won’t get a crispy crust like you would with oven cooking.
instant pot – The Fast Track
The Instant Pot is a great option for a faster cooking time. Just make sure your Instant Pot is large enough to accommodate your ham.
- Place your ham in the Instant Pot, fat side up.
- Add about a cup of water to the bottom of the pot.
- Close the lid and set the valve to seal.
- Cook on high pressure for 15-20 minutes per pound.
- Allow the pressure to release naturally for 10 minutes before releasing the remaining pressure manually.
- Remove the ham from the Instant Pot and baste with glaze.
- Return the ham to the Instant Pot and cook on low for another 30 minutes or until heated through.
The Instant Pot is a great option if you’re short on time. But remember, the ham won’t get the same caramelized crust as with oven cooking.
Part 4: The Clock is Ticking – Ham Cooking Time
Alright, this is where it gets a little tricky. Ham cooking time depends on a few factors: the type of ham you’re using (fresh or cured), the size, the method of cooking, and your preferred level of doneness.
Cooking Times for Different Hams – A Guide
Here's a general guide for cooking times:
| Type of Ham | Cooking Time |
|---|---|
| Fresh Ham (bone-in) | 15-20 minutes per pound |
| Fresh Ham (boneless) | 10-15 minutes per pound |
| Cured Ham (bone-in) | 5-10 minutes per pound |
| Cured Ham (boneless) | 3-5 minutes per pound |
Remember, these are just general guidelines. The best way to ensure your ham is cooked properly is to use a meat thermometer.
safe internal temperature – The Crucial Check
The USDA recommends an internal temperature of 145 degrees Fahrenheit (63 degrees Celsius) for whole ham.
If your ham is already cured and pre-cooked, you can skip the thermometer. Just heat it through to an internal temperature of 140 degrees Fahrenheit (60 degrees Celsius).
Doneness Preferences – Finding Your Sweet Spot
Now, I know some folks prefer their ham to be cooked a little longer, until it’s a bit on the drier side. But for me, the perfect ham is juicy and tender. I like to err on the side of undercooking, checking the temperature carefully and adjusting the cooking time as needed.
It's all about finding that sweet spot where the ham is cooked through but still retains its moisture and tenderness.
Part 5: Leftover Love – Making the Most of Your Ham
Alright, you've got a beautiful, perfectly cooked ham. Now what? Well, enjoy it, of course! But let's be realistic, there will probably be some leftovers. And you know what? That's a good thing! ham leftovers are a great way to stretch your meal and get creative in the kitchen.
Storing Leftovers – Keeping Your Ham Fresh
Once your ham has cooled, wrap it tightly in plastic wrap and aluminum foil. Store it in the refrigerator for up to 4 days. You can also freeze leftovers for up to 2 months. Just make sure to thaw it thoroughly in the refrigerator before reheating.
Delicious Leftover Ideas – Transforming Your Ham
Don't just reheat your ham. Get creative with those leftovers! Here are a few ideas:
- ham and cheese sandwiches: A classic for a reason.
- Ham and potato soup: A comforting and hearty soup.
- Ham and broccoli quiche: A delicious and filling brunch option.
- Ham and Pineapple Pizza: A sweet and savory twist on a classic.
- Ham Salad: A versatile option for sandwiches, salads, or crackers.
- Ham and Pea Pasta Salad: A light and refreshing salad perfect for a summer meal.
- Ham and bean chili: A hearty and flavorful chili for chilly nights.
The possibilities are endless. Get creative and enjoy those leftover ham treasures!
Part 6: Ham-cooking mistakes – Learning from My Errors
Alright, let’s be honest, there have been times when I've messed up a ham or two. I've learned from my mistakes, and I'm sharing them with you so you can avoid the same fate!
Overcooking – The Dry Ham Disaster
This is the biggest mistake you can make when cooking ham. Overcooked ham is dry, tough, and not very appealing. Always check the internal temperature and err on the side of undercooking.
Not Scoring the Fat – The Flavor Barrier
Scoring the fat allows for better flavor penetration and a crispy, caramelized crust. Don't skip this step!
Forgetting to Baste – The Moisture Loss
Basting your ham helps keep it moist and adds flavor. Use a glaze or even just a little bit of water.
Ignoring the Thermometer – The Temperature Trouble
I know it might seem like a hassle, but using a meat thermometer is essential for ensuring your ham is cooked to the right internal temperature.
Trust me, a few extra minutes with a thermometer will save you from a dry, disappointing ham.
Part 7: Tips for a Perfectly Cooked Ham – My Secret Weapons
Here are a few tips to help you cook the perfect ham:
- Start with a quality ham. Choose a ham from a reputable brand and look for one that's not too salty or dry.
- Don't overcrowd the pan. Give your ham plenty of space to cook evenly.
- Check the temperature frequently. Use a meat thermometer to ensure your ham is cooked to the right internal temperature.
- Don't overcook. It's better to have a slightly undercooked ham than a dry and tough one.
- Let the ham rest before carving. Allow the ham to rest for 15-20 minutes before carving. This will allow the juices to redistribute and make for a more tender and juicy ham.
These simple tips can make all the difference in creating a delicious and memorable ham experience.
Part 8: FAQs – Ham Cooking Q&A
I know you might have some questions about cooking ham, so I've put together a few FAQs.
1. Can I cook a ham from frozen?
Technically, yes, you can cook a ham from frozen. However, it will take longer and the results might not be as good. It’s best to thaw your ham in the refrigerator for at least 24 hours before cooking.
2. Can I reheat ham?
Yes, you can reheat ham. You can reheat it in the oven, slow cooker, or microwave. Just make sure to heat it through to an internal temperature of 140 degrees Fahrenheit (60 degrees Celsius).
3. How long can I store ham in the fridge?
You can store cooked ham in the refrigerator for up to 4 days.
4. How can I tell if ham is bad?
If your ham has an off odor or a slimy texture, it's probably bad. It's best to err on the side of caution and discard it.
5. What are some good sides to serve with ham?
Ham goes well with a variety of sides, such as:
- mashed potatoes
- green beans
- Mac and cheese
- sweet potato casserole
- Cranberry sauce
From classic comfort foods to festive side dishes, there's a perfect pairing for every ham.
That's it, folks! My guide to perfect ham cooking. I hope you found it useful and that your next ham feast is a delicious success.
Happy cooking!
Everyone is watching

Prime Rib Roast Cooking Time Chart: Per Pound Guide
Cooking TipsPrime rib roast. Just the name conjures images of lavish dinners, crackling fires, and hearty laughter. It’s ...

How Long to Bake Potatoes in the Oven (Perfect Every Time)
Cooking TipsBaked potatoes are a staple in my kitchen. They're incredibly versatile, delicious, and surprisingly easy to m...

Perfect Rice Every Time: The Ultimate Guide to Cooking Rice
Cooking TipsAs a self-proclaimed foodie, I've always been a bit obsessed with rice. It's the foundation of countless cuisi...

The Ultimate Guide to Cooking Asparagus: Tips, Techniques, and Recipes
Cooking TipsAsparagus. The mere mention of this spring delicacy conjures up images of vibrant green spears, crisp and burs...

Ultimate Guide to Cooking the Perfect Thanksgiving Turkey
Cooking TipsThanksgiving. Just the word conjures up images of overflowing tables laden with delicious food, the scent of r...