As a seasoned barbecue enthusiast, I can confidently say that no summer gathering is complete without a platter of grilled corn on the cob. It's a simple yet universally adored side dish that captures the essence of the season – fresh, sweet, and bursting with smoky flavour. Over the years, I've explored various methods for grilling corn, but I've found that the most rewarding technique involves leaving the husks on. This seemingly simple detail elevates the corn to a whole new level of deliciousness, creating a truly memorable culinary experience.
(Part 1) The Husk Advantage: A Natural Steaming Process
Many people opt for grilling corn without the husks, seeking a more intense char. While that method certainly has its merits, I'm a staunch advocate for the husk-on approach. It's not just about aesthetics – the husks act like a natural steamer, trapping moisture and preventing the kernels from drying out. This results in corn that's tender, juicy, and bursting with sweetness. The husks also protect the corn from direct heat, ensuring even cooking without any scorched kernels.
What You'll Need for Husk-Grilled Corn
Before we embark on this grilling adventure, let's ensure we have all the essential ingredients:
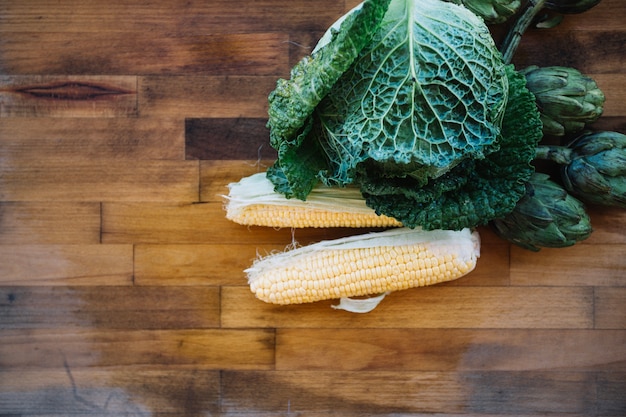
- Corn on the Cob: The star of the show! Choose corn that's fresh, with plump, tightly-packed kernels. Avoid corn that's shriveled or has loose kernels.
- Water: This is crucial for soaking the corn and preventing the husks from burning, leading to a smoky flavour infusion rather than charred husks.
- Butter: A touch of butter adds richness and enhances the sweetness of the corn. Use unsalted butter for better control over seasoning.
- Salt and Pepper: These basic seasonings bring out the corn's natural flavour without overpowering it.
- Optional Additions: Get creative with your seasonings! Popular choices include garlic powder, paprika, chili powder, or herbs like parsley, chives, or even a pinch of cayenne for a kick.
Preparing the Corn for Grilling
Now, let's prep the corn for its grilling debut:
- Remove the Silks: Gently pull off the silky strands from the top of the corn using your fingers or a small knife. A clean, neat appearance is key.
- Soak the Corn: Place the corn in a large bowl or container filled with cold water. Soak for about 30 minutes. This is the crucial step that prevents the husks from burning, ensuring they retain their moisture-trapping abilities.
- Butter Up: Remove the corn from the water and pat it dry with paper towels. Carefully peel back the husks just enough to spread a thin layer of butter on the corn, making sure to coat it evenly.
- Seasoning Time: Now, it's time to unleash your creativity! Sprinkle your preferred seasonings generously over the buttered corn. Salt and pepper are a must, but feel free to experiment with other spices and herbs. A little goes a long way, so start with a light hand and adjust to your taste.
- Fold and Secure: Fold the husks back over the corn, tucking the ends underneath. Secure them with a piece of kitchen twine, a bamboo skewer, or even a rubber band. This helps keep the husks in place and prevents them from unraveling during grilling.
(Part 2) Mastering the Art of Grilling
The grill is ready, the corn is prepped, and the anticipation is building. Let's get this grilling party started! But before we toss those beauties on the heat, let's ensure we have the right technique for achieving perfectly grilled corn.
Setting Up Your Grill for Success
The choice of gas or charcoal grill is a matter of personal preference, but both can be used to create amazing grilled corn. Here's how to set up your grill for success:
- Preheat to Medium Heat: You want the grill hot enough to cook the corn quickly and evenly but not so hot that the husks burn before the corn is cooked through. Aim for a temperature around 350-400°F (175-205°C).
- Indirect Heat is Key: To ensure even cooking and prevent scorching, grill the corn over indirect heat. If you're using a gas grill, keep the burner closest to the corn off. If you're using a charcoal grill, pile the coals on one side of the grill, leaving the other side empty.
Grilling Time: A Step-by-Step Guide
Now, let's grill that corn with confidence!
- Placement: Place the corn on the grill over indirect heat. You can grill them upright or lying down, whichever works best for your setup. If using a gas grill, ensure the burner closest to the corn is off.
- Grilling Duration: Cook for about 15-20 minutes, turning the corn every few minutes to ensure even cooking. The husks will begin to char, and the corn will be cooked through when the kernels are tender and slightly puffed up. You'll notice a slight "give" when you press on them.
- Temperature Check: If you're unsure about doneness, use a meat thermometer to check the internal temperature. The corn should reach an internal temperature of about 170°F (77°C).
- Charring: For that extra crispy, smoky flavour, you can move the corn to the hottest part of the grill for a few minutes to char the husks. Just watch closely so they don't burn. This is a matter of personal preference; if you prefer a milder smoky flavour, skip this step.
(Part 3) Unveiling the Flavorful Corn: Cooling, Serving, and Enhancing
The corn is cooked, the aroma is intoxicating, and the anticipation is reaching a fever pitch. Let's reveal the deliciousness!
Cooling Down: Allow the Steam to Escape
Once the corn is off the grill, let it rest for a few minutes before serving. This allows the steam to escape, preventing the husks from getting soggy and making the corn easier to handle.
Unveiling the Corn: Removing the Husks
Carefully peel back the husks and discard them. If you want a decorative touch, leave a small amount of husk on the top of the corn. The charred husks will add an extra layer of visual appeal. You can also use a sharp knife to trim any excess husk.
Serving and Enhancing Flavors: Endless Possibilities
Serve the corn immediately or let it cool to room temperature. It's delicious on its own, but a few finishing touches can elevate the flavour experience:
- More Butter: A generous pat of butter adds a richness that complements the sweetness of the corn perfectly. If you prefer a less buttery flavour, use a small amount.
- Herbs and Spices: Sprinkle on some fresh herbs like parsley or chives for a bright, fresh flavour. You can also add a touch of spice with some paprika, chili powder, or garlic powder.
- Lime or Lemon: Squeeze a little bit of lime or lemon juice on top for a tangy twist. This adds a bright, refreshing touch to the corn's sweetness.
- cheesy goodness: Sprinkle some grated cheese on top for a cheesy, satisfying treat. Cheddar, Parmesan, or even Monterey Jack are excellent choices for this.
(Part 4) The Great Corn Debate: Husk vs. No Husk, Butter vs. Oil
Every corn lover has an opinion on the best way to prepare it. Here are some common corn controversies and my take on them:
Husk vs. No Husk: A Matter of Preference
The "husk or no husk" debate is a classic. Some prefer the direct char and intense smoky flavour achieved by grilling without the husks. Others, like myself, swear by the husk-on method, appreciating the tender, juicy, and flavour-infused corn it produces. Ultimately, it comes down to personal preference. The husk-on method provides a more moist, steamed result, while the husk-off method offers a crispier, intensely charred flavour.
Butter vs. Olive Oil: A Battle for Richness
Another classic debate involves the choice between butter and olive oil. I'm a staunch butter advocate. The richness of butter complements the sweetness of the corn perfectly. However, if you prefer a lighter option, olive oil is a good choice. Just make sure to use a high-quality olive oil for the best flavour.
Salt and Pepper: The Foundation of Flavor
Don't overthink it, folks. A pinch of salt and pepper is all you need to enhance the natural sweetness of the corn. These basic seasonings bring out the best in the corn without overpowering its flavour.
(Part 5) Expanding Your Corn Horizon: Beyond the Grill
While grilled corn is a summer staple, there are many other delicious ways to prepare this versatile ingredient. Let's explore some alternative cooking methods:
roasted corn: Oven-Baked Goodness
roasting corn in the oven is a simple and delicious method that allows the kernels to caramelize and develop a rich flavour. Remove the husks, brush the corn with olive oil, and season with salt and pepper. Roast in a preheated oven at 400°F (200°C) for 20-25 minutes, or until tender and slightly charred. For added flavour, you can roast the corn with other vegetables like tomatoes and onions.
steamed corn: A Gentle and Flavorful Approach
Steaming is a gentle cooking method that preserves the natural sweetness of the corn. Place the corn in a steamer basket over boiling water and steam for 5-7 minutes, or until the kernels are tender. You can add a pinch of salt to the steaming water for extra flavour.
corn salad: A Refreshing and Versatile Dish
Corn salad is a refreshing and flavorful way to enjoy corn. Cut the kernels off the cob and combine them with other ingredients like tomatoes, cucumbers, onions, and herbs. Dress the salad with a simple vinaigrette or a creamy dressing. You can also add cooked beans, grilled chicken, or shrimp for a hearty and flavorful meal.
(Part 6) Corn Takes Center Stage: Beyond the Side Dish
We all love corn as a side dish, but it's so much more than that. Corn can be the star of the show, and the possibilities are endless!
Corn Fritters: Crispy on the Outside, Soft on the Inside
Corn fritters are a classic comfort food. They're crispy on the outside and soft and fluffy on the inside, making them a perfect snack or appetizer. You can find countless recipes online, and you can even add your own flair with different herbs and spices. Experiment with cheddar cheese, jalape??os, or even a hint of cilantro for added depth.
Cornbread: A Southern Staple
Cornbread is a staple in Southern cuisine and a delicious addition to any meal. It's sweet and slightly crumbly, perfect for dipping in butter or serving alongside chili or soup. You can make it from scratch or use a boxed mix for convenience.
Corn Chowder: A Creamy and Comforting Soup
Corn chowder is a creamy and comforting soup perfect for chilly days. It's made with corn, potatoes, and sometimes bacon or sausage, and it's usually topped with a dollop of cream or sour cream. You can also add fresh herbs like thyme or parsley for added flavor.
(Part 7) Storage and Freezing: Keeping the Corn Fresh
You've cooked up a storm, but what about all that extra corn? Let's talk storage and freezing!
Storing Corn: Refrigerator Freshness
If you have leftover grilled corn, store it in an airtight container in the refrigerator for up to 3 days. You can reheat it in the microwave or oven.
Freezing Corn: Enjoy It Year-Round
Corn freezes well, so you can enjoy it even when it's not in season. Here's how to freeze it:
- Blanch the Corn: Blanch the corn in boiling water for 3-5 minutes, then immediately plunge it into ice water to stop the cooking process. This ensures the corn retains its vibrant color and texture.
- Remove the Kernels: Cut the kernels off the cob and pack them into freezer-safe bags or containers. For extra convenience, you can freeze the kernels in individual portions, making it easier to use them in recipes later on.
- Freeze: Label the bags or containers with the date and freeze for up to 12 months. frozen corn kernels can be used in soups, stews, salads, and stir-fries.
(Part 8) FAQs: Answers to Your Burning Corn Questions
You've been grilling corn like a pro, but let's address some lingering questions about this delicious summer staple:
1. How do I know if the corn is ripe?
When choosing corn, look for ears that have tightly packed kernels. The husks should be green and slightly damp. You can also press on the kernels to see if they are firm and plump. Ripe corn will have a slightly milky, sweet scent.
2. What if the husks burn before the corn is cooked through?
If the husks start to burn, you can wrap the corn in a piece of foil to protect it from the direct heat. Just make sure to keep an eye on it to ensure it doesn't overcook. You can also reduce the grill heat slightly.
3. Can I grill corn on the cob without husks?
Absolutely! If you want a more intense char, grilling corn without the husks is the way to go. Just brush the corn with olive oil and season it as usual. Cook for about 10-15 minutes, turning every few minutes to ensure even cooking.
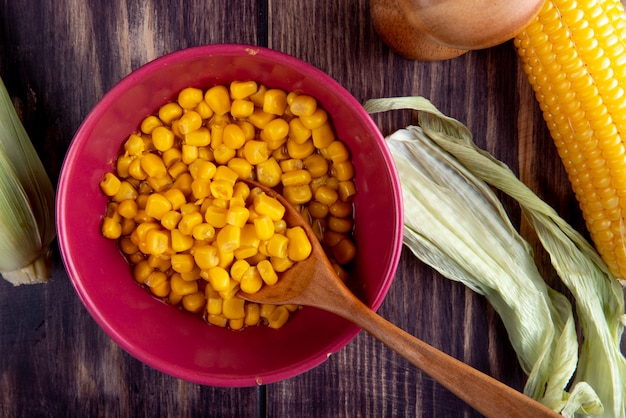
4. What can I do with leftover corn kernels?
Frozen corn kernels are incredibly versatile! You can add them to soups, stews, salads, stir-fries, or even make cornbread muffins. They also make a great addition to omelets, frittatas, and even dips.
5. Can I grill corn on the cob indoors?
While grilling corn outdoors is ideal, you can actually grill it indoors using a grill pan. Preheat the grill pan over medium heat and follow the same instructions as you would for grilling outdoors. Just be sure to have good ventilation.
And that's it, folks! With these tips and tricks, you're ready to grill corn on the cob like a pro. Remember, the key is to keep it simple and have fun with it. Experiment with different seasonings and enjoy the sweet, smoky flavour of this summer classic.
Everyone is watching

Prime Rib Roast Cooking Time Chart: Per Pound Guide
Cooking TipsPrime rib roast. Just the name conjures images of lavish dinners, crackling fires, and hearty laughter. It’s ...

How Long to Bake Potatoes in the Oven (Perfect Every Time)
Cooking TipsBaked potatoes are a staple in my kitchen. They're incredibly versatile, delicious, and surprisingly easy to m...

Perfect Rice Every Time: The Ultimate Guide to Cooking Rice
Cooking TipsAs a self-proclaimed foodie, I've always been a bit obsessed with rice. It's the foundation of countless cuisi...

The Ultimate Guide to Cooking Asparagus: Tips, Techniques, and Recipes
Cooking TipsAsparagus. The mere mention of this spring delicacy conjures up images of vibrant green spears, crisp and burs...

Ultimate Guide to Cooking the Perfect Thanksgiving Turkey
Cooking TipsThanksgiving. Just the word conjures up images of overflowing tables laden with delicious food, the scent of r...