Right, let's talk ribs. It's a passion of mine, this whole barbecuing business, and ribs are the king of the grill. There's nothing quite like the smoky flavour, the tender meat that practically melts in your mouth, and the satisfaction of creating something so delicious from scratch. While I love the idea of a slow-smoked, wood-fired barbecue, let's be honest, sometimes you just need a quick and easy solution. That's where my trusty gas grill comes in, and I'm here to share all my secrets for achieving those perfect, fall-off-the-bone ribs every single time.
(Part 1) The Importance of Starting Right

It's like they say, "you can't make an omelette without breaking eggs." The same goes for ribs. A good start is absolutely key. I've learned this the hard way through countless burnt, dry, or just plain disappointing rib experiences. So, let's start with the basics:
Choosing Your Ribs:
I'm a huge fan of baby back ribs. They're more tender and have a good amount of meat. spare ribs are another good option, but they tend to be tougher and require longer cooking times. They're also often larger, so you might need a bigger grill. Whichever you choose, make sure your ribs are fresh and have a good amount of fat marbling. Don't be afraid to ask your butcher for advice! They'll know what's freshest and can even help you trim off any excess fat.
Preparing Your Ribs:
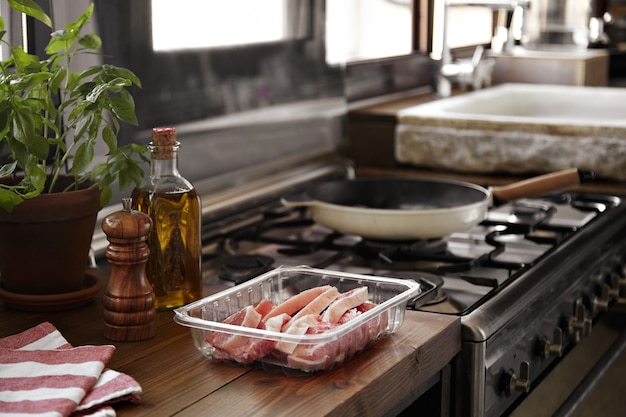
First things first, give those ribs a good wash and pat them dry. You don't want any lingering water messing up your rub. Then, it's time to trim off any excess fat. You don't want a mountain of fat, but leave a good layer to keep them moist during cooking. This layer helps prevent the meat from drying out. Now, for the real secret weapon: a good rub. There are countless recipes out there, but I've found a simple mix of paprika, garlic powder, onion powder, brown sugar, and salt works wonders.
This simple rub brings a lovely balance of sweet and savoury. You can use store-bought rub, but trust me, making your own is simple and allows for more control over the flavour profile. Rub it all over the ribs, making sure to get into all those little crevices. You want the entire surface to be coated. The rub helps create a delicious crust during grilling and adds an incredible flavour depth. You can also experiment with additional spices. A pinch of cayenne pepper, for example, adds a bit of heat, or you can try adding smoked paprika for a deeper smoky flavour.
Pre-heating Your Grill:
This step is crucial for achieving those beautiful grill marks and a nice even cook. Preheat your gas grill to medium-high heat. Don't forget to check the temperature with a meat thermometer – you're aiming for around 350°F (175°C). This temperature range will ensure you get a good sear on the outside without drying out the meat. You don't want your ribs to be sitting on a cold grill, as that won't allow for proper browning.
(Part 2) The Art of the Cook

Now it's time for the fun part!
Grilling:
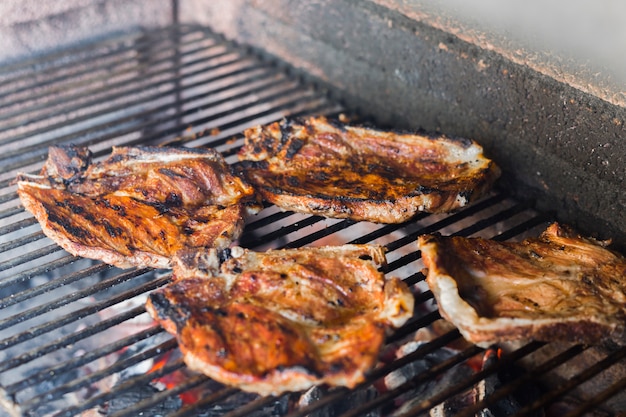
Place your ribs on the preheated grill, bone side down. This helps prevent the ribs from sticking to the grill and ensures they cook evenly. Close the lid and let them cook for about 30 minutes, flipping them halfway through. You want those ribs to get a good sear on both sides. The sear not only adds flavour but also helps create a nice, crispy outer layer.
The Wrap:
Here's where things get interesting. Once the ribs have that nice, crispy outer layer, it's time to wrap them. This step is crucial for tenderizing and creating those juicy, melt-in-your-mouth ribs. I use heavy-duty aluminum foil because it's strong enough to hold the ribs and the moisture. Place the ribs in the foil, add a few tablespoons of apple cider vinegar (it helps tenderize the meat), and a little bit of butter or your favourite bbq sauce. The butter adds richness and moisture, while the vinegar helps to break down the connective tissues in the meat. Wrap the foil tightly around the ribs and put them back on the grill. Close the lid and let them cook for another hour or so. This creates a steamy environment that helps to tenderize the meat and makes it incredibly juicy.
The Glaze:
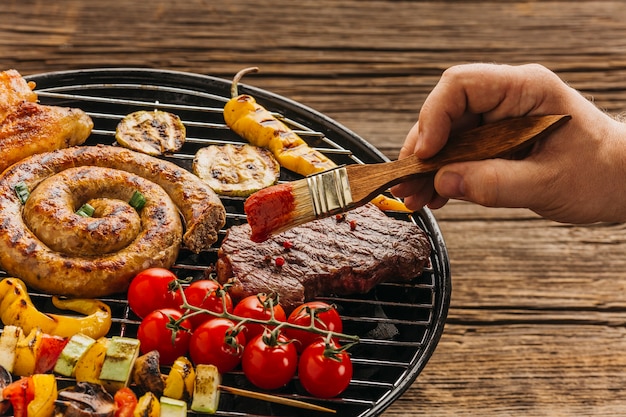
After an hour, it's time to remove the foil and let those ribs get a bit more smoky flavour. You can also apply your favourite BBQ sauce now. I like to go with a slightly tangy sauce with a bit of sweetness. The sauce adds a beautiful, glossy finish and a burst of flavour. Brush the sauce on generously, close the lid, and let the ribs cook for another 15-20 minutes, or until the sauce is bubbly and the ribs are nice and tender. This step helps the sauce caramelize and create a sticky, delicious glaze on the ribs. You can also experiment with different BBQ sauces to find your favorite. There's a wide range of flavours out there, from smoky and sweet to spicy and tangy.
(Part 3) Knowing When They're Done

Patience is key when it comes to ribs. You can't rush the process! So how do you know when they're ready?
The Probe Test:
This is my go-to method for determining whether those ribs are cooked to perfection. Simply insert a meat thermometer into the thickest part of the rib. If it registers at least 190°F (88°C), they're good to go. If the probe goes in easily and the meat pulls away from the bone, you know you've hit that magical point of tenderness. The probe test is the most reliable method for ensuring your ribs are cooked through and safe to eat.
The bone test:
This is a bit more hands-on, but it's a great way to check for that "fall-off-the-bone" texture. Simply pull a rib off the rack and gently try to separate the meat from the bone. If the meat slides off easily, you're in business! This test is a good indicator of the tenderness of the meat.
(Part 4) Resting is Essential
I know, I know, you're probably eager to dig in, but resist the temptation! Let those ribs rest for at least 10 minutes before you slice them. This allows the juices to redistribute throughout the meat, ensuring that you get the most tender and flavourful ribs possible. Resting is a crucial step for juicy, flavorful ribs. It allows the juices to redistribute back into the meat, preventing them from running out when you slice them.
(Part 5) The Perfect side dishes
Let's be real, no rib feast is complete without some amazing side dishes. You've got to have something to complement those smoky, sweet, and savoury flavours. Here are a few of my favourites:
- Mac and Cheese: A classic for a reason. I love a creamy, cheesy mac and cheese with a crispy topping. It goes perfectly with those tender ribs. The richness of the mac and cheese provides a wonderful contrast to the smoky ribs.
- Coleslaw: A nice, refreshing counterpoint to the richness of the ribs. I like to make a creamy coleslaw with a little bit of tang. The tangy, crunchy coleslaw helps to cut through the richness of the ribs and cleanse the palate.
- Baked Beans: Sweet and smoky, baked beans are a classic BBQ side dish. They're simple to make and add a nice touch of sweetness to the meal. Baked beans bring a sweet and smoky flavour that complements the ribs perfectly.
- corn on the cob: Fresh, grilled corn on the cob is a summer favourite. It's simple, delicious, and complements the smoky flavours of the ribs perfectly. Grilling the corn adds a smoky flavour and a slightly charred texture that complements the ribs beautifully.
(Part 6) Variations and Tips
Now, let's talk about getting creative. There's no right or wrong way to do ribs, but here are some ideas to shake things up:
Spice It Up:
Don't be afraid to experiment with different spice rubs. You can add a kick with some cayenne pepper, or go for a more earthy flavour with a touch of smoked paprika. You can even add a hint of citrus with some orange zest or lemon juice. Adding spices to your rub will enhance the flavour and create a more complex profile. Try adding a bit of chili powder, cumin, or coriander for different flavour profiles.
Sauce It Up:
There are endless possibilities when it comes to BBQ sauces. You can go for classic styles like Kansas City or Carolina, or try something more adventurous, like a mango habanero sauce. Get creative and find your favourite! Different sauces offer a wide range of flavours and consistencies, so try different types to see which ones you like best. You can even make your own BBQ sauce by combining your favourite ingredients.
Wood Chips:
If you really want to amp up the smoky flavour, add some soaked wood chips to your gas grill. Hickory, mesquite, or applewood chips all add unique aromas and flavours. Just remember to soak them in water for at least 30 minutes before placing them on the grill. The soaked wood chips will smolder on the hot grill, adding a wonderful smoky flavour to your ribs. Experiment with different wood chips to find your favourite flavour.
Slow and Low:
While I'm a big fan of the faster gas grill method, if you have the time and patience, you can always try slow-smoking your ribs. This method uses a smoker or a wood-fired grill, and it results in an incredibly tender and smoky flavour. Just remember that it takes a lot longer, so be prepared to commit to a full day of cooking. This method is great for achieving a truly deep, smoky flavour. It's a bit more time-consuming, but it's worth it if you have the time and patience.
(Part 7) Don't Be Afraid to Experiment
I've learned a lot over the years, and I'm constantly experimenting and refining my rib-cooking techniques. Don't be afraid to try new things. Every rib journey is unique. The most important thing is to have fun and enjoy the process.
(Part 8) Beyond Ribs
Alright, you're now a rib master! But why stop there? Gas grilling can be used for so much more. From burgers and steaks to chicken and vegetables, the possibilities are endless.
grilling vegetables:
Grilling vegetables is a great way to bring out their natural sweetness and char. Try grilling bell peppers, onions, zucchini, or eggplant. You can even grill pineapple for a delicious and refreshing side dish. grilled vegetables add a delicious smoky flavour and a lovely char that complements any barbecue meal.
Making Burgers:
There's something about a juicy burger cooked on a gas grill that just can't be beat. Make your own patties with your favourite blend of ground beef, or try using ground turkey or chicken. The heat of the grill creates a crispy crust on the outside and keeps the inside juicy and flavorful.
Cooking Fish:
You can also grill fish! Try salmon, cod, or swordfish. Just make sure to use a grill basket to prevent the fish from falling through the grates. Grilling fish is a great way to cook it quickly and get a nice, smoky flavour. Just be sure to cook it over medium heat to prevent it from drying out.
(Part 9) FAQs
1. Can I use a smoker instead of a gas grill?
Absolutely! In fact, many people believe that smoking ribs in a smoker results in the best flavour. The key is to maintain a low and slow cooking temperature. Smokers provide a more consistent smoky flavour, and the slow cooking method ensures incredibly tender ribs.
2. What kind of wood chips are best for ribs?
Hickory, mesquite, and applewood chips are all popular choices for ribs. Hickory adds a strong, smoky flavour, while mesquite is more intense and a bit sweeter. Applewood chips provide a milder, slightly fruity flavour. It really comes down to personal preference. Experimenting with different wood chips will allow you to discover which flavour you prefer.
3. How long should I cook ribs on a gas grill?
The total cooking time will vary depending on the size of the ribs and the temperature of your grill, but you can expect to cook them for at least 3 hours. The time also depends on whether you're using a traditional gas grill or a smoker. Smokers generally require a longer cooking time.
4. Can I use a different type of vinegar in the foil wrap?
While apple cider vinegar is a classic choice, you can also use white vinegar or even balsamic vinegar. The main purpose of the vinegar is to tenderize the meat and add a little bit of tang. Experimenting with different vinegars will create different flavour profiles. White vinegar offers a clean, sharp tang, while balsamic vinegar adds a sweeter, more complex flavour.
5. What are some tips for storing leftover ribs?
Leftover ribs can be stored in an airtight container in the refrigerator for up to 3 days. You can also freeze them for up to 3 months. When reheating ribs, it's best to do so in the oven at a low temperature. Reheating the ribs in the oven will help keep them moist and prevent them from drying out.
So, there you have it – my secrets for perfect gas grill ribs every time. Now go forth and conquer your next rib feast! And remember, have fun with it!
Everyone is watching

Perfect Rice Every Time: The Ultimate Guide to Cooking Rice
Cooking TipsAs a self-proclaimed foodie, I've always been a bit obsessed with rice. It's the foundation of countless cuisi...

Prime Rib Roast Cooking Time Chart: Per Pound Guide
Cooking TipsPrime rib roast. Just the name conjures images of lavish dinners, crackling fires, and hearty laughter. It’s ...

The Ultimate Guide to Cooking Asparagus: Tips, Techniques, and Recipes
Cooking TipsAsparagus. The mere mention of this spring delicacy conjures up images of vibrant green spears, crisp and burs...

Ultimate Guide to Cooking the Perfect Thanksgiving Turkey
Cooking TipsThanksgiving. Just the word conjures up images of overflowing tables laden with delicious food, the scent of r...

How Long to Bake Potatoes in the Oven (Perfect Every Time)
Cooking TipsBaked potatoes are a staple in my kitchen. They're incredibly versatile, delicious, and surprisingly easy to m...
