There's nothing quite like the aroma of a juicy burger sizzling on a hot gas grill. That smoky, char-grilled flavour is enough to make anyone’s mouth water. But getting that perfect patty, cooked just the way you like it, can be a bit of a challenge. You know the feeling, staring at that sizzling burger, wondering if it's done yet, and ending up with either a dry, overcooked disaster or a raw, pink centre. I've been there, more times than I care to admit! So, I decided to put in the effort, experiment, and finally nail the art of gas grill burger cooking. Join me on this culinary adventure, and you’ll be flipping perfect burgers in no time!
(Part 1) Understanding the Basics: Building a Solid Foundation

The Importance of the Patty: The Star of the Show
Let's start with the heart of the matter: the patty. It's the star of the show, so you want to make sure it's a good one. Supermarket patties are convenient, but they often lack the depth of flavour you get from a good butcher's blend. So, if you can, invest in some quality ground beef. Look for an 80/20 mix, which is 80% lean and 20% fat. That fat is your secret weapon for juicy, flavourful burgers. It renders as the patty cooks, adding moisture and richness to every bite. Trust me, it makes all the difference!
The Power of Pre-Heating: Setting the Stage for Success
Next, let’s talk about your gas grill. You need to treat it like a stage, setting it up for a successful performance. The golden rule is to preheat that bad boy! It’s not just about getting things hot, but also about creating a consistent cooking environment. I usually set my grill to medium-high heat, around 400-450°F, and let it heat up for about 10 minutes. This way, you avoid cold spots on the grill, which can lead to uneven cooking and a less than ideal burger. Think of it as getting your grill ready to give those patties the perfect welcome!
(Part 2) The Art of Patty Formation: Crafting a Culinary Masterpiece

The Perfect Patty Shape: A Round of Applause for Symmetry
Now, let's get our hands dirty and shape those patties. You want to form them into a nice, even disc, about ?? inch thick. Don't press it down too hard, as that can squeeze out all the delicious juices. Think of it as gently coaxing the patty into shape. I use a gentle touch and leave a slight indent in the centre of the patty. This helps it cook more evenly and prevents the centre from bulging up during cooking. It's all about creating a balanced burger that's juicy and well-cooked, not a flattened pancake!
Seasoning: Less is More, but Quality is Key
Seasoning is like a supporting actor in your burger story. It's there to enhance the lead role, not steal the show. It's tempting to go overboard with the spices, but trust me, less is more. Salt and freshly ground black pepper are all you really need. Just lightly sprinkle a little on both sides of your patty. Think of it as a subtle whisper of flavour. If you’re feeling adventurous, you can add a touch of garlic powder or onion powder, but keep it subtle. Remember, the goal is to enhance the natural flavour of the beef, not drown it out with a spice overload.
(Part 3) Grill Time!: The Show Begins

Getting Started: Taking Center Stage
Alright, it's showtime! Time to put those patties on the grill. Place them directly over the heat, ensuring there’s enough space between them so they cook evenly. Don't touch them! For the first 3-4 minutes, just let them cook undisturbed. This is the key to getting that beautiful, caramelized sear on the outside. That’s what gives your burger that irresistible char-grilled flavour.
Flipping and Timing: A Well-Timed Move
After those first few minutes, it’s time to flip them over. But here’s the thing, you don't want to be flipping them every minute. That will lead to a dry, overcooked burger. My rule of thumb is to flip them just once, after 3-4 minutes on the first side. You’re looking for a nice, golden-brown crust and some nice grill marks. This is a pivotal moment in the cooking process.
Doneness: The Temperature Check
Now, here’s where things get interesting. It’s all about the doneness. The perfect burger is cooked to a temperature that’s safe and satisfying. If you’re using a meat thermometer, aim for 160°F for well-done, 155°F for medium-well, 145°F for medium, and 135°F for medium-rare. Remember, everyone has their own preference, but it’s important to cook burgers to a safe internal temperature.
But if you’re like me and prefer to go by feel, here’s a simple trick. Press the centre of the patty with your thumb. If it feels firm, it's well-done. If it feels springy, it's medium. And if it feels soft, it's rare. It takes a bit of practice, but with time, you'll get the hang of it.
(Part 4) Beyond the Patty: Adding the Final Touches
Toppings, Toppings, Toppings!: Building a Culinary Symphony
Now that your burger is cooked to perfection, it's time to add the finishing touches – the toppings! This is where your creativity really comes into play. From classic cheddar cheese to tangy pickles and juicy tomatoes, the possibilities are endless. I love a good cheddar and bacon combo, but sometimes I crave a more adventurous mix like blue cheese, caramelized onions, and roasted peppers. It’s really up to you! Choose your toppings wisely, and they’ll elevate your burger to a whole new level.
The Bun Factor: The Perfect Stage for Your Creation
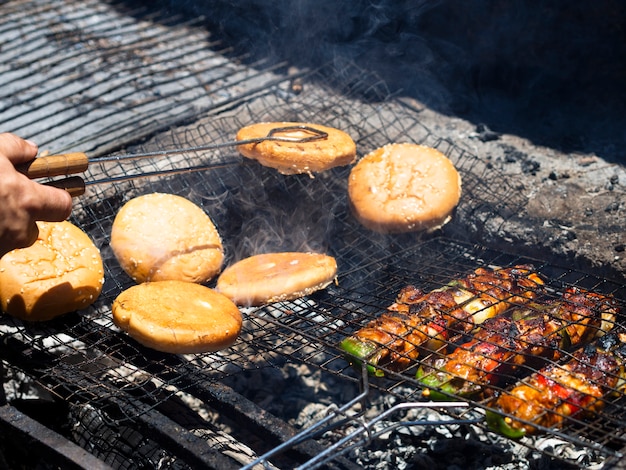
Of course, no burger is complete without a bun. I like to toast mine lightly on the grill, which gives them a nice crispy texture. But the key is to choose a bun that can hold up to all the deliciousness of your burger. You want a sturdy bun that won't crumble under the weight of your toppings. Think of the bun as the stage for your burger masterpiece. It needs to be sturdy enough to support all the flavours you've carefully curated.
(Part 5) Gas Grill Burger Cooking Times: A Breakdown
Now, let’s talk specifics. Here's a breakdown of cooking times for different thicknesses and doneness preferences. Remember, these are just guidelines, so adjust based on your grill's heat and your personal preference.
Table: Gas Grill Burger Cooking Times
| Patty Thickness (inches) | Doneness | Total Cooking Time (minutes) |
|---|---|---|
| ?? | Well-done | 6-8 |
| ?? | Medium-well | 5-7 |
| ?? | Medium | 4-6 |
| ?? | Medium-rare | 3-5 |
| ?? | Well-done | 8-10 |
| ?? | Medium-well | 7-9 |
| ?? | Medium | 6-8 |
| ?? | Medium-rare | 5-7 |
| 1 | Well-done | 10-12 |
| 1 | Medium-well | 9-11 |
| 1 | Medium | 8-10 |
| 1 | Medium-rare | 7-9 |
Remember, these are just general guidelines. You’ll need to adjust the cooking times based on the heat of your grill and the thickness of your patties. And don't be afraid to experiment and find what works best for you.
(Part 6) Beyond the Basics: Tips and Tricks
Now that you've got the basics down, let's talk about a few extra tips and tricks to elevate your burger grilling game.
The Importance of Patience: A Culinary Virtue
Let's talk about patience. It's tempting to constantly poke and prod your burger, but resist the urge! Let the patty cook undisturbed, and only flip it once. You'll be rewarded with a beautiful sear and a juicy, flavorful burger. It's like letting a masterpiece slowly unfold.
Don't Overcrowd the Grill: Giving Each Patty Its Space
Give those burgers some breathing room. If you cram too many on the grill, they won’t cook evenly and may steam instead of sear. Leave enough space between each patty to allow for proper airflow and heat distribution. Think of it as giving each burger its own stage to shine.
Rest is Key: Letting the Flavours Settle
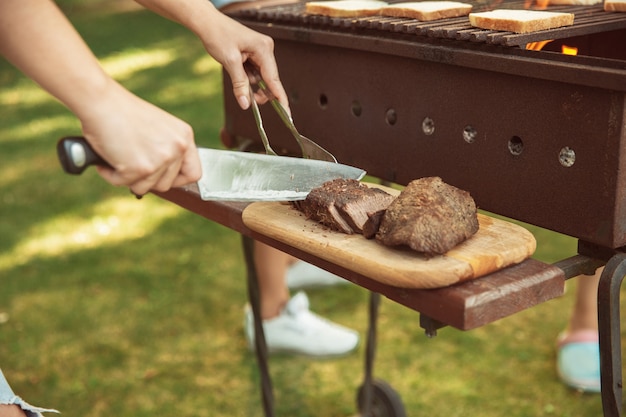
Once your burger is off the grill, let it rest for a few minutes before assembling. This allows the juices to redistribute and prevents your burger from becoming dry. It's a simple step, but it makes a big difference in the final result.
Grilling Beyond Burgers: Exploring New Culinary Avenues
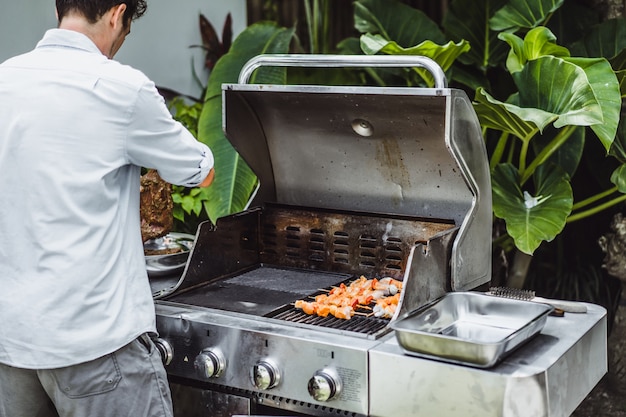
Who says your gas grill is only for burgers? It's a culinary playground! Try grilling vegetables, skewers, or even fish. The possibilities are endless. Don't be afraid to explore new flavours and techniques on your grill. It's a great way to expand your culinary horizons.
(Part 7) Troubleshooting: Common Burger Grilling Problems
Okay, so you’ve mastered the basics, but what happens when things go wrong? Don’t worry, we all have those moments. Here are some common burger grilling problems and how to fix them.
The Dry Burger Dilemma: Saving the Day
If you find your burger is dry, it’s likely you've overcooked it. Next time, try cooking it for a shorter time, check the temperature more often, or use a meat thermometer for more precise results. You can also try using a burger press to create a thicker patty, which will retain more moisture during cooking. And remember, a little bit of fat goes a long way when it comes to juicy burgers.
The Raw Center Conundrum: Ensuring a Safe and Delicious Outcome
If your burger has a raw center, it's a sign that it hasn’t been cooked long enough. Increase the cooking time or heat your grill to a higher temperature. And, of course, use a meat thermometer to ensure it’s cooked to your desired doneness. Remember, food safety is always paramount.
The Burnt Burger Blunder: Avoiding a Culinary Disaster
If you're facing a burnt burger, it’s usually a sign that the grill is too hot. Lower the temperature, or move the patties to a cooler part of the grill. Remember, patience is key! Don't rush the process, and you'll be rewarded with a perfectly cooked burger.
(Part 8) FAQs: Addressing Your Burning Questions
You’ve got questions, I’ve got answers. Here are some frequently asked questions about gas grill burger cooking.
1. Can I use frozen patties?
You can certainly use frozen patties, but they will take longer to cook. Make sure they are thawed completely before grilling, and adjust your cooking times accordingly. You may also want to consider using a meat thermometer to ensure they’re cooked to your desired doneness. And remember, thawed patties are more likely to fall apart, so be gentle when handling them.
2. How do I prevent burgers from sticking to the grill grates?
A well-oiled grill is your best friend. Before you start grilling, brush your grates with a little oil. I use a clean pastry brush for this. This creates a non-stick surface, preventing your burgers from sticking. You can also use a silicone grill mat, which is a great option for preventing sticking and making cleaning a breeze.
3. What’s the best way to clean my gas grill after grilling?
Cleaning your gas grill is crucial. After each use, I use a grill brush to scrub the grates clean. For stubborn grease, you can use a grill cleaner. Remember to unplug the grill and let it cool completely before cleaning. A clean grill will ensure that your burgers cook evenly and have a great flavour.
4. How do I know if my grill is hot enough?
The best way to check if your grill is hot enough is to hold your hand a few inches above the grates. If you can only hold it for a few seconds, your grill is ready to go. If you can hold it for longer, it needs more heat. You can also use a grill thermometer for a more accurate reading.
5. What if I don't have a meat thermometer?
While a meat thermometer is highly recommended, you can also judge the doneness of your burgers by pressing the centre with your thumb. If it feels firm, it's well-done. If it feels springy, it's medium. And if it feels soft, it's rare. Remember, it's all about personal preference. But if you're unsure, it's always better to err on the side of caution and cook your burgers a bit longer.
Now, you're armed with all the knowledge you need to grill the perfect burger on your gas grill. So, fire up that grill, gather your friends and family, and get ready to enjoy those juicy, smoky, delicious burgers! Happy grilling!
Everyone is watching

Prime Rib Roast Cooking Time Chart: Per Pound Guide
Cooking TipsPrime rib roast. Just the name conjures images of lavish dinners, crackling fires, and hearty laughter. It’s ...

How Long to Bake Potatoes in the Oven (Perfect Every Time)
Cooking TipsBaked potatoes are a staple in my kitchen. They're incredibly versatile, delicious, and surprisingly easy to m...

Perfect Rice Every Time: The Ultimate Guide to Cooking Rice
Cooking TipsAs a self-proclaimed foodie, I've always been a bit obsessed with rice. It's the foundation of countless cuisi...

The Ultimate Guide to Cooking Asparagus: Tips, Techniques, and Recipes
Cooking TipsAsparagus. The mere mention of this spring delicacy conjures up images of vibrant green spears, crisp and burs...

Ultimate Guide to Cooking the Perfect Thanksgiving Turkey
Cooking TipsThanksgiving. Just the word conjures up images of overflowing tables laden with delicious food, the scent of r...
