Let's be honest – sometimes, the last thing we want to do after a long day is spend hours in the kitchen. That's where the humble frozen pizza comes in, a lifesaver for those nights when convenience reigns supreme. But just because it's frozen doesn't mean you have to settle for a soggy, undercooked, or overdone pizza experience. It's all about mastering the art of cooking time – and trust me, it makes a world of difference.
I've spent countless hours experimenting with frozen pizzas, trying different brands, ovens, and cooking methods. I've endured soggy crusts, burnt toppings, and even the occasional pizza explosion (yes, it's happened!). But through trial and error, I've finally cracked the code to achieving a perfect frozen pizza. It's about understanding the nuances, the little tricks that elevate a frozen pizza from ordinary to truly enjoyable. And guess what? It's not as complicated as you might think.
In this article, I'll walk you through the process, sharing my secrets to achieving a crispy crust, perfectly melted cheese, and deliciously heated toppings. I'll provide tips, tricks, and even some unconventional methods to take your frozen pizza game to the next level. So grab your favourite frozen pizza, put on some music, and let's dive into the world of frozen pizza perfection!
(Part 1) The Foundation of a Great Pizza: Preheating

The first step in this frozen pizza adventure is something you might already know: preheating your oven. It seems obvious, right? But preheating is more than just a suggestion – it's crucial for ensuring your pizza cooks evenly and develops that coveted crispy crust.
I always preheat my oven to the highest temperature recommended on the pizza box – usually around 220°C or 425°F. Think of your oven as a big, hot hug for your pizza, warming it up from the inside out.
Why Preheating is Your Secret Weapon
Preheating is the foundation of a perfectly cooked frozen pizza. Here's why:
- Even Cooking: A preheated oven ensures that the heat is distributed evenly, so your pizza cooks consistently from edge to edge. Imagine the heat like a gentle wave, reaching every part of your pizza at the same time.
- Crispy Crust: Preheating allows the oven to reach its full heat, which is essential for creating a crispy, golden-brown crust. Think of it like a quick, intense burst of heat that crisps up the bottom of your pizza. No more soggy crust nightmares!
- Melted Cheese: The high heat of a preheated oven helps to melt the cheese evenly and create that satisfyingly gooey texture. That irresistible cheese pull? You can thank your preheated oven for that!
How Long to Preheat: A Matter of Time
The preheating time depends on your oven, but generally, 10-15 minutes is sufficient. I like to check the oven temperature gauge and make sure the preheat light goes off before I even think about putting the pizza in.
(Part 2) Choosing the Right Baking Sheet: It's Not Just Any Old Tray

The humble baking sheet plays a more important role in your frozen pizza journey than you might think. It's not just any old tray – the type you use can significantly impact the outcome of your pizza, from the crust to the toppings.
Over the years, I've experimented with a variety of baking sheets, some with disastrous results. I've learned that a good baking sheet is your trusty sidekick, making sure your pizza cooks evenly and doesn't stick.
The Hero: Heavy-Duty Baking Sheets
For optimal results, choose a heavy-duty baking sheet. These sheets are typically made of aluminum or stainless steel and are thicker than standard baking sheets. They distribute heat evenly and prevent warping, ensuring that your pizza cooks consistently and doesn't end up stuck to the sheet.
The Villains: Flimsy Trays and Non-Stick Surfaces
Avoid flimsy aluminum trays, especially the ones that often come with frozen pizzas. They tend to warp in the oven, leading to uneven cooking and potential pizza disasters. And steer clear of those fancy, non-stick baking sheets. They might seem tempting, but they can sometimes cause the pizza to slide around in the oven, making it difficult to achieve a crispy crust.
(Part 3) The Secrets to a Crispy Crust: Frozen Pizza's Holy Grail

A crispy crust is the holy grail of frozen pizza cooking. It's the key to a truly satisfying experience, and it elevates your pizza from ordinary to extraordinary. Here are some of the secrets I've learned over the years for achieving that perfect, golden-brown crunch:
The No-Flip Method: Leave it Alone!
You might be tempted to flip the pizza halfway through cooking, thinking it will help cook evenly. But trust me, I've learned this the hard way – flipping disrupts the cooking process and can lead to a soggy crust. Let the pizza cook undisturbed on the bottom rack.
Elevated Baking: Let It Breathe
To encourage airflow and even cooking, place your baking sheet on a rack in the middle of the oven. This allows for heat circulation, resulting in a crispier crust. It's like giving your pizza a little breathing room, allowing it to cook evenly.
The Secret Ingredient: Cornmeal
Sprinkle a light dusting of cornmeal on your baking sheet before placing the pizza on it. This creates a barrier between the pizza and the baking sheet, preventing sticking and ensuring a crispy crust. It's like adding a little extra protection to your pizza, making sure it cooks perfectly without sticking.
(Part 4) Monitoring the Cooking Time: It's a Balancing Act
While the instructions on the pizza box are a good starting point, it's essential to monitor your pizza closely during cooking. Every oven is different, and the recommended cooking time may not be accurate for yours. You need to be the ultimate pizza guardian, ensuring it doesn't overcook or undercook.
Signs of a Perfectly Cooked Pizza: The Clues are There
Here are some telltale signs that your pizza is ready:
- Golden-Brown Crust: The crust should be a beautiful golden-brown colour, indicating that it's cooked through. Think of it like a sun-kissed glow, a sign of perfection.
- Melted Cheese: The cheese should be melted and bubbly, but not burnt. It should be gooey and inviting, not burnt and hard.
- Hot Toppings: The toppings should be heated through and bubbling. They should be nice and hot, ready to be enjoyed.
Overcooked Pizza: A Pizza Tragedy
It’s crucial to keep a close eye on your pizza and avoid overcooking. Overcooked pizzas have a dry, burnt crust and can be unpleasant to eat. If you're unsure, check the pizza a few minutes before the recommended cooking time is up.
(Part 5) The Pizza Stone: A Game-Changer for Frozen Pizza Perfection
If you're serious about elevating your frozen pizza game, investing in a pizza stone is a game-changer. These thick, flat stones absorb heat and distribute it evenly, creating a crispier crust and a more authentic pizza experience. Think of it as a mini-pizza oven in your own kitchen, taking your pizza to the next level.
Using a Pizza Stone: A Quick Guide
Preheat your pizza stone in the oven for at least 30 minutes before placing the pizza on it. This ensures that the stone is hot enough to create that perfect crispy crust. Let the stone heat up and become the star of the show!
The Benefits of a Pizza Stone: Why It's Worth the Investment
Using a pizza stone offers numerous benefits:
- Even Heat Distribution: A pizza stone distributes heat evenly, ensuring that the pizza cooks consistently. It's like a pizza therapist, making sure every part of the pizza gets the right amount of heat.
- Crispy Crust: The heat from the stone creates a wonderfully crispy crust. Think of it like a professional pizza chef's secret weapon, creating that perfect crunch.
- Enhanced Flavor: The stone absorbs moisture from the pizza, resulting in a crispier crust and enhanced flavours. It's like a pizza magician, enhancing the flavours and bringing out the best in your pizza.
(Part 6) The Frozen pizza toppings Dilemma: Adding Your Personal Touch
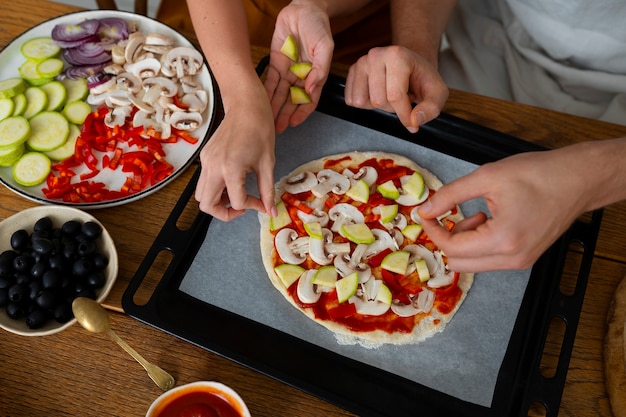
When it comes to frozen pizza toppings, you have a wide range of options: pepperoni, sausage, mushrooms, onions, olives, and the list goes on. But there's a secret to making those toppings sing – it's about adding your own personal touch, creating your own pizza masterpiece.
The Art of Adding Extra Toppings: Get Creative!
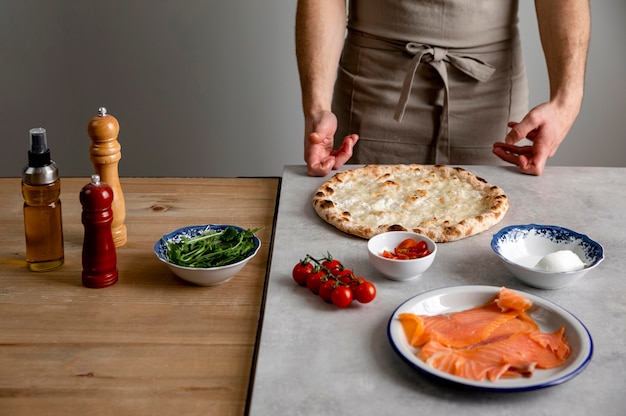
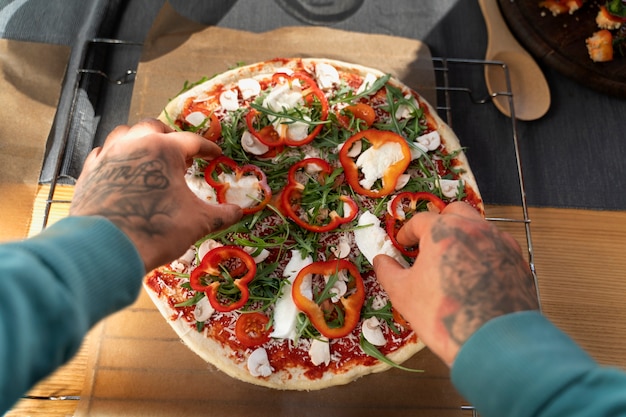
Don’t be afraid to get creative and add your own toppings to your frozen pizza. I like to add extra cheese, fresh herbs, or even a sprinkle of chili flakes. Just make sure to add them towards the end of the cooking time to prevent them from burning.
The Secret to Melted Cheese: A Touch of Mozzarella Magic
To achieve that perfectly melted cheese, add a few small pieces of fresh mozzarella to your pizza before it goes in the oven. The mozzarella will melt beautifully, adding a touch of decadence to your pizza. It's like a little bit of pizza magic, transforming your pizza into something special.
(Part 7) The Art of Reheating: Second Chances for Frozen Pizza Delights
Sometimes, you might end up with leftover pizza. But fear not! Reheating a frozen pizza can be just as delicious as eating it fresh out of the oven. It's all about using the right method to bring back that crispy crust and gooey cheese.
Reheating Methods: From the Oven to the Air Fryer
Here are some tried-and-true methods for reheating your frozen pizza:
- Oven: Preheat your oven to 200°C or 400°F. Place your pizza on a baking sheet and cook for about 5 minutes, or until the cheese is melted and bubbly. A classic method that never fails.
- Toaster Oven: Preheat your toaster oven to 200°C or 400°F. Place your pizza on a baking sheet and cook for about 3 minutes, or until the cheese is melted and bubbly. A quicker option for a single slice.
- Air Fryer: Preheat your air fryer to 200°C or 400°F. Place your pizza in the air fryer basket and cook for about 3 minutes, or until the cheese is melted and bubbly. For a crispy crust in no time.
- Microwave: Place your pizza on a microwave-safe plate and cook on high for 30-60 seconds, or until the cheese is melted. This method is not ideal for achieving a crispy crust, but it’s a quick and easy option for a quick bite.
(Part 8) The Frozen Pizza Experience: Beyond the Basics
While mastering the art of cooking a frozen pizza is a rewarding experience in itself, there are a few extra tips and tricks that can take your frozen pizza experience to the next level. It's about going beyond the basics and adding your personal touch.
Homemade Sauce: A Touch of Pizza Magic
If you're feeling adventurous, try making your own pizza sauce. You can find countless recipes online, and it’s surprisingly easy to do. Homemade sauce adds a depth of flavour that you won’t find in pre-made sauce. It's like adding a little bit of pizza magic, transforming your pizza into something special.
Fresh Herbs: A Burst of Freshness
Adding fresh herbs to your pizza is a simple but effective way to elevate its flavour. I love to sprinkle on some fresh basil, oregano, or parsley. The vibrant flavours add a touch of freshness and complexity to your pizza. It's like a breath of fresh air, making your pizza taste even better.
Pizza Cutter: The Ultimate Pizza Tool
Invest in a good pizza cutter. It makes slicing your pizza a breeze and prevents those dreaded uneven slices. It's a must-have for every pizza enthusiast.
(Part 9) Frozen Pizza FAQs: Addressing Your Pizza Questions
Here are some frequently asked questions about frozen pizza cooking:
1. Can I cook a frozen pizza on a baking sheet without using cornmeal?
While you can technically cook a frozen pizza without cornmeal, using it will prevent sticking and ensure a crispy crust. Cornmeal helps create a barrier between the pizza and the baking sheet, allowing for better airflow and even cooking.
2. Should I remove the pizza from its box before cooking?
Yes, it’s always best to remove the pizza from its box before cooking. The box can trap moisture and prevent the pizza from cooking evenly.
3. Is it okay to use a pizza stone for frozen pizza?
Absolutely! Using a pizza stone is a great way to elevate your frozen pizza experience. It creates a crispier crust and enhances the overall flavour. Make sure to preheat the stone for at least 30 minutes before placing the pizza on it.
4. Can I add extra toppings to my frozen pizza?
Yes! Adding extra toppings is a great way to personalize your frozen pizza. Just make sure to add them towards the end of the cooking time to prevent them from burning.
5. What happens if I overcook my frozen pizza?
Overcooked frozen pizzas have a dry, burnt crust and can be unpleasant to eat. If you’re unsure, check the pizza a few minutes before the recommended cooking time is up.
As you embark on your frozen pizza journey, remember that the key to success lies in understanding the fundamentals. Preheating your oven, using the right baking sheet, and monitoring your pizza carefully are all crucial steps in achieving that perfect frozen pizza. Don’t be afraid to experiment with toppings, sauces, and reheating methods to discover your own personal pizza preferences. And most importantly, enjoy the process!
Happy pizza-making!
Everyone is watching

Perfect Rice Every Time: The Ultimate Guide to Cooking Rice
Cooking TipsAs a self-proclaimed foodie, I've always been a bit obsessed with rice. It's the foundation of countless cuisi...

Prime Rib Roast Cooking Time Chart: Per Pound Guide
Cooking TipsPrime rib roast. Just the name conjures images of lavish dinners, crackling fires, and hearty laughter. It’s ...

The Ultimate Guide to Cooking Asparagus: Tips, Techniques, and Recipes
Cooking TipsAsparagus. The mere mention of this spring delicacy conjures up images of vibrant green spears, crisp and burs...

Ultimate Guide to Cooking the Perfect Thanksgiving Turkey
Cooking TipsThanksgiving. Just the word conjures up images of overflowing tables laden with delicious food, the scent of r...

How Long to Bake Potatoes in the Oven (Perfect Every Time)
Cooking TipsBaked potatoes are a staple in my kitchen. They're incredibly versatile, delicious, and surprisingly easy to m...
