Let's talk cornish hens! These petite birds are a personal favourite in our household, perfect for a cozy dinner party or a special occasion. But one thing that can be a bit tricky is knowing exactly how long to cook them. You don't want them dry and overcooked, and you definitely don't want them undercooked! This guide will help you achieve perfectly cooked Cornish hens every time.
Part 1: The Cornish Hen - A Quick Overview
A Bite-Sized History
Firstly, let's clarify what these adorable little birds actually are. A Cornish hen isn't a breed of chicken, but rather a young chicken raised for a shorter period of time. They're typically around 5-6 weeks old, making them smaller and more tender than a mature chicken.
Why Cornish Hens?
Now, why choose a Cornish hen over a regular chicken? Well, I'll tell you why. They're simply delightful! They have a more delicate flavour and a tender texture that's hard to beat. Plus, they're super easy to cook, making them a great option for busy weeknights or those special occasions when you want to impress your guests.
Part 2: Understanding Cornish Hen Size and Weight
Sizing Up Your Bird
The key to perfect cornish hen cooking is understanding the size and weight of your bird. This is the most important factor in determining cooking time. Cornish hens can vary in size, so always check the weight before cooking.
General Guidelines
Here's a quick guide to give you an idea of what to expect:
Small: 1-1.5 lbs (450-680g)
Medium: 1.5-2 lbs (680-900g)
Large: 2-2.5 lbs (900-1,130g)
Part 3: Roasting – The Classic Method
Prepping for Roasting
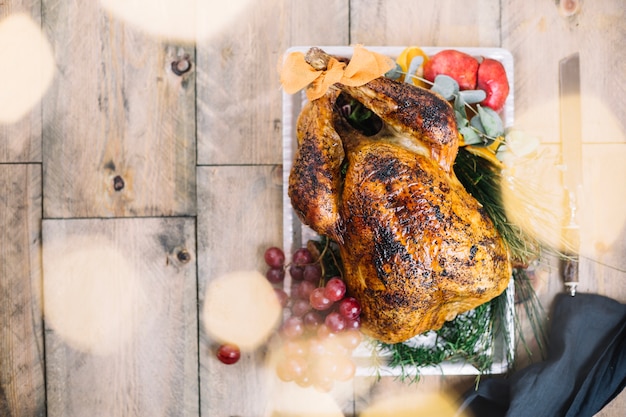
Roasting is probably the most popular way to cook a Cornish hen. It's simple, allows the skin to get beautifully crispy, and gives the hen a lovely flavour. Here's how I prep my Cornish hens for roasting:
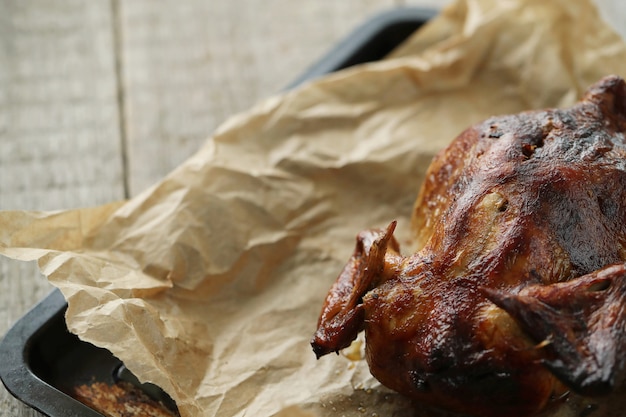
1. Pat dry: The first step is to pat the hen dry with paper towels. This will help the skin crisp up nicely in the oven.
2. Seasoning: I like to season my hens with salt, pepper, and sometimes a little garlic powder. You can also add herbs like rosemary, thyme, or sage for extra flavour.
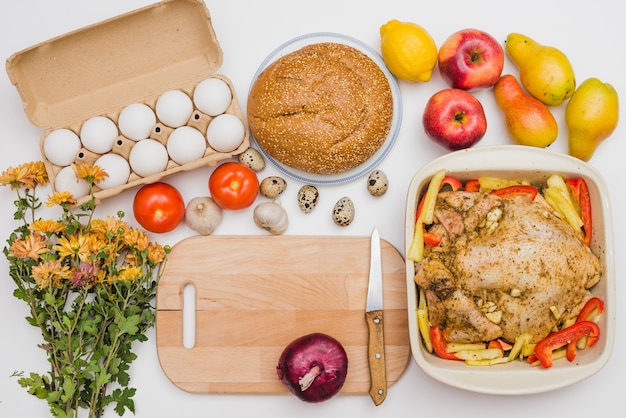
3. Stuffing (Optional): For a more flavorful dish, you can stuff the hen with a simple breadcrumb stuffing. My go-to recipe includes bread crumbs, butter, herbs, and a touch of onion.
4. Butter it up: I always brush my hen with a little melted butter before roasting. This keeps the meat moist and adds a lovely golden colour to the skin.
Roast Time
Now, here's the important part - the cooking time. This is a general guide for roasting a Cornish hen, but keep in mind that oven temperatures can vary.
Oven Temperature: 350°F (175°C)
Cooking Time:
Small: 45-55 minutes
Medium: 55-65 minutes
Large: 65-75 minutes
Checking for Doneness
Never rely solely on the timer! You need to check for doneness to ensure the hen is cooked through.
How to Check for Doneness:
Use a meat thermometer: Insert the thermometer into the thickest part of the thigh, making sure it doesn't touch the bone. The hen is done when the internal temperature reaches 165°F (74°C).
Visual cues: The juices should run clear when you cut into the thickest part of the thigh, and the skin should be a beautiful golden brown.
Part 4: Mastering Other Cooking Methods
The Allure of Pan-frying
If you're looking for a quick and easy way to cook a Cornish hen, pan-frying is a great option. You can get a crispy skin and juicy meat in just a short amount of time.
Pan-frying Tips
Use a cast-iron skillet: This will help you get a nice crispy skin.
Heat the skillet over medium-high heat: Make sure the skillet is hot before adding the hen.
Don't overcrowd the skillet: Give the hens enough space to cook evenly.
Cook for about 15 minutes per side: Flip the hen when the skin is nicely browned.
Use a meat thermometer to check for doneness: Make sure the internal temperature reaches 165°F (74°C).
The Simplicity of Grilling
Grilling is another great way to cook a Cornish hen. You get a nice smoky flavour and a crispy skin.
grilling guidelines
Preheat your grill to medium-high heat: Make sure the grill is hot before adding the hens.
Place the hens on the grill, skin-side down: This will help the skin get nice and crispy.
Cook for about 15 minutes per side: Flip the hens when the skin is nicely browned.
Use a meat thermometer to check for doneness: Make sure the internal temperature reaches 165°F (74°C).
Part 5: Delicious Accompaniments and side dishes
Perfect Pairs
Cornish hens are so versatile! They pair well with a wide variety of side dishes, from classic roasted vegetables to more elaborate dishes.
Side Dish Ideas
Here are some of my favourite side dish pairings:
Roasted vegetables: Roast asparagus, broccoli, carrots, or potatoes with a little olive oil, salt, and pepper. A simple drizzle of balsamic vinegar adds another dimension of flavour.
Sautéed greens: Sauteé some spinach, kale, or chard with garlic and olive oil. A squeeze of lemon juice brightens up the dish.
Grains: Serve your Cornish hen with a side of quinoa, rice, or couscous. A simple sprinkle of toasted nuts or seeds adds a textural element.
fruit salad: For a lighter option, try a fresh fruit salad with berries, melon, or citrus fruits.
Pasta salad: A pasta salad with cherry tomatoes, cucumber, and herbs makes a great side dish. A light vinaigrette dressing keeps it light and refreshing.
Sauces and Dressings
And don't forget about the sauce! A simple pan sauce made with the drippings from the roasted hen, or a delicious gravy can elevate your meal to new heights.
Part 6: Serving and Storage
Serving with Flair
When it comes to serving, Cornish hens are a real crowd-pleaser. They look beautiful on a platter, and they're easy to eat.
Serving Suggestions
Here are a few ideas for serving your Cornish hens:
Platter presentation: Arrange the cooked hens on a platter with your chosen side dishes.
Individual portions: If you're serving a larger group, you can place each hen on an individual plate with a side of your chosen dish.
Carving station: For a more formal presentation, consider setting up a carving station where guests can help themselves to portions.
Storage Tips
If you have any leftover Cornish hen, you can store it in the refrigerator for up to 3 days. Simply wrap it tightly in plastic wrap or aluminium foil. You can also freeze leftover Cornish hen for up to 3 months.
Part 7: FAQs - Your Cornish Hen Questions Answered
What if my Cornish hen is too small?
Don't worry! If your Cornish hen is smaller than the standard size, just reduce the cooking time accordingly. It's always better to err on the side of caution and check for doneness using a meat thermometer.
What if my Cornish hen is too large?
If your Cornish hen is larger than the standard size, you may need to increase the cooking time slightly. Again, it's best to use a meat thermometer to check for doneness.
What if my Cornish hen is frozen?
If your Cornish hen is frozen, you'll need to thaw it completely before cooking. This can be done in the refrigerator for 24 hours or by placing it in a bowl of cold water for a few hours.
What if my Cornish hen is not fully cooked?
If your Cornish hen is not fully cooked, you can always cook it for a little longer. Make sure to check for doneness with a meat thermometer.
What if my Cornish hen is overcooked?
Unfortunately, if your Cornish hen is overcooked, there's not much you can do to salvage it. Try to avoid overcooking by checking for doneness with a meat thermometer.
Part 8: cornish hen recipes for Every Occasion
Simple roasted cornish hen
Here's a simple recipe that you can make anytime:
Ingredients:
1 Cornish hen (1-1.5 lbs)
1 tablespoon olive oil
1 teaspoon salt
1/2 teaspoon black pepper
1/2 teaspoon garlic powder
1/4 cup chopped fresh herbs (such as rosemary, thyme, or sage)
Instructions:
1. Preheat oven to 350°F (175°C).
2. Pat the Cornish hen dry with paper towels.
3. In a small bowl, combine olive oil, salt, pepper, garlic powder, and herbs.
4. Rub the mixture all over the Cornish hen.
5. Place the hen in a roasting pan.
6. Roast for 45-55 minutes, or until the internal temperature reaches 165°F (74°C).
7. Let the hen rest for 10 minutes before carving and serving.
Pan-Fried Cornish Hen with Lemon and Herbs
Here's a quick and easy recipe for a delicious pan-fried Cornish hen:
Ingredients:
1 Cornish hen (1-1.5 lbs)
1 tablespoon olive oil
1 lemon, cut into wedges
1/4 cup chopped fresh herbs (such as parsley, thyme, or basil)
Salt and pepper to taste
Instructions:
1. Heat the olive oil in a large cast-iron skillet over medium-high heat.
2. Place the Cornish hen in the skillet, skin-side down.
3. Cook for about 15 minutes, or until the skin is nicely browned.
4. Flip the hen and cook for another 15 minutes, or until the internal temperature reaches 165°F (74°C).
5. Add the lemon wedges and herbs to the skillet in the last few minutes of cooking.
6. Serve immediately.
grilled cornish hen with Honey-Garlic Glaze
Here's a recipe for a flavourful grilled Cornish hen:
Ingredients:
1 Cornish hen (1-1.5 lbs)
2 tablespoons honey
1 tablespoon soy sauce
1 tablespoon olive oil
1 tablespoon minced garlic
1 teaspoon ginger, grated
1/2 teaspoon black pepper
Instructions:
1. Preheat grill to medium-high heat.
2. In a small bowl, combine honey, soy sauce, olive oil, garlic, ginger, and black pepper.
3. Brush the Cornish hen with the honey-garlic glaze.
4. Place the hen on the grill, skin-side down, and cook for about 15 minutes.
5. Flip the hen and cook for another 15 minutes, or until the internal temperature reaches 165°F (74°C), brushing with additional glaze as needed.
Part 9: My Favourite Cornish Hen cooking tips
Keep it Simple
Don't overcomplicate things. A simple Cornish hen with basic seasonings is delicious. A sprinkle of salt, pepper, and a touch of herbs is all you really need.
Master the Thermometer
A meat thermometer is your best friend when cooking cornish hens. It takes the guesswork out of doneness. Ensure the internal temperature reaches 165°F (74°C) for safe and delicious results.
Don't Forget the Rest
Let the hen rest for 10 minutes after cooking. This allows the juices to redistribute, resulting in more tender and juicy meat.
Save the Drippings
The drippings from the roasted Cornish hen are pure gold! Use them to make a delicious pan sauce or gravy. Simply deglaze the pan with a little wine or stock, scraping up the browned bits, and simmer until thickened.
Experiment with Flavours
Don't be afraid to get creative with your seasonings and side dishes. Cornish hens are a blank canvas for your culinary imagination! Try citrus zest, chili flakes, or even a touch of sweetness with a honey glaze.
Enjoy the Process
Cooking a Cornish hen is a rewarding experience. Take your time, enjoy the process, and savor the delicious results.
Final Thoughts
Well, there you have it – my ultimate guide to cooking Cornish hens. I hope this helps you become a master of these delectable little birds. Remember to relax, experiment, and most importantly, enjoy the process!
Everyone is watching

Perfect Rice Every Time: The Ultimate Guide to Cooking Rice
Cooking TipsAs a self-proclaimed foodie, I've always been a bit obsessed with rice. It's the foundation of countless cuisi...

Ultimate Guide to Cooking the Perfect Thanksgiving Turkey
Cooking TipsThanksgiving. Just the word conjures up images of overflowing tables laden with delicious food, the scent of r...

The Ultimate Guide to Cooking Asparagus: Tips, Techniques, and Recipes
Cooking TipsAsparagus. The mere mention of this spring delicacy conjures up images of vibrant green spears, crisp and burs...

Can You Cook Spaghetti with Gasoline? (The Shocking Truth)
Cooking TipsWe've all seen those crazy internet trends. You know, the ones that make you wonder, "Did someone actually try...

Chorizo and Eggs Recipe: The Ultimate Guide
Cooking TipsRight, let’s talk about chorizo and eggs. You know, that classic Spanish dish that's always a winner. It's th...