(Part 1) Cast Iron 101: Understanding the Basics
So, what's the secret behind cast iron's magic? It's all about the material itself – that sturdy, reliable cast iron. It's incredibly durable, heats evenly, and holds onto heat like a champ. This means you can sear a steak to perfection, bake a loaf of bread that's golden brown and fluffy inside, and even cook over an open fire if you're feeling adventurous. And let's not forget the seasoning! That natural layer of oil that builds up over time creates a non-stick surface that gets better with age. It's like having a piece of cookware that gets better with use – a true kitchen treasure.
Choosing Your cast iron pan: What to Look For
Now, you're ready to dive in. But with so many cast iron pans out there, it can feel a bit overwhelming, like trying to choose a best friend from a crowd of 100 people. Here's my advice: Don't overthink it. Look for a pan that's well-seasoned, has a smooth cooking surface, and feels good in your hand – you know, like it's a perfect fit for your kitchen. Don't get caught up in brand names – most cast iron is pretty much the same, and the real magic happens with the way you care for it.
Essential Cast Iron Tools: Your Kitchen Arsenal
To become a cast iron master, you'll need a few trusty companions, a small arsenal of tools to help you on your culinary journey. Here's my essential cast iron kit:
- A good wooden spoon: Your best friend for stirring and scraping food. It won't scratch the seasoning, and it just feels right in your hand, like a well-worn, comfortable shoe. I swear by my vintage one, passed down from my grandma – it's seen some serious action!
- A cast iron scraper: This is a lifesaver for cleaning stubborn bits of food. You can find these in most kitchen shops, and it's worth every penny.
- A sturdy oven mitt: Cast iron gets hot, like seriously hot. A good oven mitt is a must-have to protect yourself from those scorching temperatures. It's better to be safe than sorry!
- A cast iron pan stand: This is a must-have for cooling your pan after use. It protects your countertop and prevents warping. I got mine at a local antique shop, and it adds a touch of vintage charm to my kitchen.
(Part 2) The Art of Seasoning: A Cast Iron Primer
Alright, now we're getting into the real secrets. The key to cast iron success is seasoning. It's like giving your pan a protective layer of oil, a delicious armor that prevents rust and makes it naturally non-stick. It sounds a bit complicated, but it's really not. Just think of it as creating a naturally delicious coating for your cookware.
The Basic Seasoning Process: A Simple Guide
Here's how to season your new cast iron pan, turning it from a blank slate into a culinary masterpiece:
- Clean your pan: Wash it with hot soapy water, then dry it thoroughly. I use a soft cloth for this – no harsh sponges or abrasive cleaners, just gentle love.
- Apply a thin layer of oil: I like to use a neutral oil like canola or grapeseed oil. Don't use olive oil, as it can smoke at high temperatures. Just a light coating, like a whisper of oil on the pan.
- Heat your pan: Place the pan in a preheated oven at 350 degrees fahrenheit for an hour. This will help the oil polymerize and create that beautiful, non-stick surface. It's like a magic transformation.
- Let it cool: Remove the pan from the oven and let it cool completely.
- Repeat: Season your pan two or three more times to build up a nice layer of seasoning. It's like layering on a cozy blanket of protection.
That's it! With a little patience, you'll have a perfectly seasoned cast iron pan that will last a lifetime. Just remember to season it after each use – it's like giving your pan a quick hug after every meal.
(Part 3) Cast Iron cooking techniques: Mastering the Essentials
Your pan is seasoned and ready to go! Now, let's talk about how to use this amazing tool to create culinary masterpieces. Cast iron has a few quirks, but with a little practice, you'll be a cast iron pro in no time. It's like learning to ride a bike – a little wobbly at first, but once you get the hang of it, you'll be gliding through the kitchen with confidence.
Heating and Preheating: The Key to Success
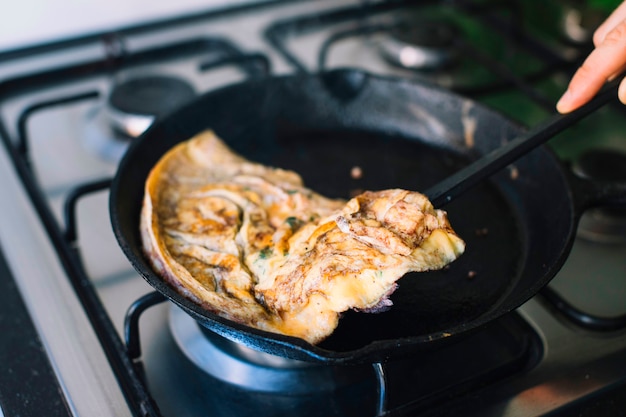
Cast iron loves heat, so don't be afraid to crank up the heat. But here's the trick: always preheat your pan over medium-high heat for a few minutes before adding your food. This ensures even cooking and prevents sticking. I find that a quick test with a few drops of water is a good indicator that it's ready to go. If the water sizzles immediately, you're good to go!
Adding Oil and Grease: A Touch of Flavor
Always use a bit of oil or grease when cooking in cast iron. This helps prevent sticking and adds a touch of flavor to your food. It's like giving your dish a warm embrace. I usually start with a small amount and add more as needed.
Deglazing: Turning Leftovers into Magic
Here's a little pro tip: after cooking, don't throw away all that delicious pan drippings! Deglaze your pan by adding a splash of liquid, like wine or broth, and scraping up all those tasty bits. This creates a rich sauce that will take your dishes to the next level. It's like turning culinary leftovers into liquid gold.
(Part 4) Cast Iron Cooking: Recipes for Success
Now, for the fun part! Cast iron is perfect for so many dishes, and I've got a few favorites that I think you'll love. It's like having a secret recipe book just for you.
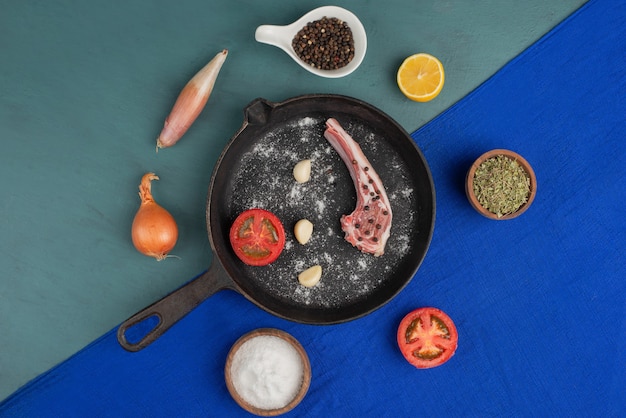
The perfect seared Steak: A Cast Iron Classic
Nothing beats a perfectly seared steak, and cast iron is the best way to achieve that crispy crust and juicy interior. Here's my recipe for steak perfection:
- Pat your steak dry: This is key for a good sear.
- Season generously: Salt and pepper are all you need, but feel free to add other seasonings like garlic powder or onion powder. It's like adding a little sparkle to your steak.
- Preheat your pan: Get your cast iron pan smoking hot over medium-high heat.
- Sear your steak: Cook for 2-3 minutes per side, or until you get a nice crust. It should be golden brown and irresistible.
- Reduce the heat: Lower the heat to medium and continue cooking for another 5-7 minutes, or until your steak is cooked to your liking.
- Rest: Let the steak rest for 5-10 minutes before slicing and serving. This allows the juices to redistribute, creating a perfectly tender and flavorful steak.
You'll be amazed at the delicious results! It's like a culinary magic trick.
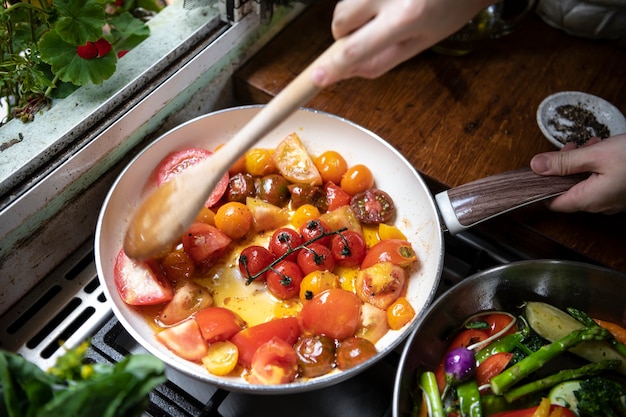
Crispy Roasted Vegetables: A Cast Iron Masterpiece
Cast iron is also perfect for roasting vegetables. Here's my recipe for a simple, but delicious, roasted broccoli:
- Preheat your oven: Set your oven to 400 degrees Fahrenheit.
- Prepare your broccoli: Cut broccoli into florets and toss with olive oil, salt, and pepper.
- Roast: Spread the broccoli in a single layer in your preheated cast iron pan. Roast for 20-25 minutes, or until tender and lightly browned. They should be crispy on the outside and tender on the inside.
This recipe can be easily adapted for other vegetables, like Brussels sprouts, carrots, or potatoes. Just adjust the cooking time accordingly.
Cast Iron Cornbread: A Southern Staple
Cast iron is practically made for cornbread. It's like the perfect pairing, made for each other. Here's my grandma's classic recipe:
- Preheat your oven: Set your oven to 400 degrees Fahrenheit.
- Grease your pan: Use a bit of butter or shortening to grease your cast iron skillet.
- Combine dry ingredients: In a large bowl, whisk together 1 cup cornmeal, 1 cup all-purpose flour, 1/2 cup sugar, 2 teaspoons baking powder, 1 teaspoon salt, and 1/2 teaspoon baking soda.
- Combine wet ingredients: In a separate bowl, whisk together 1 cup buttermilk, 1 egg, and 1/4 cup melted butter.
- Combine ingredients: Gradually add the wet ingredients to the dry ingredients, mixing until just combined.
- Pour batter into pan: Pour the batter into your prepared cast iron skillet.
- Bake: Bake for 20-25 minutes, or until golden brown and a toothpick inserted in the center comes out clean.
Serve warm with a pat of butter and enjoy! It's a taste of home, a comforting reminder of family and good food.
(Part 5) Cast Iron Maintenance: Keeping Your Pan in Top Shape
Now that you're a cast iron pro, let's talk about taking care of your beloved pan. With a little care, your cast iron cookware will last for generations, becoming a family heirloom.
Cleaning Your Cast Iron: A Gentle Approach
Cast iron is pretty low-maintenance, but you do need to clean it properly. Here's my go-to method:
- Scrape off any food: Use a wooden spoon or scraper to remove any loose food particles from your pan.
- Wash with hot water: Wash your pan with hot soapy water. Avoid using harsh detergents or abrasive sponges, as these can damage the seasoning. Treat it with the same gentle care you'd give a delicate flower.
- Dry thoroughly: Dry your pan completely with a towel. Make sure it's nice and dry before you put it away.
- Season: Apply a thin layer of oil to your pan and heat it in the oven for an hour at 350 degrees Fahrenheit. This will help re-season your pan and keep it in good condition. It's like giving your pan a little spa treatment.
That's all there is to it! With a little TLC, your cast iron pan will stay in great shape for years to come.
(Part 6) Common Cast Iron Mistakes: Avoiding the Pitfalls
Cast iron cooking is pretty straightforward, but there are a few common mistakes that even experienced cooks make. Here are a few tips to avoid the pitfalls, so you can avoid those culinary blunders.
Using Too Much Heat: Don't Burn Your Food
Cast iron heats up quickly, so it's easy to overcook your food. Start with medium-high heat and adjust as needed. If your pan is too hot, you'll end up with burnt food. I usually check by holding my hand a few inches above the pan. If it's too hot to keep my hand there, it's probably too hot to cook.
Forgetting to Season: Don't Let Your Pan Rust
Seasoning is crucial to keep your cast iron in good condition. After each use, make sure to wash your pan, dry it thoroughly, and re-season it with a thin layer of oil. It's like giving your pan a little beauty sleep after a long day of cooking.
Storing Your Pan Improperly: Keep it Safe from Rust
Storing your cast iron pan properly will help prevent rust. The best way to store your pan is to oil it well and store it in a cool, dry place. You can also wrap it in a paper towel or store it in a zip-top bag.
Using the Wrong Cleaning Products: Don't Damage the Seasoning
Avoid using harsh detergents or abrasive sponges to clean your cast iron pan. These can damage the seasoning and make your pan sticky. Stick to hot soapy water and a soft cloth.
Trying to Force Food Out of the Pan: Be Gentle with Your Pan
Cast iron is durable, but it's not indestructible. Don't try to pry food out of your pan with a metal spatula. This can damage the seasoning. Use a wooden spoon or scraper instead.
(Part 7) Cast Iron Beyond the Basics: Expanding Your Horizons
Okay, you've got the basics down pat, but now let's talk about taking your cast iron cooking to the next level. There's a whole world of possibilities beyond steaks and cornbread!
Cast Iron dutch ovens: A Kitchen Workhorse
If you're looking for a versatile piece of cookware that can handle it all, a cast iron Dutch oven is a must-have. These heavy-duty ovens are great for braising meats, roasting vegetables, baking bread, and even making soups and stews. You can even use them on the stovetop or over an open fire. They truly are the ultimate kitchen workhorse, capable of handling any culinary challenge.
cast iron skillets: The Versatile Choice
Cast iron skillets are a kitchen staple for good reason. They're perfect for everything from searing meats and frying eggs to baking pizzas and making pancakes. And the best part is that they're super durable and can withstand high heat. You can find them in a variety of sizes, so you can choose the perfect one for your needs.
Cast Iron Griddles: Perfect for Grilling Indoors
Cast iron griddles are great for grilling indoors, especially when the weather isn't cooperating. They give you that perfect sear and grill marks, and you can use them to cook everything from burgers and steaks to vegetables and fish. They're like bringing the backyard grill indoors!
(Part 8) Cast Iron: A Legacy of Flavor and Durability
So there you have it! You're now a cast iron master, ready to tackle any recipe. Cast iron cookware is more than just a tool; it's an investment in your kitchen and your culinary journey. It's a piece of cookware that will last a lifetime and improve with each use. With a little patience and practice, you'll discover the joy of cast iron cooking. It's a love affair that will last a lifetime.
FAQs
Here are some frequently asked questions about cast iron cooking:
Q: Can I use cast iron on an induction stovetop?
A: Unfortunately, most cast iron pans aren't compatible with induction stovetops. Induction stovetops work by using magnetic fields to heat cookware, and cast iron is not magnetic. However, there are some cast iron pans that are made with an induction-compatible base. You can look for these in kitchen stores, but be prepared to pay a little extra.
Q: Can I put cast iron in the dishwasher?
A: No, you should never put cast iron in the dishwasher. The high heat and harsh detergents can damage the seasoning. Always hand wash your cast iron pan with hot soapy water and dry it thoroughly. Treat it with the same gentle care you'd give a delicate piece of art.
Q: How do I know if my cast iron pan is seasoned properly?
A: A properly seasoned cast iron pan will have a smooth, dark, and non-stick surface. It should feel a bit oily to the touch. If your pan is rusty or sticky, it needs to be re-seasoned. Think of it like giving your pan a fresh coat of polish.
Q: What's the best way to remove rust from my cast iron pan?
A: If your cast iron pan has rust, don't despair! You can easily remove it with a simple cleaning method:
- Scrub the rust: Use a stiff-bristled brush or steel wool to scrub off the rust. Be gentle, but persistent.
- Wash the pan: Wash the pan with hot soapy water to remove any remaining rust.
- Dry the pan: Dry the pan thoroughly with a towel. Make sure it's nice and dry before you move on to the next step.
- Re-season the pan: Apply a thin layer of oil to the pan and heat it in the oven for an hour at 350 degrees Fahrenheit. This will help re-season your pan and keep it in good condition.
Q: How long will my cast iron pan last?
A: With proper care, your cast iron pan can last for generations. It's a piece of cookware that you can pass down to your children and grandchildren. So go ahead, embrace the joy of cast iron cooking, and let your culinary adventures begin!
Everyone is watching

Prime Rib Roast Cooking Time Chart: Per Pound Guide
Cooking TipsPrime rib roast. Just the name conjures images of lavish dinners, crackling fires, and hearty laughter. It’s ...

How Long to Bake Potatoes in the Oven (Perfect Every Time)
Cooking TipsBaked potatoes are a staple in my kitchen. They're incredibly versatile, delicious, and surprisingly easy to m...

Perfect Rice Every Time: The Ultimate Guide to Cooking Rice
Cooking TipsAs a self-proclaimed foodie, I've always been a bit obsessed with rice. It's the foundation of countless cuisi...

The Ultimate Guide to Cooking Asparagus: Tips, Techniques, and Recipes
Cooking TipsAsparagus. The mere mention of this spring delicacy conjures up images of vibrant green spears, crisp and burs...

Ultimate Guide to Cooking the Perfect Thanksgiving Turkey
Cooking TipsThanksgiving. Just the word conjures up images of overflowing tables laden with delicious food, the scent of r...